Audio Files Recovery on Mac
Audio Files Recovery on a Mac Computer
Audio files can be stored on several types of media from a disc to your local hard drive. Sometimes the storage location experiences corruption and other times, an important audio file might get deleted unintentionally. In these situations, it is important to have a method handy for regaining lost or deleted information. Stellar Phoenix Mac Data Recovery is a utility you can use to retrieve audio data from the following:
- Local Hard Drive
- Corrupt Volumes
- External Hard Drive
- Disc Storage
- USB Drives
- Other External Media
Regardless of the source or problem, the solution is a recovery tool capable of scanning the storage, finding the files, and restoring it to a safe location. With Mac Data Recovery, it only takes a few quick steps to salvage from multiple types of storage. The utility also offers a number of features to make this process easier including:
- Support for multiple file storage systems.
- Able to scan for and locate 300+ types of files.
- Preview the scan results and individual files.
- Search for specific files in the results.
- Recover everything, certain types, or formats.
Stellar Phoenix Mac Data Recovery is easy to use and offers a simple solution to the problem of lost or deleted audio data. We have provided a tutorial below to show how you can recover these items from a Macintosh hard drive; however, the steps will be the same regardless of what storage media you need to scan. Before getting started, you will need to install the utility and connect any external media.
5 Simple Steps for Audio Files Recovery on Mac
Make certain the utility is running on your Macintosh computer and any external storage media has been connected to it. If the recovery will be for physical media like a CD, please insert it into the drive on your computer or to a connected external reader. Next, choose Start New Scan in the main application window to begin.

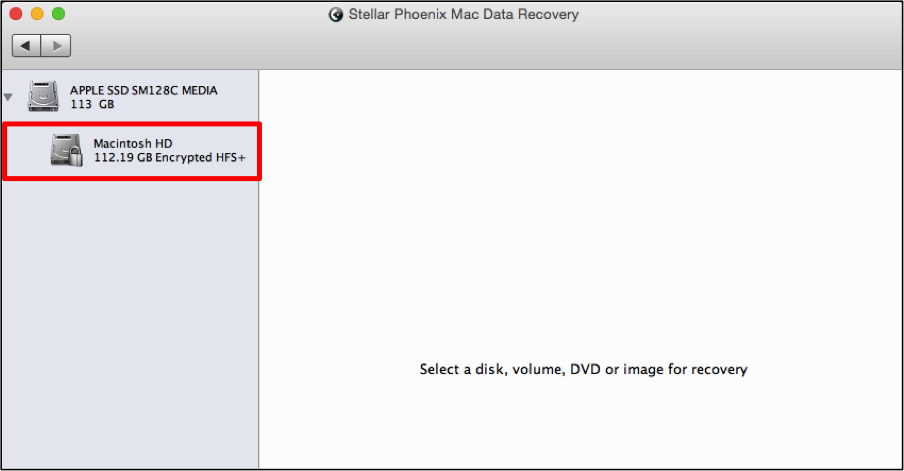
Step 1: Choose Where to Scan. With Mac File Recovery, it is possible to scan the local drive of your computer for files as well as a number of external media types (discs, USB drives, hard drives, etc.).
The first step will be choosing where the scan will be performed. In this example, it will be the local hard drive of a Macintosh computer. Each option will appear in the left panel of the utility window. To select a scanning source, click on the drive or media’s name.
Step 2: Designate the Type of Scan. When using Mac Data Recovery, there are several options for how the files will be located. You can perform a quick or deep scan. If the storage source is severely corrupted, appropriate options are provided as well.
For this example, we will be performing a Quick Scan of the local hard drive on a Macintosh to find retrievable audio data. First, click on Recover Data.
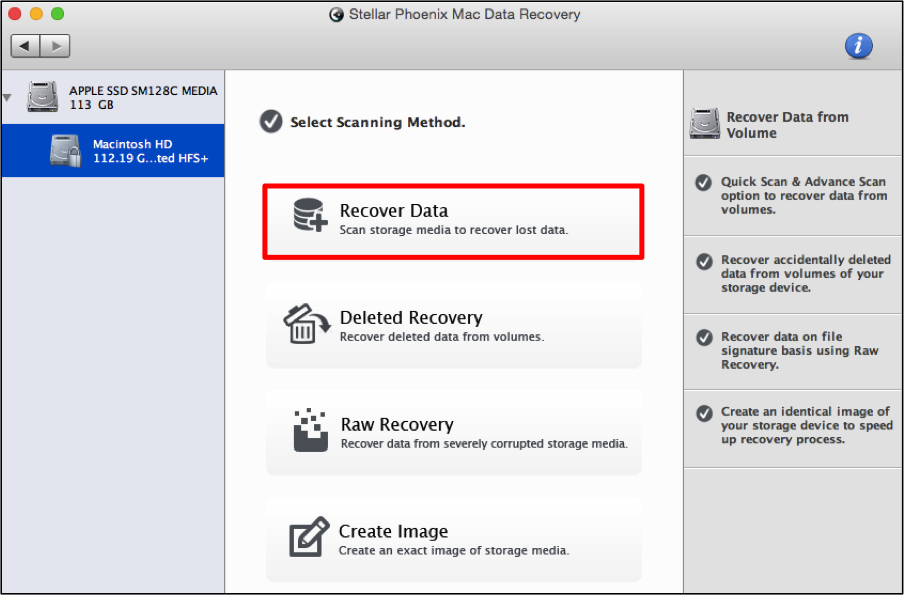
The recover data options include a radial for Quick and Advanced. In this example, it will be a quick scan. However, consider using the advanced option if the files do not appear in the chosen scan results.

Step 3: Scan and Locate Audio Files. Use the Start Scan option to begin searching for recoverable audio data.

After clicking on it, the utility will be divided into three sections. In the left panel, you will see folders begin to appear and on the right, any file that can be previewed will appear. At the bottom right, you will see a progress bar and abort button.
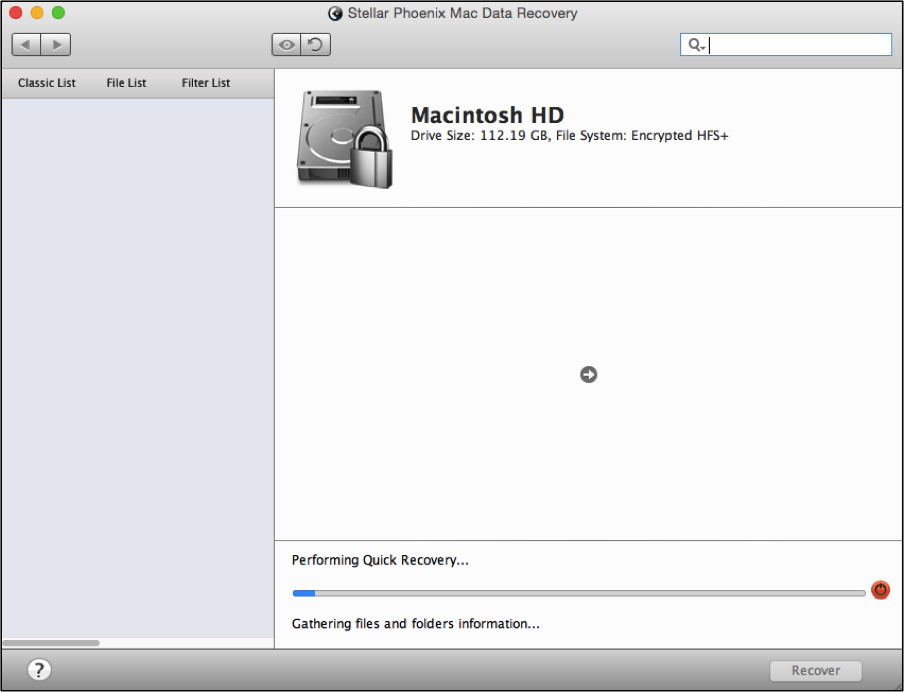
Remember to click OK when the confirmation window appears for a successful scan.
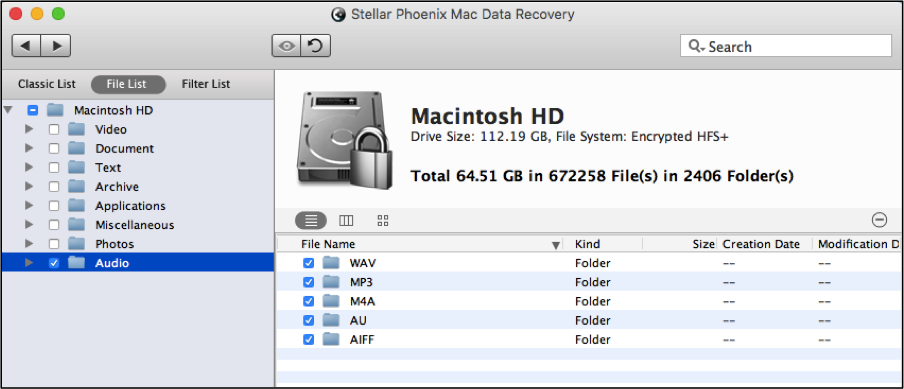
Step 4: Choose Audio Files to Recover. We recommend clicking on File List at the top of the left panel before getting started. This will organize the scan results by type and then format.
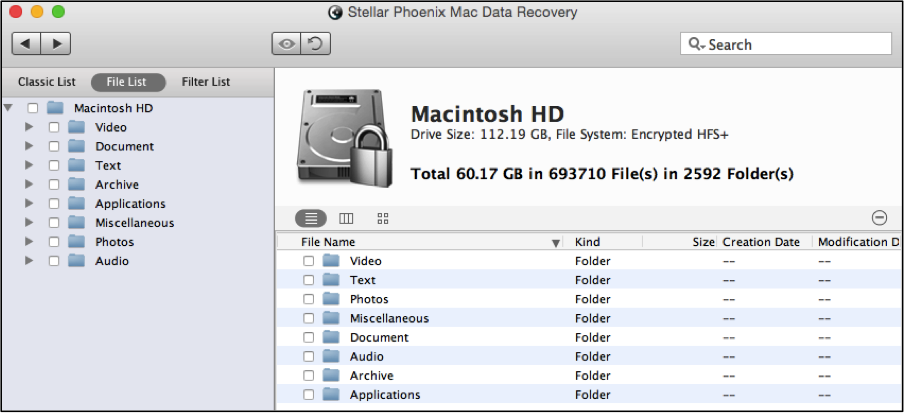
Next, to recover all located audio data, click on the checkbox next to Audio in the tree. As you can see by the image below, all formats have been chosen for recovery. Then advance to Step 5 to see how to complete the file retrieval.
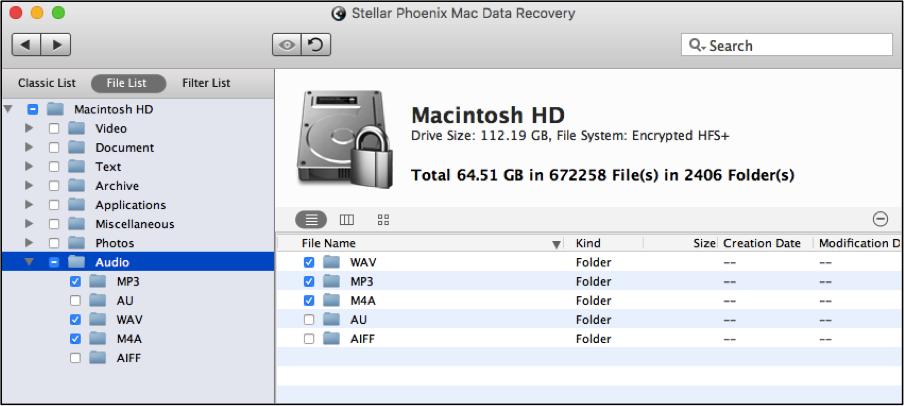
You can also select specific formats by clicking on the arrow next to Audio or the folder itself. Then tick the checkbox for each format you want to recover: MP3, M4A, WAV, etc. Every file in the format folder will be recovered by the utility.
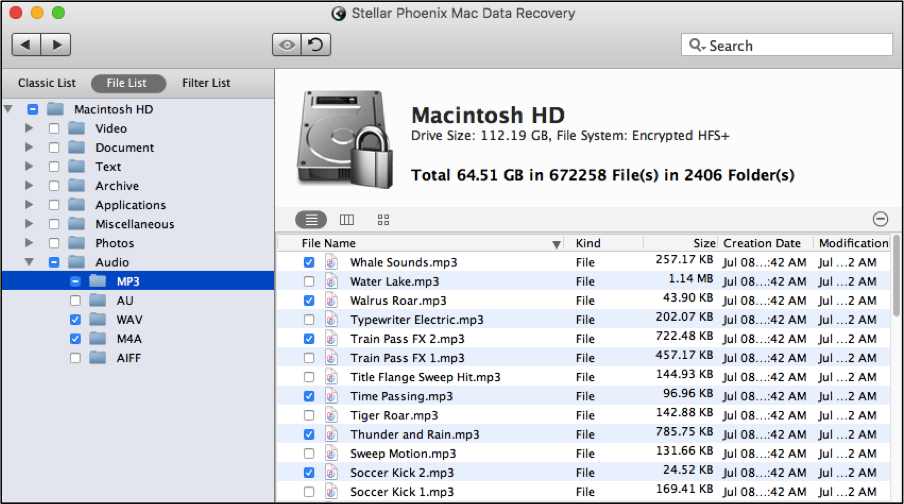
If you are only looking for specific files, click on the folder in the tree view for the appropriate format. On the right side of the screen, check each file you want to recover for the selected format.
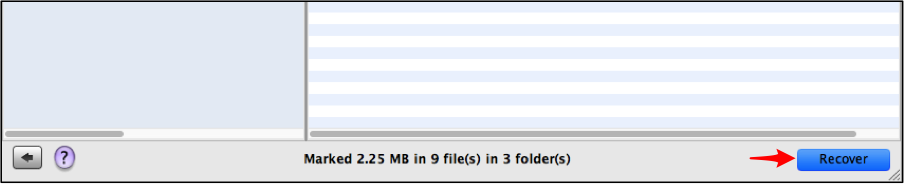
Step 5: Complete the Audio Recovery. Use the Recover button to start the file retrieval and choose a save location for Mac Data Retrieval to place the data.
Stellar Phoenix Mac Data Retrieval offers a user-friendly data retrieval option for a successful recovery on Macintosh. Whether you have accidentally removed a file, experienced corruption, or another unforeseen type of issue, you can use it to scan a local drive or a variety of external storage types to regain files. Audio files recovery on Mac is as simple as completing the steps shown in this tutorial and listed below:
1. Choose where to scan.
2. Designate the type of scan.
3. Scan and locate audio files.
4. Choose audio files to recover.
5. Complete the audio recovery.