Memory Card Recovery Mac
Memory Card Recovery on Mac: A Utility for Easy File Retrieval
If you have recently accidentally deleted files or erased an entire memory card, this stressful event might seem crippling. There is now an easy solution to that problem. A utility for memory card retrieval Mac is the best choice for a fast and dependable retrieval of individual files or an entire card.
Stored items are never truly deleted or erased until they are physically overwritten. This means you can download a recovery utility to locate and restore these files. Stellar Phoenix Mac Data Retrieval software is an excellent utility for recovery on a Macintosh. In order to begin, you will need to:
- Download the install file.
- Complete software installation.
- Open the application.
- Insert the memory card on a Macintosh.
Once the above steps have been completed, let the retrieval program scan your card and restore your lost files. Complete the steps outlined in the tutorial below to easily salvage any item previously stored on it.
Four Steps for Memory Card Easy Recovery
For this tutorial, we will be performing an external drive retrieval for Formatted Media.
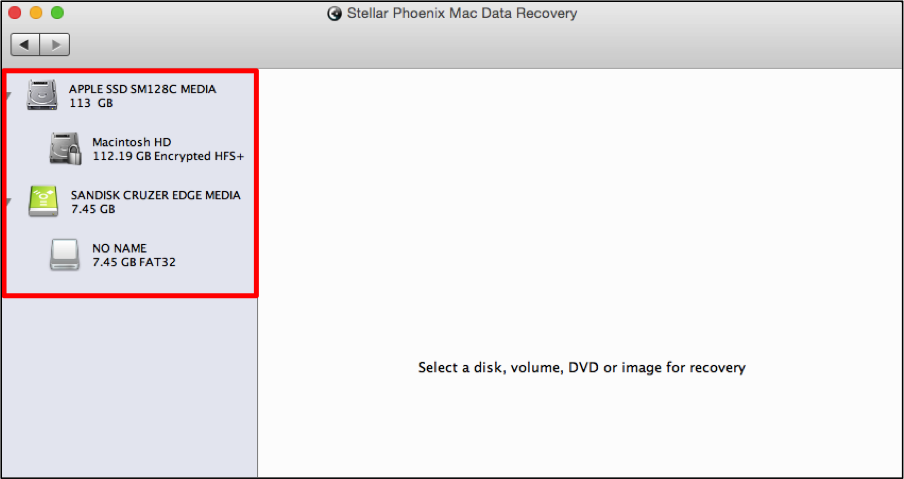
Step 1: First, choose Start New Scan to access retrieval mode options with Stellar Phoenix Macintosh Data Retrieval.

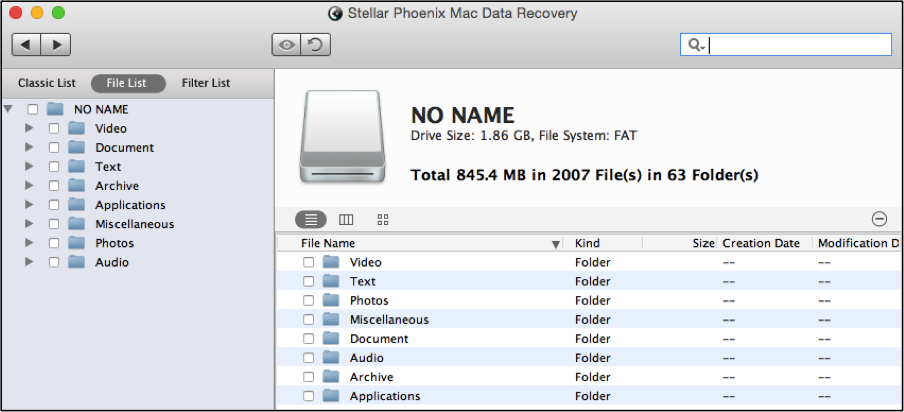
Select the card within the left panel of the screen by clicking on its name. In the example below, it does not have a name and just appears as “No Name”.
Note: While this utility can find any data, it will not be able to locate already overwritten items. To avoid data loss, make certain no further changes are made on the card before recovery will be performed.
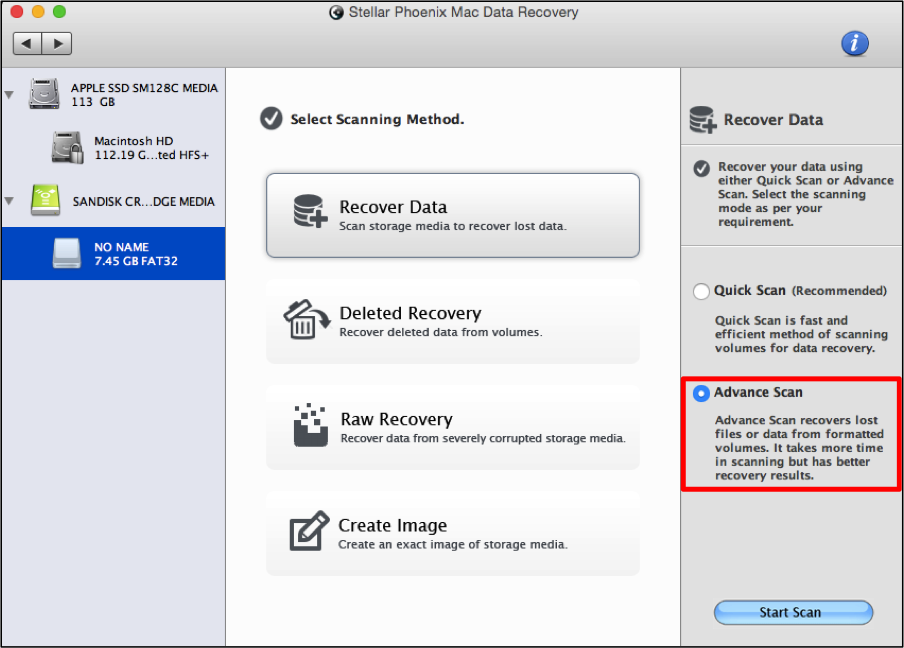
Step 2: Next, click on the Recover Data option in the center of the screen and then tick the radial for the Advance Scan selection. This option will scan any external drive such as a memory or SD card for recoverable files.
After doing so, click on the Start Scan option at the bottom of the screen to begin retrieval.
As scanning takes place, you will see the screen begin to populate with located files. Please note that this process could take a little while depending on the size of your card.
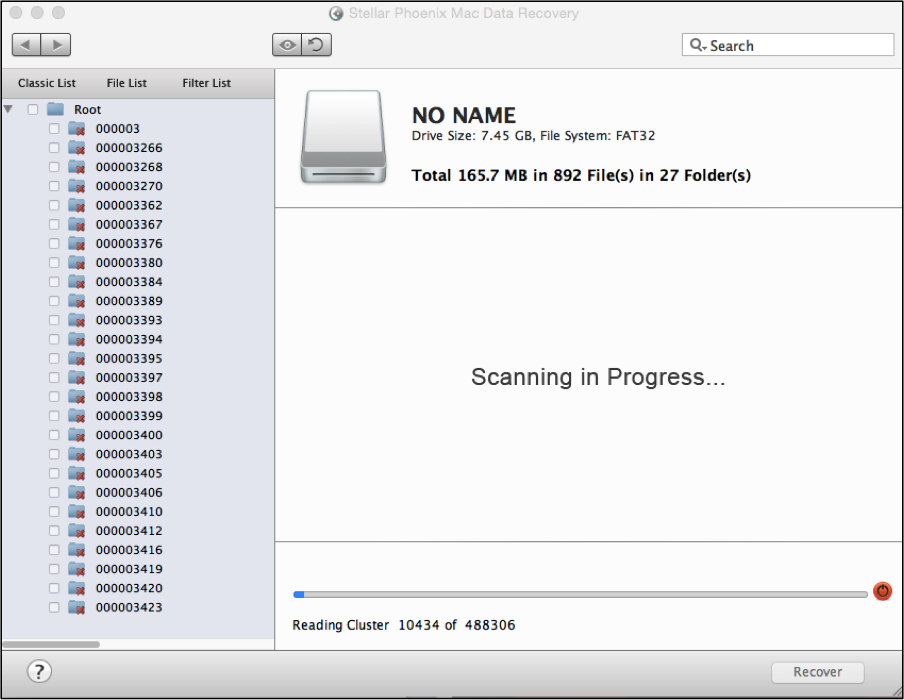
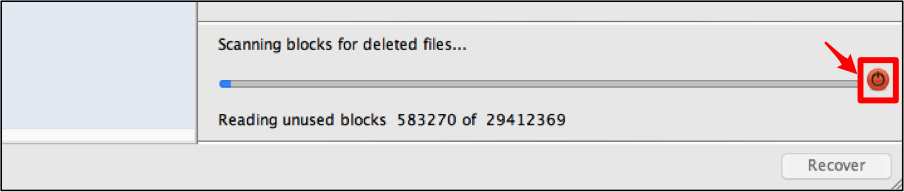
If, for some reason, you need to pause or abort the scan, simply click on the abort scan button (red circle) below. This button is located next to the progress bar at the bottom of the screen. Please note that aborted scans cannot be resumed at a later time and the best option is to just pause the scan.
You need to click on the OK button in the provided confirmation message to begin reviewing located files.
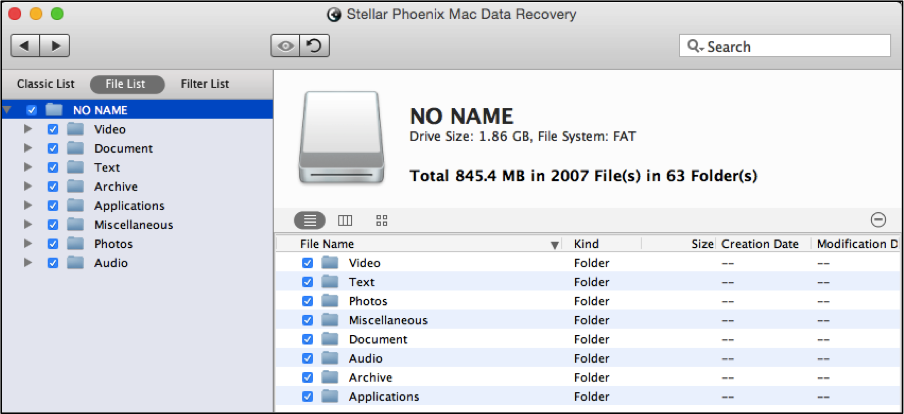
Step 3: By clicking on File List, you will be able to view retrievable files by type rather than their original save location. This view will appear as shown below:
To recover all files located by the utility, click on the checkbox located to the left of the card’s name and this will place a checkmark in every subfolder within the tree directory.
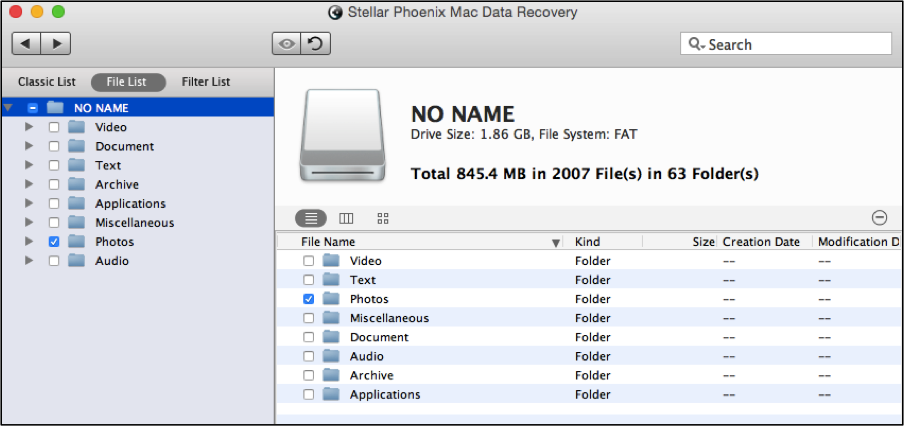
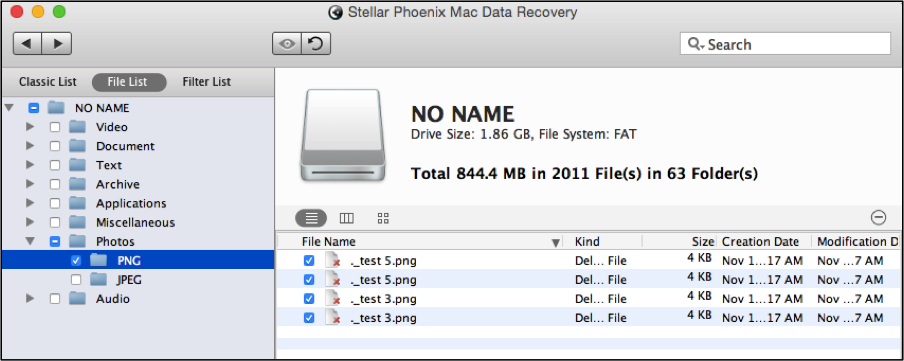
You may also select a specific file format such as Photos or Text to recover all items in that format. In this example, Photos has been chosen and all images will be recovered by the utility.
A tree view is provided on the left side of the application and may be expanded to locate specific file types or files. It will look similar to the image shown below when expanded:
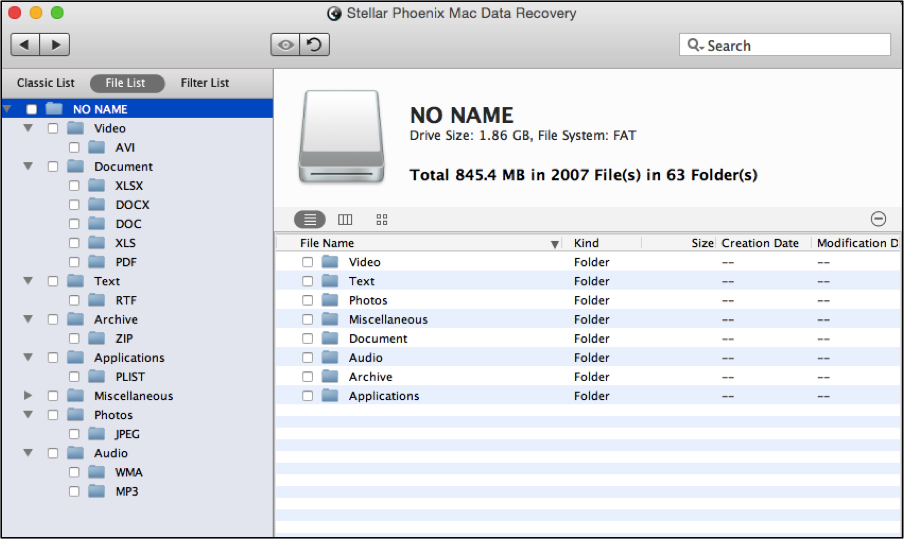
If you click on a specific file type such as Photos, you will see each available format listed in individual folders. The following example shows the PNG folder as the current selection and this informs the utility to restore all PNG files residing on the memory card.
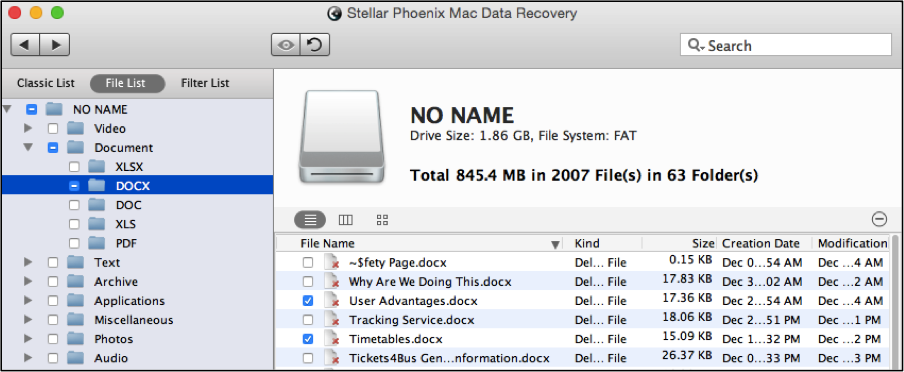
To choose single files for specific file types or formats, click on a desired directory in the tree view and then make selections on the right side of the application. In this example, the DOCX folder has been selected and two files are chosen for recovery.
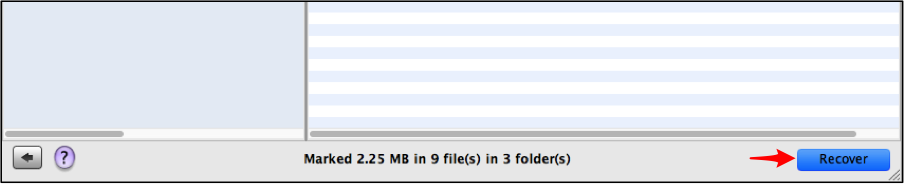
Step 4: Time to click the Recover button to start recovering the files you’ve selected for retrieval. You will be prompted to choose a directory on your Macintosh for saving the salvaged files.
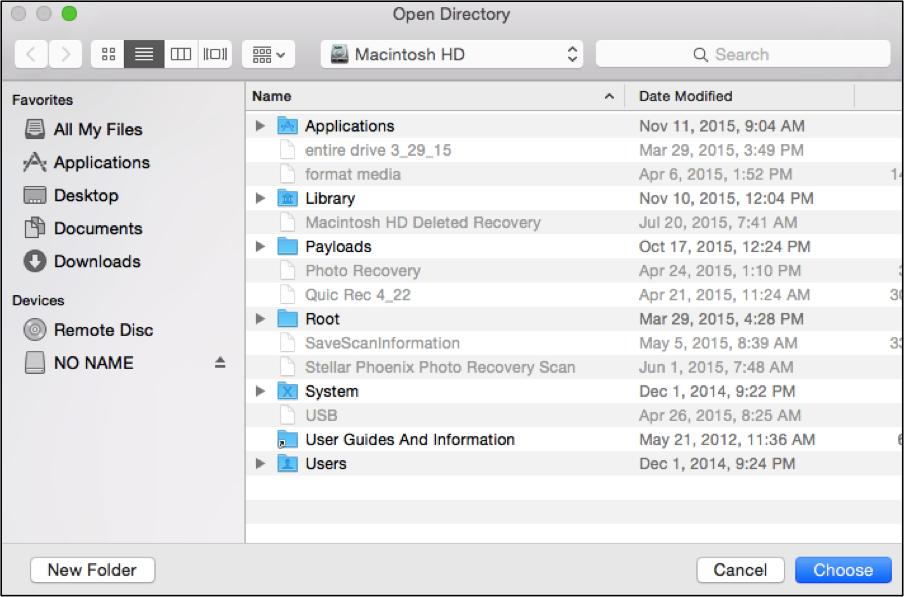
All files will be saved to a Root folder by the utility. Browse to the location where you want this folder to be saved, select it, and then click on Choose.
With Stellar Phoenix Mac Data Recovery, you are easily able to restore an entire card, just specific file types, or individual items. All you have to do is follow these steps within the utility:
- Pick the memory card for recovery.
- Select a retrieval option and scan the card.
- Choose files for retrieval.
- Complete the retrieval process.
Don’t fret if your memory card is accidentally erased, corrupted, or a file is removed. All you need to do is install this utility to successfully perform recovery Macintosh and within minutes, you will have everything in the palm of your hand.