SD Card Recovery Mac
Reliable SD Card Recovery for Your Mac
A corrupted, formatted, deleted, or erased SD card does not have to be the end of the world. SD cards can easily experience problems whether a sudden power outage occurs, is accidentally erased, or it is removed from the computer without performing the required steps. SD card recovery Macintosh ensures that any items on this storage media can be retrieved without worry. Stellar Phoenix Mac Data Retrieval software provides an easy, dependable approach to retrieving any file you have stored.
This utility is designed to perform recovery not only on an Apple hard drive but also on external devices or storage sources. The first step is to stop modifying and adding information to the card, as each change is a potential overwrite for previously stored data. Next, download and install Stellar Phoenix Mac Data Retrieval to your computer. After which, insert the card to start the retrieval process on your Mac. Just perform the following steps to easily recover everything previously stored on the SD card.
Recover Photos or Other Items from Any SD Card
For this tutorial, we will be performing a drive recovery for formatted media (USB, hard drive, SD card, CF card, etc.).
Step 1: To begin, click on the Start New Scan option within the main screen and you will be directed to a new window for selecting a scan location.

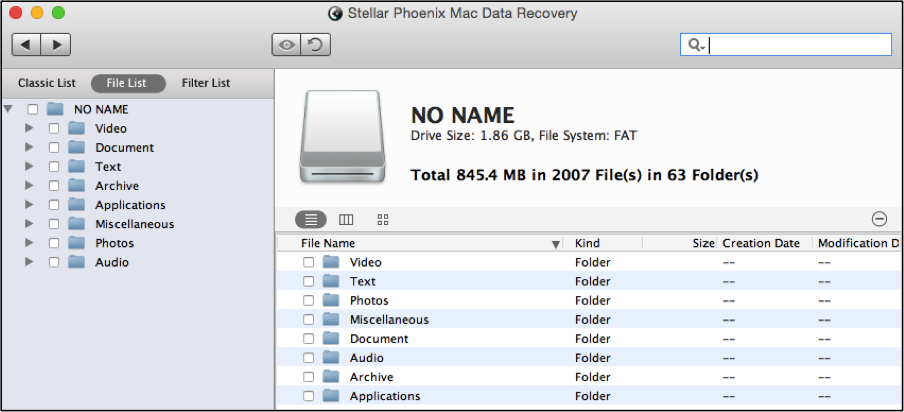
The card will either appear with a given name or simply as “No Name” depending on its current formatting. To select the external card, simply click on it on the left side of the screen.
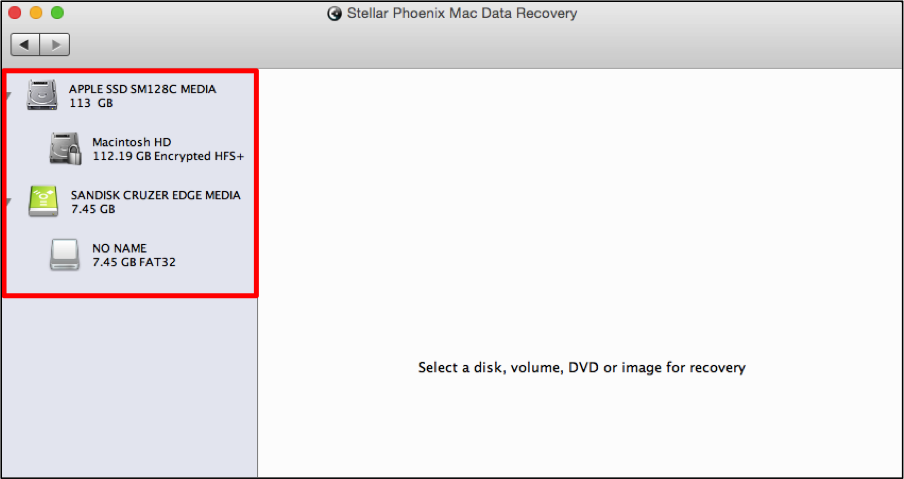
It is important to note that any changes you make post deletion, formatting, or corruption can result in irretrievable data. Each change overwrites some portion of the physical storage location.
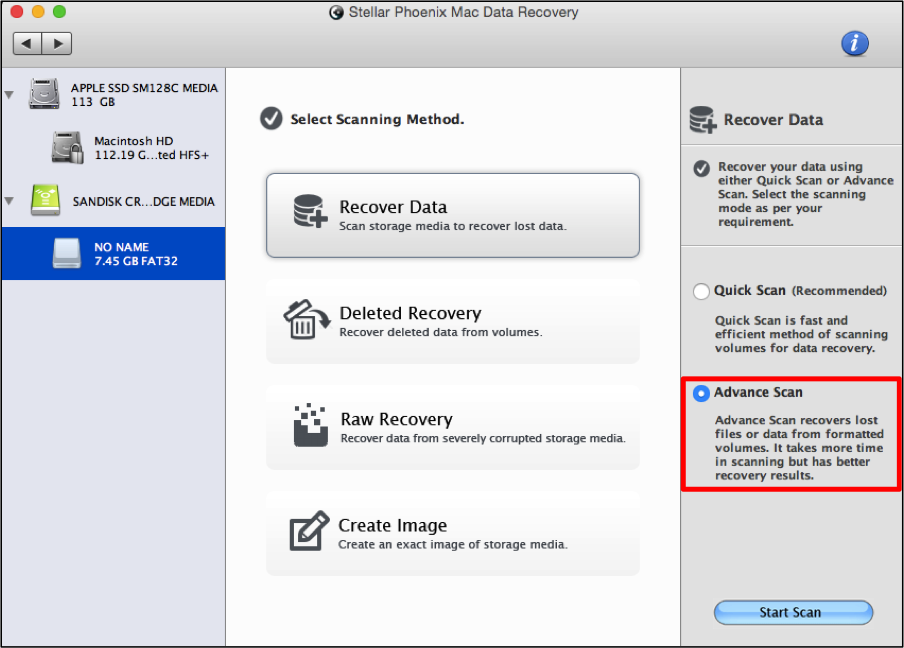
Step 2: Next is select the option titled Recover Data and then click on the radial next to Advance Scan. This option performs a scan of the external storage device to locate any retrievable files. Click on Start Scan found at the bottom right corner once you have selected the appropriate recovery options.
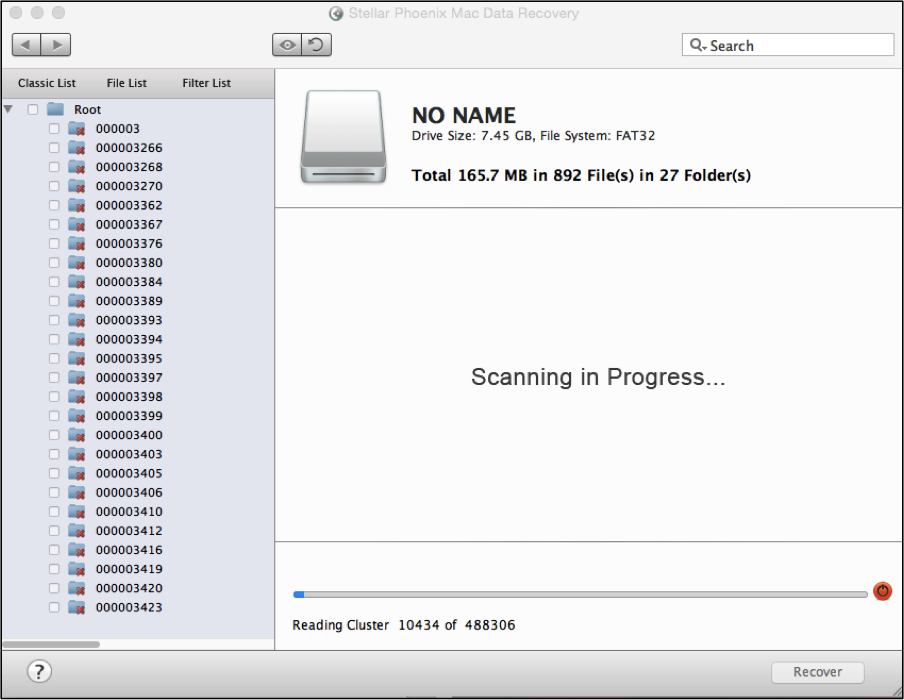
This process will take a few minutes to complete. You will begin to see a file list gradually appearing on the left side of the screen as scanning progresses. Note that there is an “abort scan” button (red circle) which may be used whenever needed to exit and quit the scan.
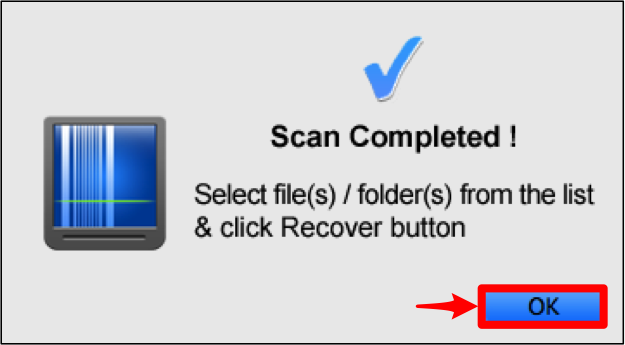
Scanning is not complete until you see the following confirmation message. You must click OK to close this message and return to the scanning results.
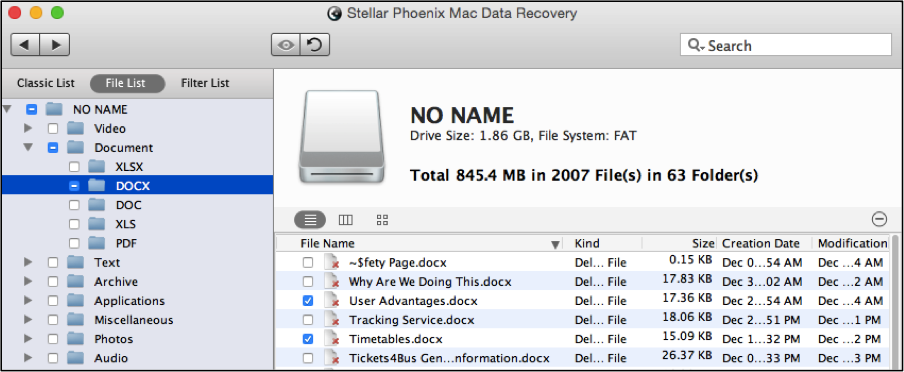
Step 3: By default, the program displays all scan results as a Classic List based on their original save location. You may click on File List to view retrievable items by type rather than location. This makes it easier to find specific files or file types for recovery. The File List view will appear as shown below for recovery Macintosh.
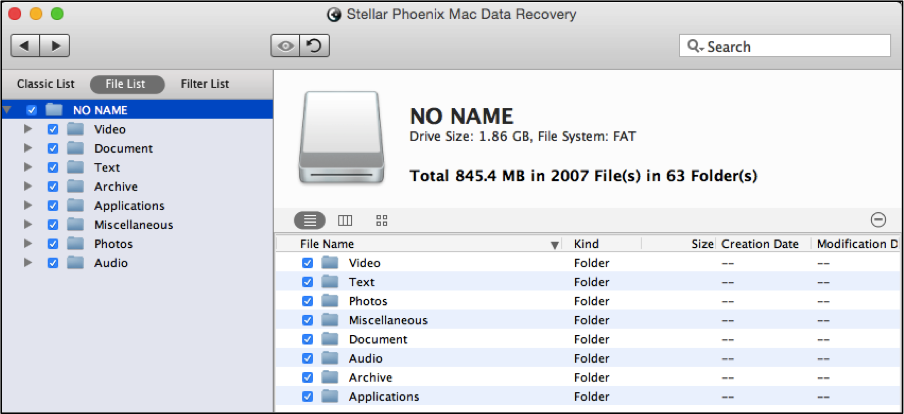
To recover everything found by the utility scan, check the checkbox next to the name of the card on the left side of the screen. This will select every file available for recovery.
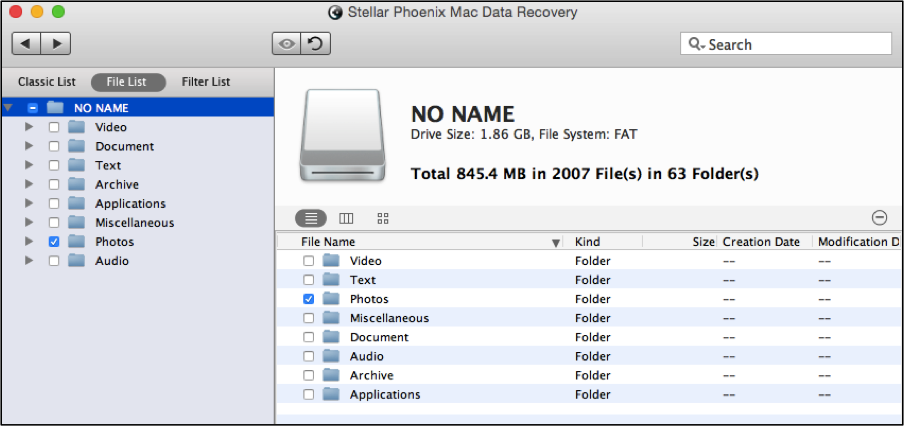
You can also select a specific file type to recover such as Documents or Photos. To do so, click on the checkbox next to the desired file type and all files of that type will be recovered. In the example below, Photos has been chosen:
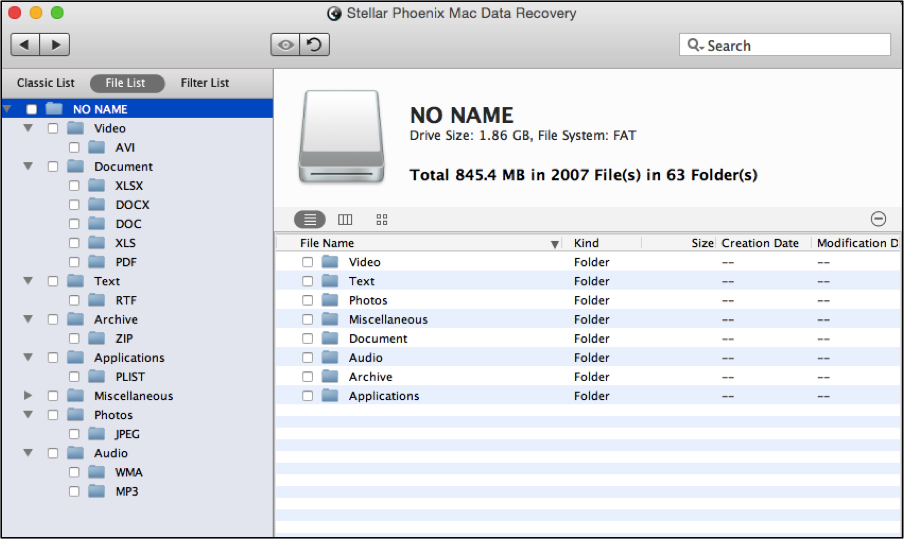
The tree view may be expanded to see specific formats such as TIFF or JPEG for photos or DOC and XLS for documents. This expanded view will appear similar to what is shown below:
To select each file individually, click on a folder on the left side of the screen and its contents will appear on the right. Then simply check each file you want to recover.
You can perform these steps again by selecting another folder in the tree view. In the example below, two DOCX images have been chosen:
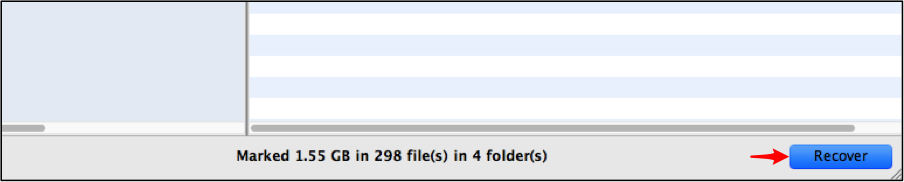
Step 4: The next step is to click on the Recover option at the bottom right of the screen to start retrieving all selected files.
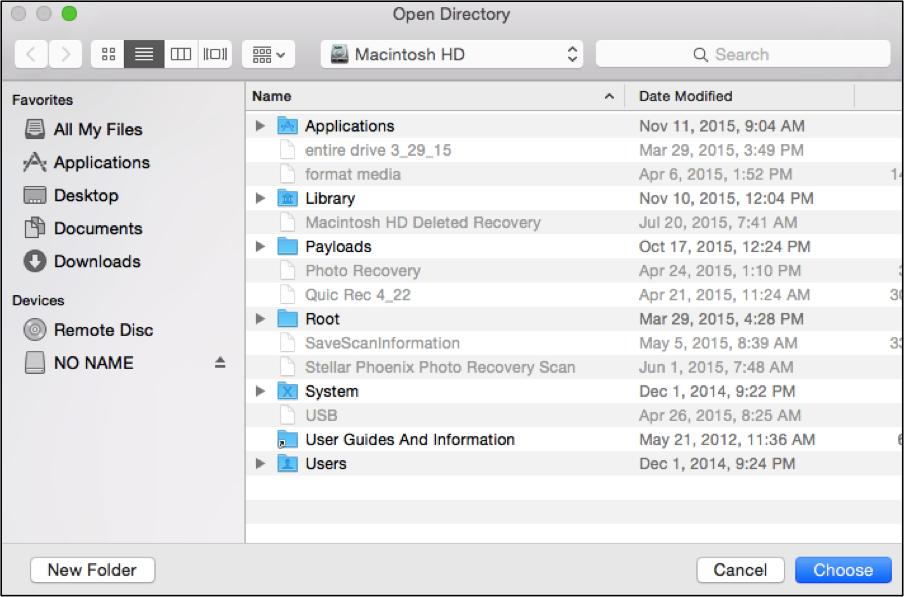
Step 5: You must select a save location for all salvaged items before the recovery can be completed. Recovered files are placed in a Root folder in the designated save directory.
As shown by this tutorial, salvaging is easy as long as you do not make changes such as adding or removing files over an extended period of time. Quick action is important to avoid loss of important information. By completing the following steps, you will easily be able to retrieve any needed files:
- Choose the card for scanning.
- Select a recovery option.
- Wait for the scan to complete.
- Select items to retrieve.
- Finish SD card recovery Mac.
By downloading Stellar Phoenix Mac Data Retrieval, you will be able to scan and recover any files in only a few minutes. Try it today to see how easy it can be to retrieve an erased, formatted, corrupted, or deleted SD card.