Mac File Recovery
5 Stress-Free Steps for Mac File Recovery
A failed hard drive, bad install, malicious attack, or simple deletion can result in lost data. It is a common assumption that once data has been removed (either intentionally or unintentionally), they are no longer recoverable. However, immediate action could be the difference between loss of important files and a sigh of relief. If a recent event has made Macintosh file retrieval imminent, then you need to do three important things:
- Stop working on the computer immediately.
- Download a reliable retrieval program.
- Retrieve the files on your Apple.
Why stop making changes on the computer? An operating system (OS) locates a file by searching for its location in its address table. The address table refers the OS to the physical storage location of the file. When an item is deleted, this address is removed; however, the files remain intact.
As changes are made on a Macintosh, the potential for permanently losing data intensifies because it is constantly being overwritten. You can considerably decrease this risk by quickly using a dependable tool to locate the data and recover it. Stellar Phoenix Macintosh File Recovery is a utility designed to locate files which have been removed from the operating system’s address table but still reside on the physical hard drive. If you act fast, any lost data can be retrieved easily without stress.
Mac File Retrieval Doesn’t Have to Be Impossible
Stellar Phoenix Mac Data Recovery offers an easy yet reliable approach to Mac file retrieval whether the computer is a MacBook Pro or other Apple computing product. All you need to do is download the application and then open it to get started.
The Mac File Recovery utility provides several options for locating and retrieving one or multiple items from the hard drive. For this tutorial, we will be performing a quick scan for everything that has been deleted but not overwritten on the main volume of your Mac (Macintosh HD). Click on Start New Scan located on the main application screen to begin selecting a drive and retrieval option.

Then complete the following steps to retrieve one or several files on a Mac:
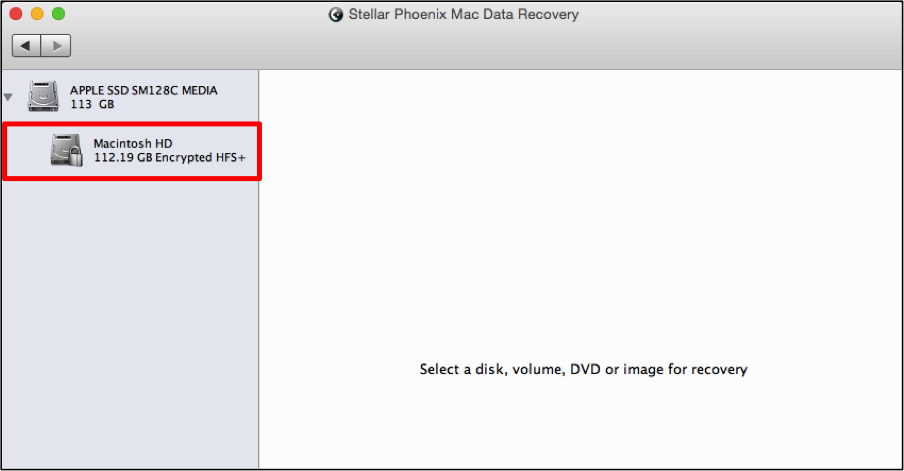
Step 1: The retrieval program will need to scan the hard drive volume first where the information is stored. You will have to select a volume for the program to scan and in most cases, this will be Macintosh HD as it is a common volume on many Macintosh computers.
Step 2: Choose the Recover Data option to decrease scanning time and locate deleted items on your Macintosh. Make certain Quick Scan is selected on the right side of the window.

Important: Data is not recoverable if it has been overwritten on the hard drive. Perform these steps immediately to avoid the problem of irretrievable files.
Click on Start Scan to begin retrieving the files from the chosen hard drive volume.

The Mac Data Recovery utility will appear as shown below during the scanning process:
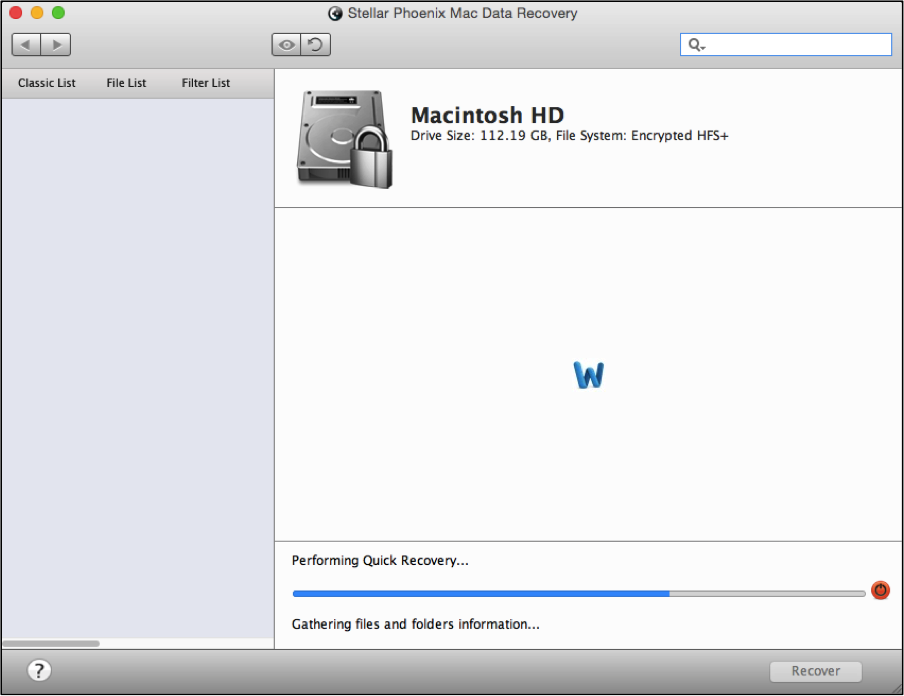
At any time, you may click the “stop scan” button (red circle) to cancel the scan of the volume.
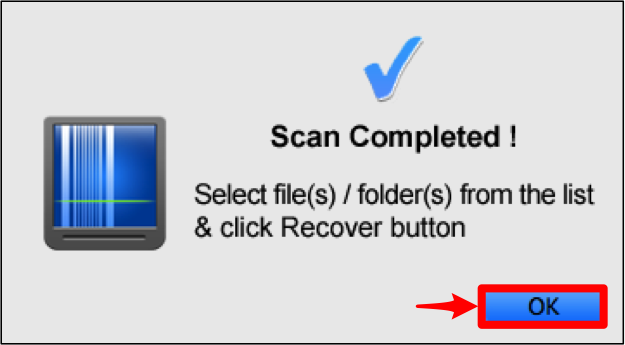
A confirmation message will be provided immediately after successful completion of the volume scan. Click the OK button to return to the utility and start locating the files you would like to retrieve.
Step 3: The displayed scan results default to a Classic List. However, it will be easier to locate the desired items by clicking on File List which categorizes retrieved files by format and type rather than location.
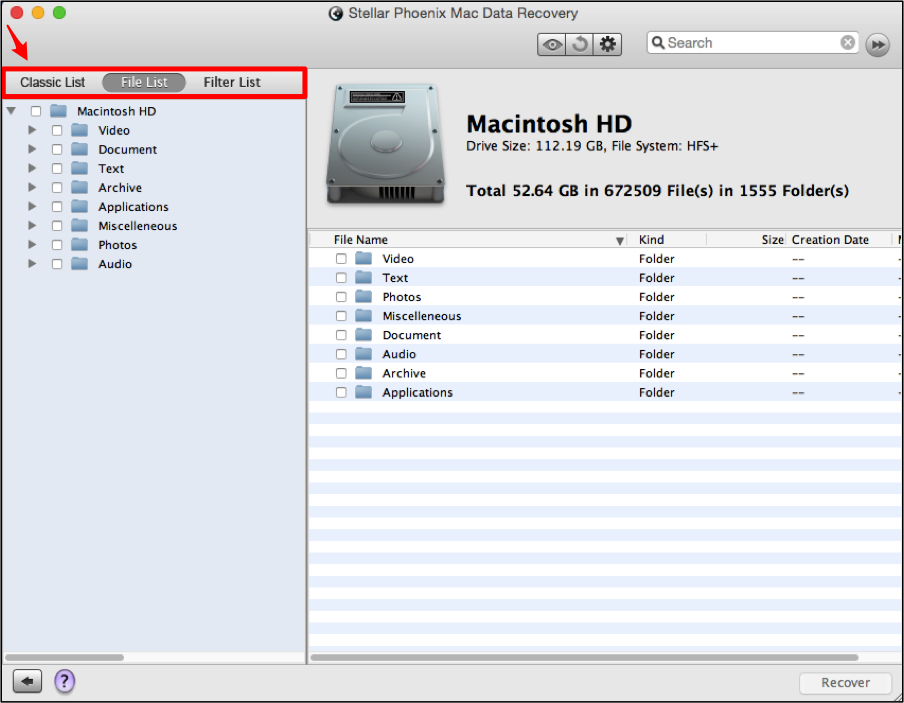
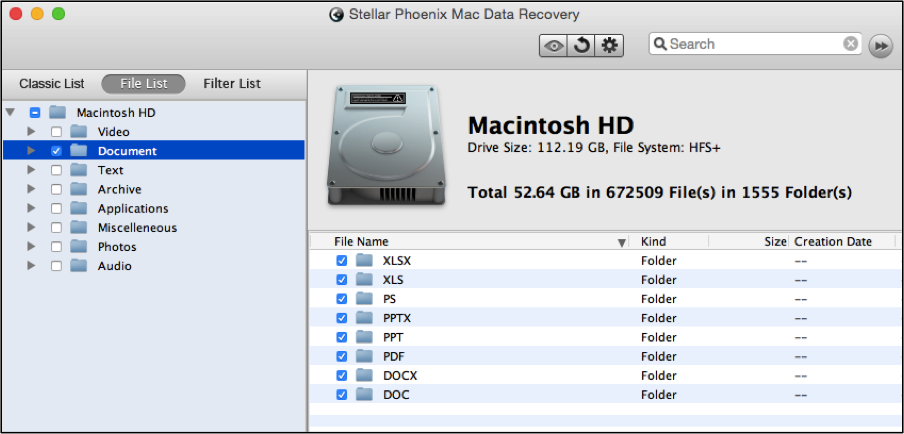
You may select individual file types such as photos or documents for recovery or even recover all retrieved items. To select an item, simply click its checkbox. As seen below, the checkbox next to the Document folder is ticked on the left of the screen. This will restore all documents. The document types are displayed on the right side of the utility.
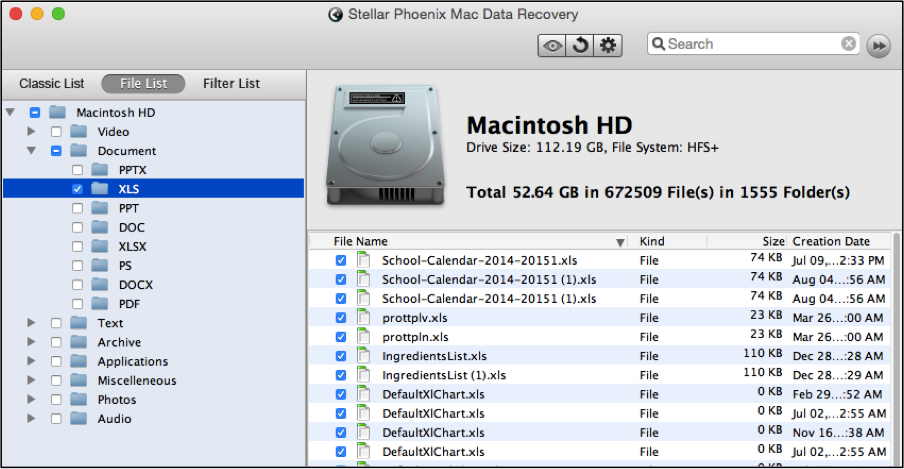
You can also choose a specific document type such as XLS (spreadsheets) for retrieval. To do so, expand the tree view of the Document folder and then click on the checkbox next to the desired document type.
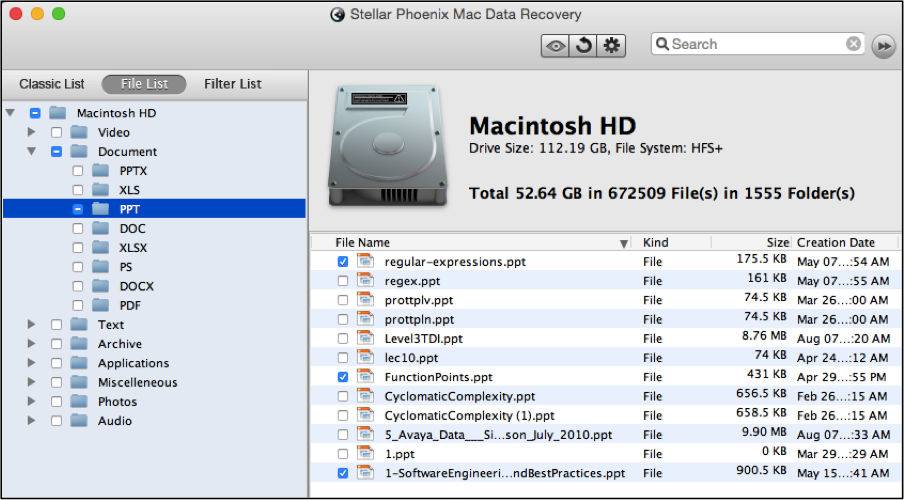
If you want to retrieve specific files, expand the format and type folders first within the tree on the left. After which, tick the checkbox next to each desired item on the right hand side of the screen.
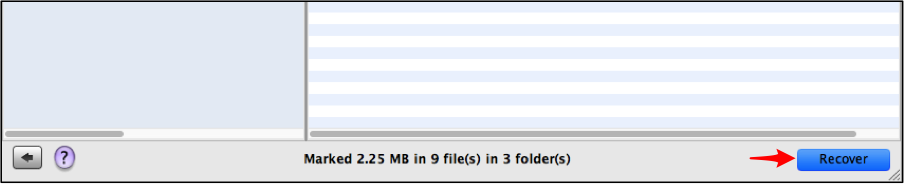
Step 4: Once the files you want to retrieve have been located and selected, you will need to click on the Recover button found at the bottom of the window.
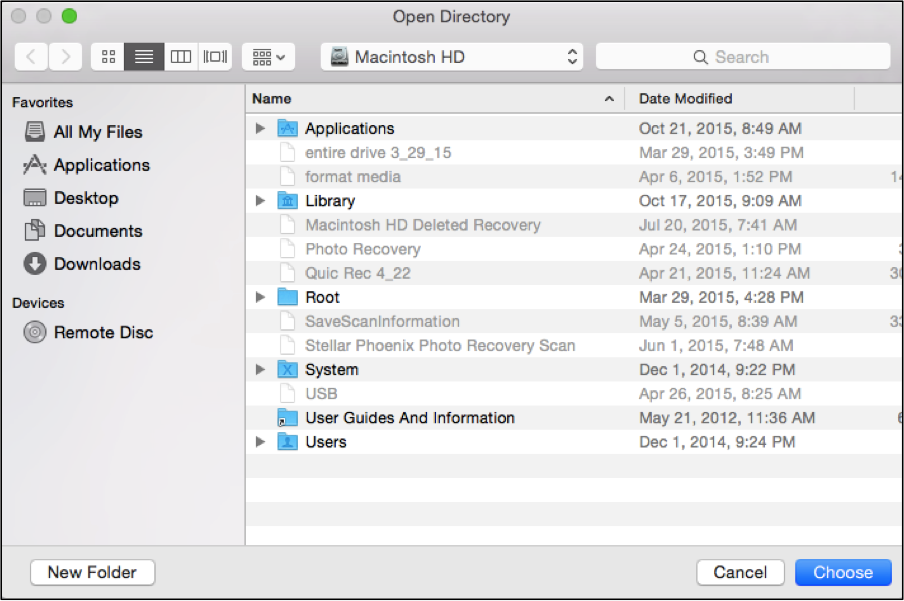
Step 5: You must also choose a directory to store the recovered files. The Macintosh Data Retrieval utility will create a Root folder and place the folder in this save location.
By following the steps in this tutorial, you will be able to quickly perform a Mac file recovery. The information remains on the hard drive as long as no actions have been taken to cause it to be overwritten. To quickly recover your data with this utility, only the following five courses of action need to be completed:
- Pick the volume you want to scan.
- Select a recovery option and scan.
- Locate the deleted or lost files.
- Choose a save directory.
- Complete the recovery.
A simple download of Stellar Phoenix Mac Data Recovery will ensure you can retrieve any deleted file on your Mac fast and easy. Act now so your data remains safe and available.