Mac Mini Data Recovery
Looking for a Dependable Mac Mini Data Recovery Utility?
So you experienced some catastrophe where data or files were unintentionally lost or eliminated. In these situations, what you need is a reliable, fast utility that is able to scan the hard drive for restorable files. If Mac Mini data recovery is essential, then Stellar Phoenix Mac File Recovery is able to provide the right outcome whatever the disaster.
The sudden deletion of a needed file or reformat of a drive naturally creates a panic situation for anyone. How do you regain priceless images or files from the hard drive of your Apple Mini? Can the entire drive be recovered without spending countless hours on the computer or manually tracking down the information? The operating system (OS) cannot uncover this information in the address table; however, a retrieval utility will be able to without requiring too much time or effort.
If you need to successfully perform file recovery, you must first stop making changes on the computer and download this software. Then perform the required steps for installation and follow this tutorial. Stellar Phoenix Mac Data Retrieval has a ‘Quick Recovery’ mode, which only takes a few minutes to retrieve files.
Stress-Free Mac Mini Data Retrieval
The most important detail to remember is that your information is not gone until the operating system overwrites the sector where it was stored on the drive. You have a significant timeframe to recover any files if you stop making changes and saving information on your Macintosh Mini.
Begin by choosing Start New Scan within the utility and then follow the steps outlined in this tutorial.

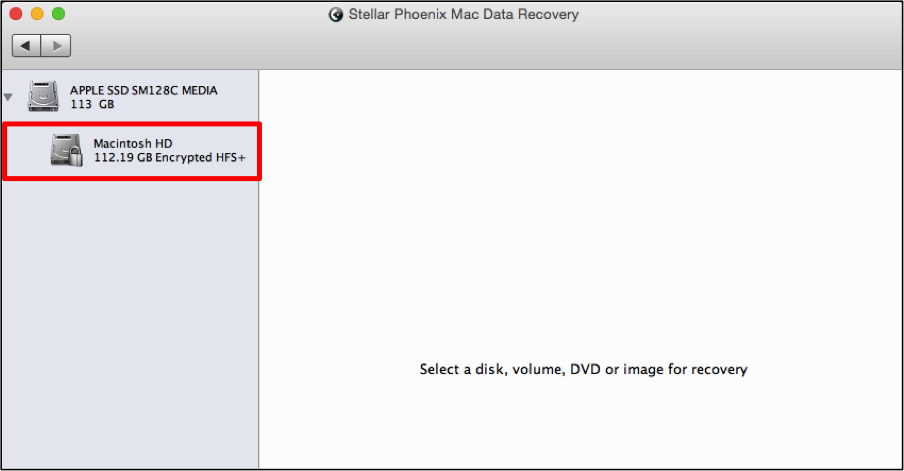
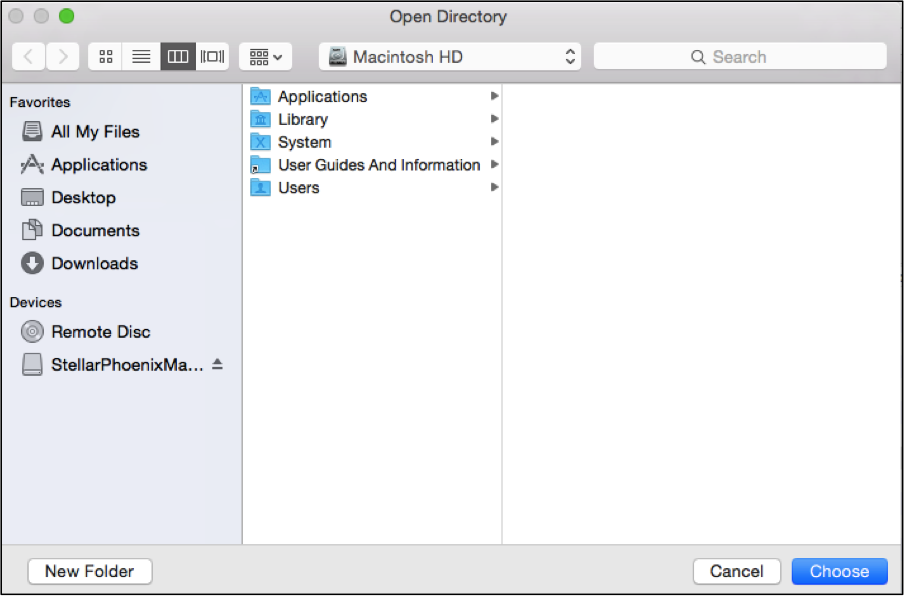
Step 1: Choose a scanning location. A volume must be chosen for the utility to search. Select the volume by clicking on it in the left panel.
Step 2: Pick the mode of retrieval. To properly perform Macintosh Mini file retrieval, you must choose how the information will be recovered. Several options are available for working with formatted media, deleted data, etc. However, in this tutorial, the option we are looking for is the Recover Data > Quick Scan option.
The choice informs the utility to quickly scan for any items that may be recovered. Additional options are available if for some reason this mode does not find what you are looking for.

Important: Overwritten files on the physical drive will not be retrievable no matter how good the utility is.
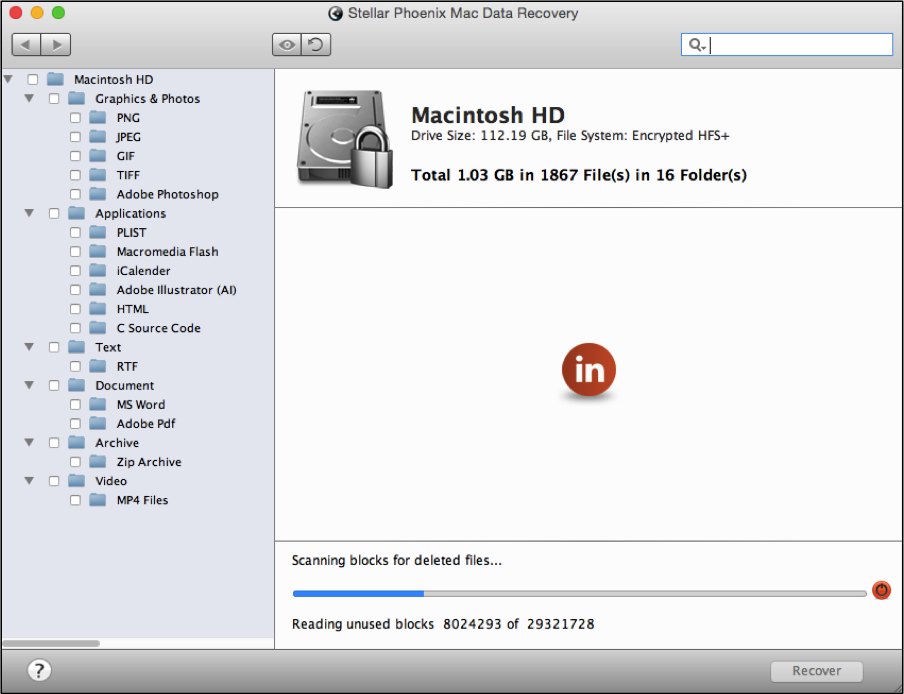
Step 3: Begin drive scanning. A Start Scan button is provided at the bottom right of the utility. Click on it to initiate this process.

The Red Circle button located on the right side of the progress bar may be clicked to pause or abort a scan. For Quick Recovery, this process will take minimal time and the screen will appear as shown below during scanning:
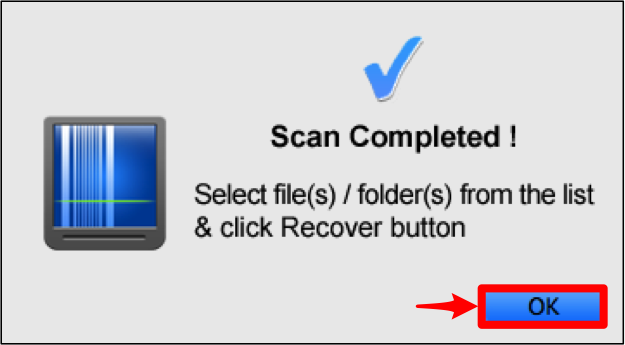
Note: Remember to click on OK on the confirmation message that is provided to show scanning is complete.
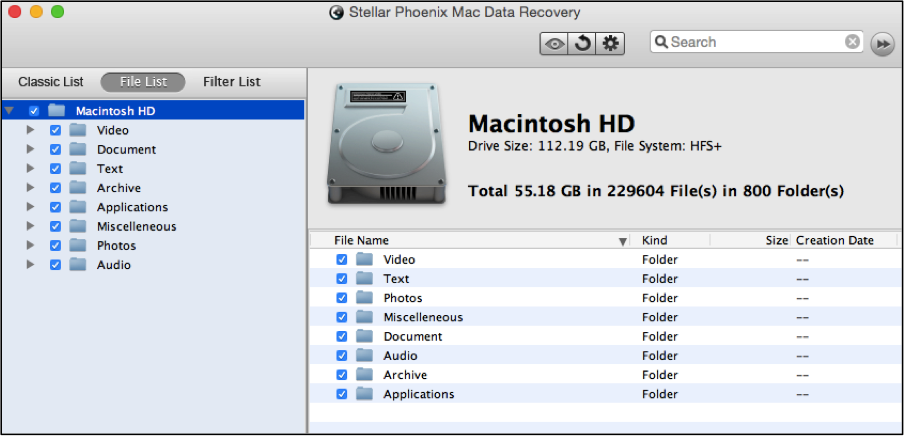
Step 4: Select files to recover. Use the File List option above the tree view to see all findings separated by type and format within the tree view. This view selection makes it easier to track down the items you want to retrieve.
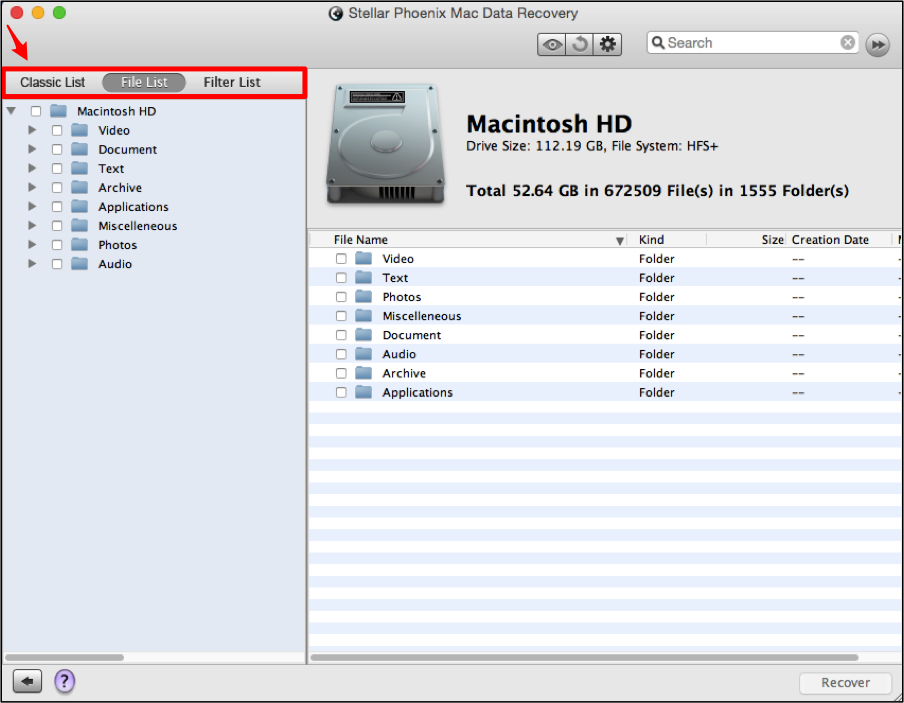
You may choose all items by selecting the checkbox next to the volume name on the left portion of the screen.
One or multiple formats may be selected if the entire contents are not required. To do this, mark the provided checkbox next to the folder for each desired file type. The screenshot provided below displays two file type selections recovery.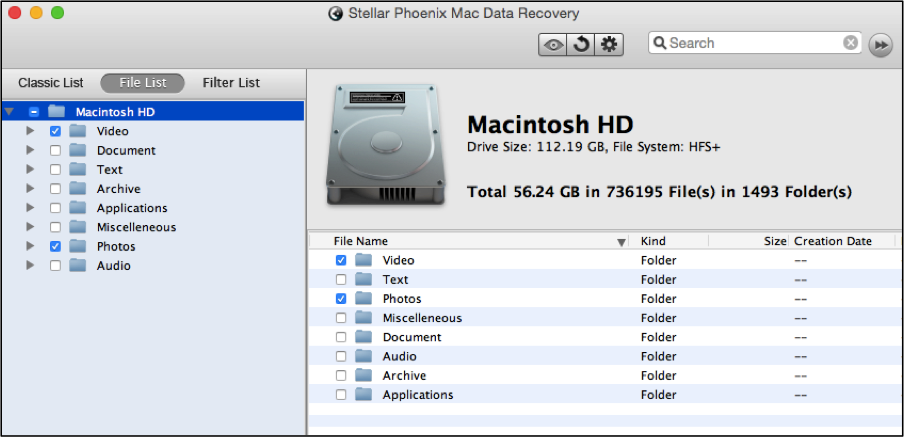
This utility also provides the option to only retrieve certain file formats such as spreadsheets (XLS) or specific images like BMP files. First, expand the type folder and then check each format you desire. For example, you can expand Photos and then check BMP to only recover this file format.
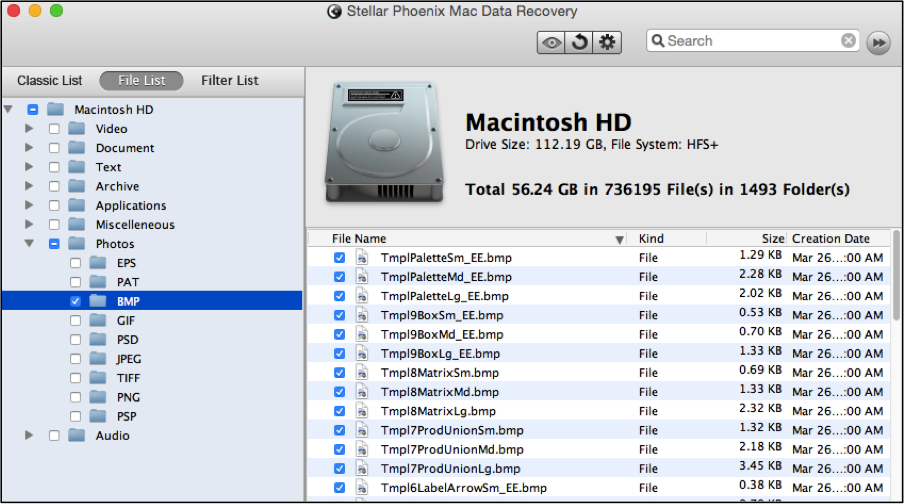
Individual file selections may be made by choosing each item for a specific type and format on the right side of the application window. For example, you can click on a format folder in the tree view and pick as many files as needed on the right.
Step 5: Finish the retrieval. Use the Recover button to proceed with Macintosh Mini file recovery after making all selections.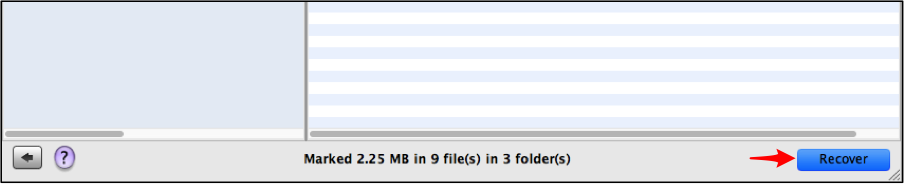
After which, you must indicate a location on your Mac Mini to store the Root folder created by this utility.
Mac Mini data retrieval is a stress-free choice for retrieving any available files on your drive. Follow these steps within the utility to restore all or any file you need:
- Choose a scanning location.
- Pick the mode of retrieval.
- Begin drive scanning.
- Make your selections.
- Save the items to your Mac Mini.