Mac OS X Data Recovery
Mac OS X Data Recovery for My Apple Computer
Mac OS X data recovery is an option any user needs to have in their corner to fight the unexpected results of data loss. An application install or operating system (OS) change is easily able to reformat or wipe old files even when appropriate measures are taken. Additionally, this ability makes it a simple process to recover files that have been lost or deleted by accident. A Mac OS X file recovery utility is capable of finding information that your operating system simply cannot find. Even if the OS on your Apple is unable to find something, it does not mean it is permanently deleted from your computer or external device. It just means that the address it uses to find it has been completely removed.
Stellar Phoenix Mac Data Retrieval software provides a simple interface with minimal steps when you want to perform this type of retrieval. It can be used on a number of Macintosh computers including:
- iMac
- Mac Mini
- MacBook Pro
- Mac Air
Additionally, this utility supports several Apple OS and has the ability to recover various file formats from a local hard drive, external drive or devices, and formatted media. It is an all-around solution to your data dilemmas that takes only minutes to install and minimal time to use for Mac OS X file retrieval.
Follow These 5 Steps to Get Started
A few prerequisites must be covered before you can follow the tasks outlined in this Mac OS X file recovery tutorial. First, Stellar Phoenix Macintosh Data Recovery must be installed on your computer. Second, if you will be scanning an external device, make certain it is connected to your Macintosh computer. Third, in the opening screen, Start New Scan must be selected to begin the process with this utility.

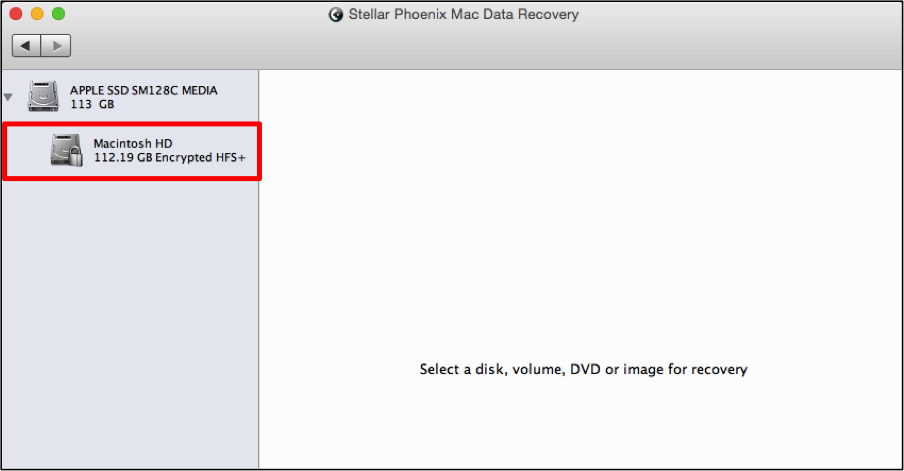
Step 1: Volume Selection
Before Stellar Phoenix Mac Data Retrieval can restore your files, you must first direct the utility to a volume on your hard drive to scan. Click on the volume or drive name to make a choice.
Step 2: Quick Scan Recovery Mode
The Quick Scan Recovery Mode is an option for fast scanning and retrieval on any Macintosh OS X computer. This is the best method for simple retrieval of any file type or the drive in its entirety. Select Recover Data and then make certain the Quick Scan option is chosen.

Note: Previously removed file is overwritten with each change on a computer or drive. If the issue resulting in loss took place many months or years ago, you might not be able to get it back when using a Mac OS X data retrieval tool.
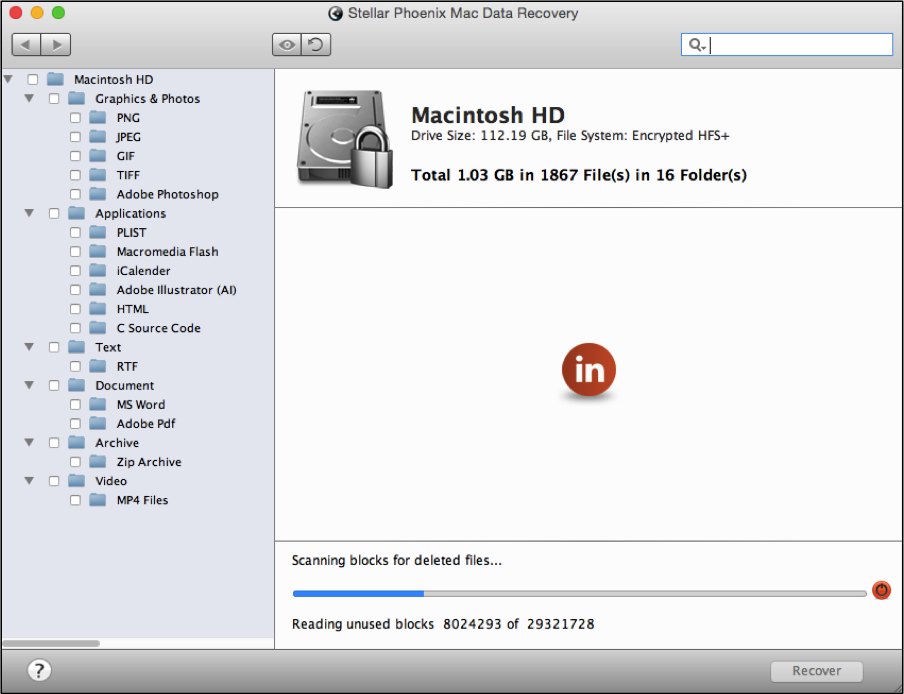
Step 3: Scan the Hard Drive for Data
At the bottom of the screen, you will see a Start Scan button. Click on it to begin scanning the selected drive or volume.

As scanning continues, a progress bar will begin to fill and you will see folders populate the left side of the utility window. A Pause Button (Red Circle) is provided at the right of the progress bar in case you need to return to this process at another time.
Step 4: View Files and Make Selections for Retrieval
After closing the provided confirmation message, the next step is to begin locating each file or type you want to recover. Files will be displayed in a tree view on the left side of the window based on their save location.
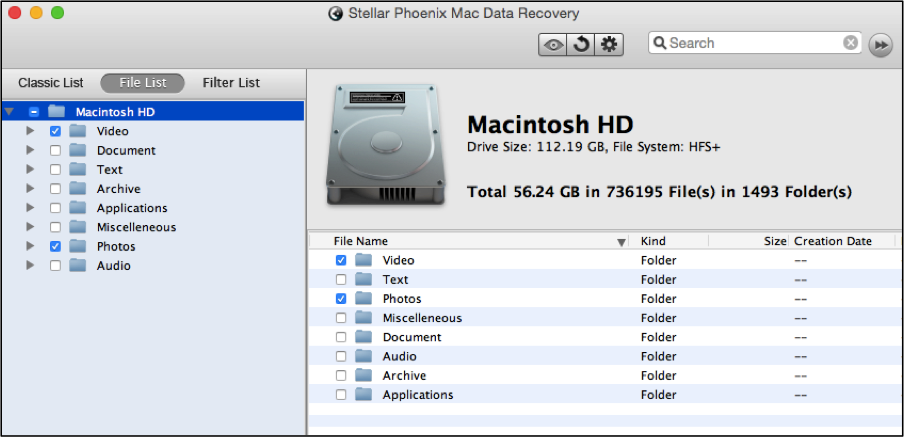
Use the File List to view the located information by type and format within an expandable folder. The screenshots shown in this tutorial show the file list view to provide an easy-to-follow example.
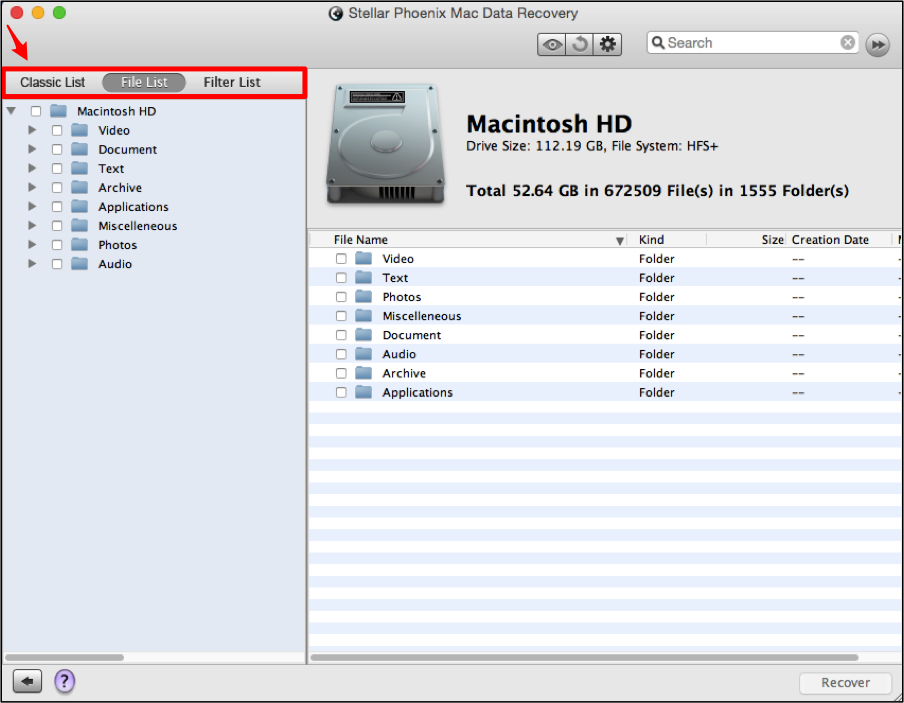
The entire scan results may be recovered by selecting the drive or volume name on the left.
Within this view, you will see each file type available on the computer. You can choose one or more of the folders listed below by checking the box to its left and that item will be restored by the utility:
- Video
- Document
- Text
- Archive
- Applications
- Miscellaneous
- Photos
- Audio
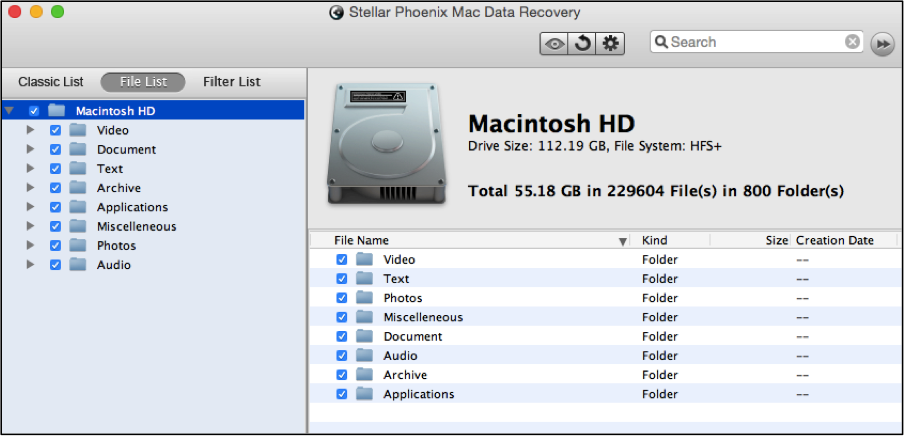
In the provided screenshot, two types of files have been selected and will be retrieved during Macintosh OS X file recovery.
Click on a folder to expand it and see additional selections on the left of the utility. This will display each format for the chosen type and you may check the box next to each desired item. Additional information is shown on the right side of the screen when a folder is selected and selections may be made there as well.
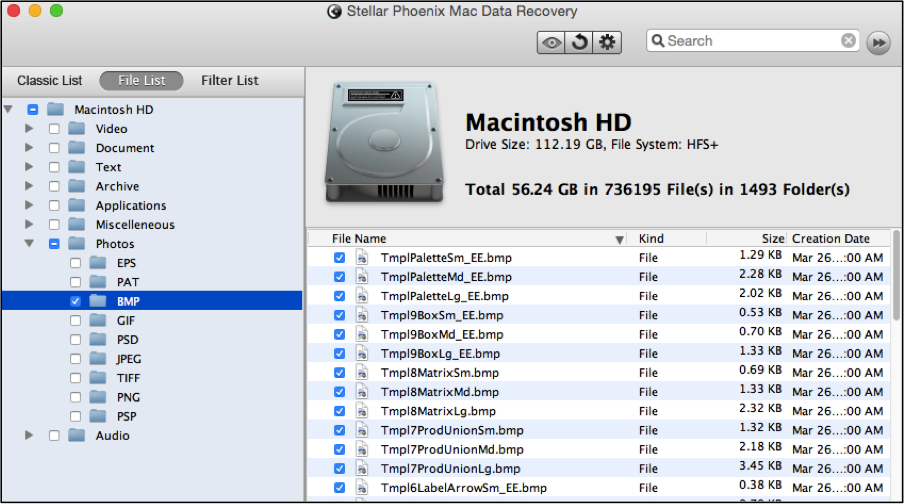
Click on a file format name in the tree view to see all the contents of that folder appear on the right portion of the window. Check each box to the left of the file name to make individual choices for file retrieval.

Step 5: Save Your Recovered Files
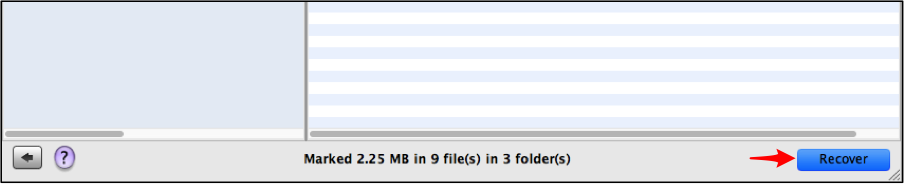
Next, click the Recover button to continue to the last step of Mac OS X file recovery.
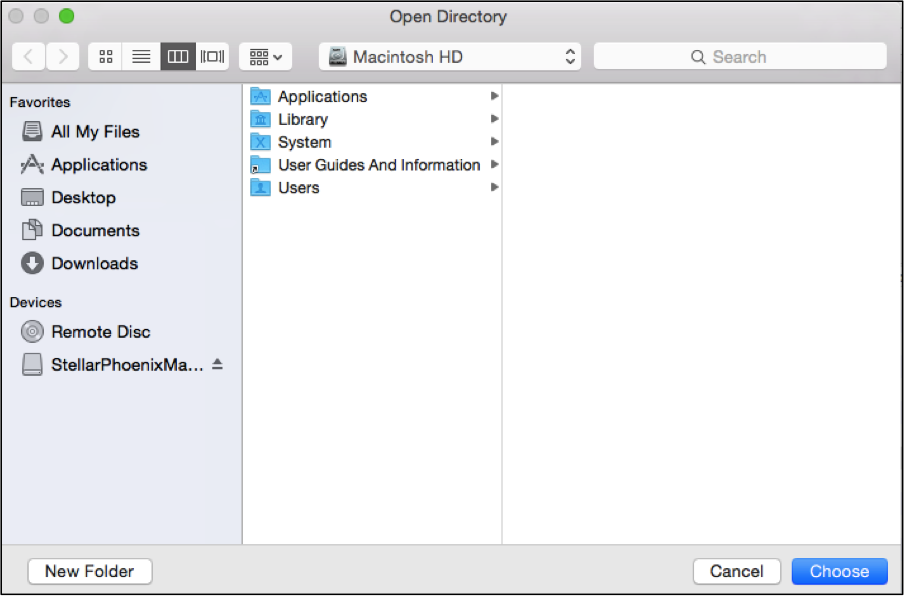
As part of this step, a save directory must be chosen for the retrieved data, which will be organized in a Root Folder by the utility. This location may be any desired folder on your computer. Click on Choose to continue.
Once these steps have been completed, your files will be available for viewing at any time within the created Root Folder. To review, these four tasks with Stellar Phoenix Mac File Recovery will get you precisely where you need to be:
- Select the method you want to use for recovery.
- Choose the drive or volume the utility should scan.
- After scanning, select the items you desire to restore.
- Wait for Macintosh file recovery to finish.