Mac Photo Recovery from Digital Cameras
Is Mac Photo Recovery from Digital Cameras Possible?
Have you ever had that moment where you accidentally tapped the delete button on the digital camera for an important folder? Beyond this catastrophic event, a number of other things can go wrong including removing everything currently stored on the camera or having a corrupt storage card. Whatever the problem, a recovery tool is the best way to get this information back from your digital camera. The photos and videos remain on the card until new snapshots or videos take their place.
Essentially, you can regain these items as long as the digital camera is not used anymore! Stellar Phoenix Mac Data Recovery is a tool you can use with your Mac computer to search for and regain these items. With this application, it is possible to scan the card while it resides safely in the camera and locate any files that have been deleted or lost for recovery. After a scan, Mac Data Recovery provides options for:
- Previewing photos & videos
- Reviewing scan results
- Searching for photos or videos
- Customizing the file retrieval
- Recovering various types & formats
Stellar Phoenix Mac Data retrieval also provides several scanning method choices including the ability to perform an advanced scan or a scan for deleted items. To begin Mac photo recovery from digital cameras, first install the utility on a Mac computer and then connect the camera to the computer. Once this has been done, complete the steps as shown in the tutorial below.
How to Get Files From Your Camera
Before the digital camera can be scanned for data recovery, it will need to be connected to the Mac computer where the utility resides. Once connected, it will be a recognizable drive/storage selection. Open the program and then click on Start New Scan to commence the retrieval.

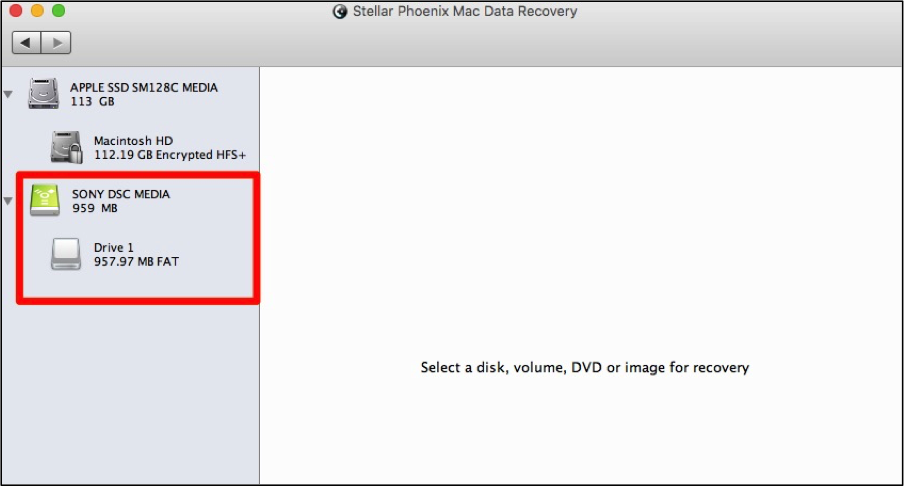
Step 1: Choose the Digital Camera. Once the camera has been connected to the computer, it will appear in the left panel as a selection. Click on the entire card or a volume listed underneath it to choose the camera for scanning.
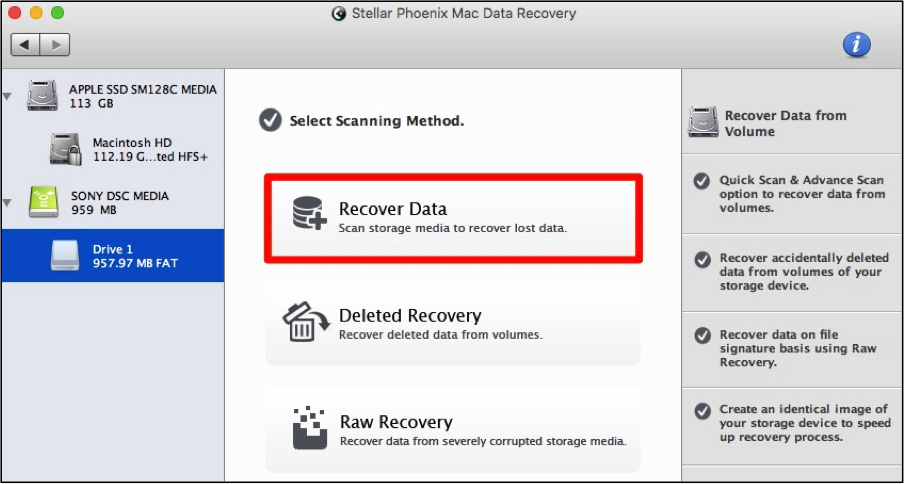
Step 2: Pick How It Will Be Scanned. The next step is to configure how scanning will be performed on the digital camera. For this example, we will be choosing Recover Data, which completes a basic recovery scan for salvageable data on the camera.
You can also perform a Deleted Recovery to find any files deleted from the camera. In situations where the card in the camera is corrupt, consider trying the RAW Retrieval option.
Next, select the type of scan to be used by the utility: quick or advanced. In the tutorial, we will be performing a Quick Scan. However, the Advanced Scan option may be used at times when quick scan does not find what you are looking for.
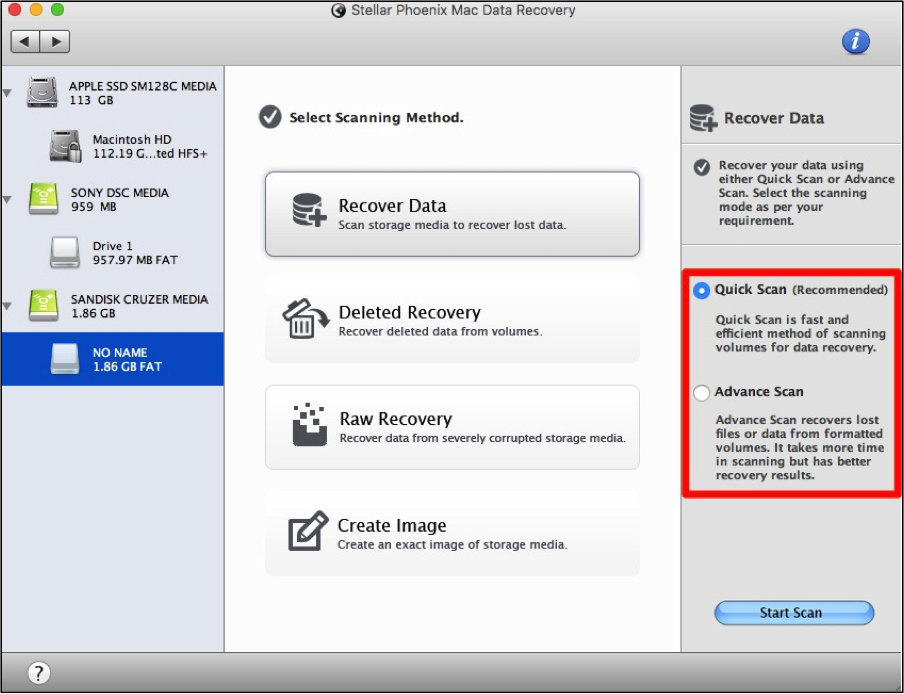
Step 3: Scan the Digital Camera. At the bottom of the scanning options, you will see a button titled Start Scan. Click on this and the scan will immediately start. As this occurs, a progress bar at the bottom will show the current state of the scan and the left panel will begin to have folders as files were being found.
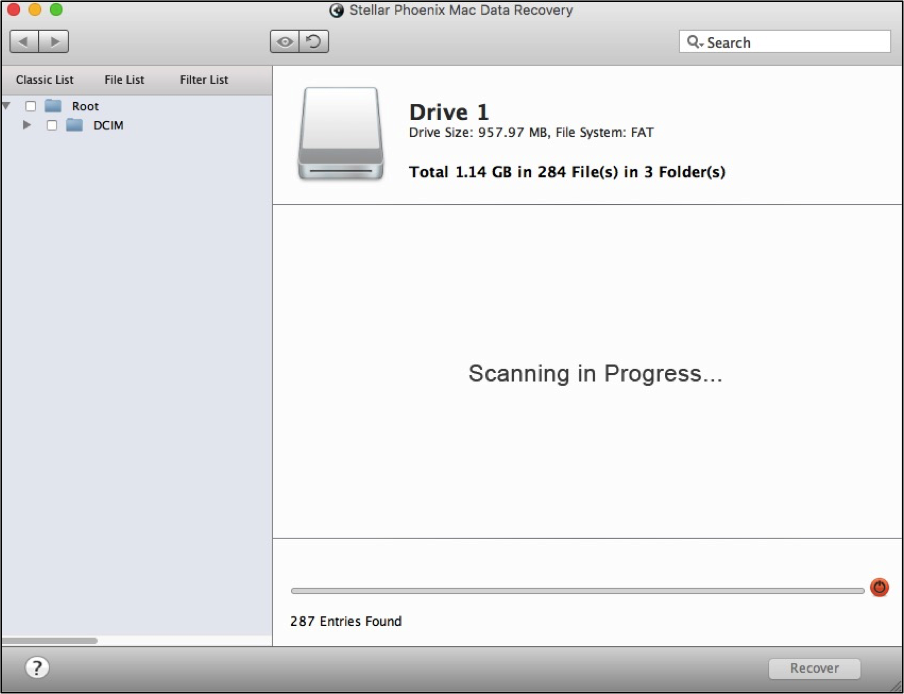
Wait patiently until the scan has completed and then click OK when the confirmation window appears.
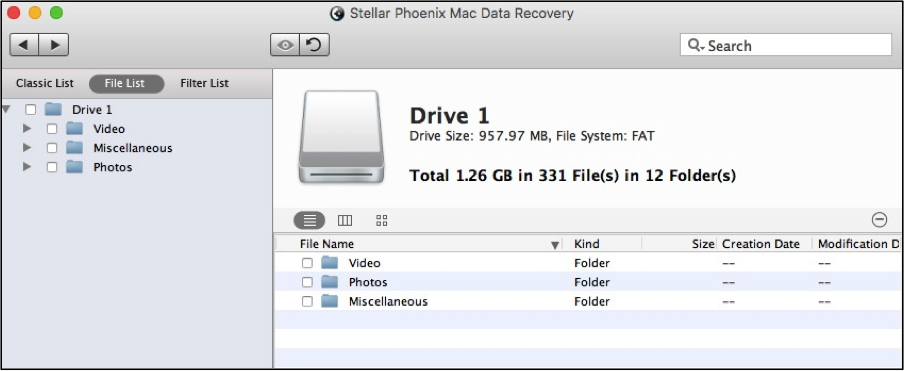
Step 4: Choose Files from the Results. First, click on File List to see each result organized by type and format. This means video files will be in one folder and pictures or other items will also have their own folder, plus they are further organized by format such as JPEG.
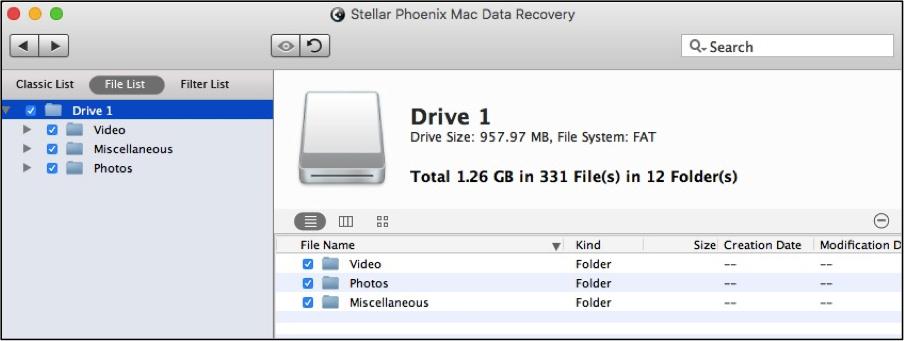
Recovering all of your scan results is simple! First, check the box next to the name of the volume or card used by the camera. In this example, it is Drive 1. As you can see, every item underneath it in the tree has been chosen as well. Then continue to Step 5 to learn how to finish the retrieval process.
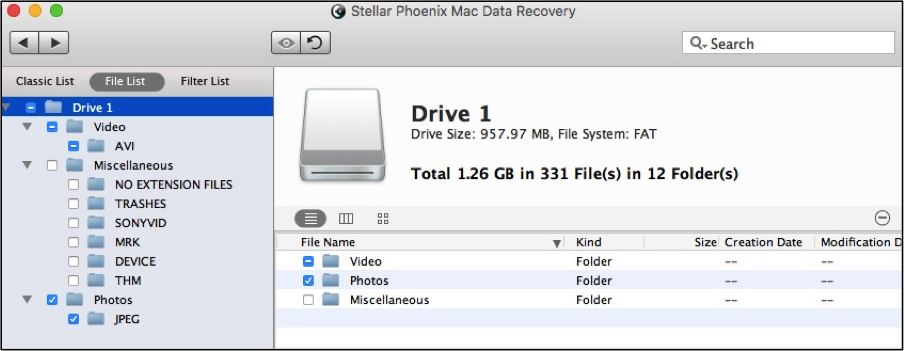
Not every item has to be selected for recovery, as the utility also allows you to select certain types of files (audio, video, etc.) and even specific formats (JPEG, WAV, and so on).
To do so, click on the arrow next to the folder in the tree to expand it and see available formats. Then tick the checkbox for each desired item in the tree view to make a selection.
Note: You can also click on a folder name and its contents will be displayed on the right.
If specific images or other items need to be retrieved from the digital camera, first click on a format folder such as AVI underneath Video. Then tick the checkbox for each file displayed on the right that you want to salvage from the camera.
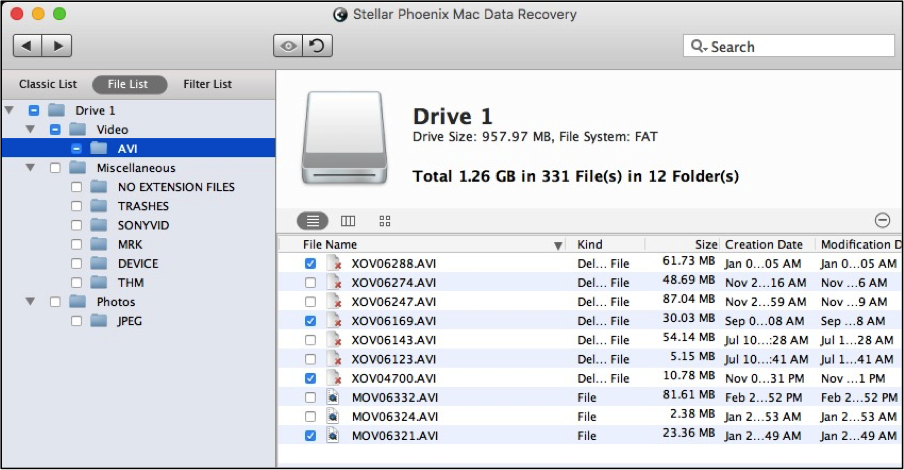
Note: Image files can be previewed by double-clicking on the file names displayed to the right of the tree view.
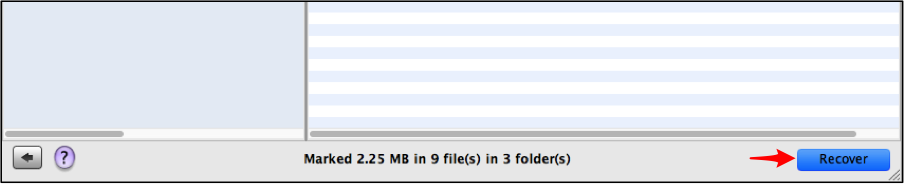
Step 5: Salvage Digital Camera Files. Whether you have chosen to recover everything or only certain files, the next step remains the same! Click on Recover at the bottom of the screen to choose a save location and finish the recovery.
Files are never really lost or deleted on a digital camera until a new picture needs to be saved to the same space. To regain your files before they are permanently gone, all you need is a reliable recovery tool. With Stellar Phoenix Mac Data Recovery, Mac photo recovery from digital cameras is as simple as connecting the camera to a Mac computer, running the utility, and then performing the steps below:
1. Choose the digital camera.
2. Pick how it will be scanned.
3. Scan the digital camera.
4. Choose files from the results.
5. Salvage digital camera files.