Recover Data From Repartitioned Mac Hard Drive
Recover Data From Repartitioned Mac Hard Drive Made Easy!
Hard drives are flexible. The space that they have for storage can be allocated as desired to create partitions that go on to become the various drives that users tag for different purposes. Often though there is the need to shrink an existing drive and leverage the freed up space to accommodate a new partition or volume. Or Mac users may want to repartition all existing drives to create several new areas for data storage.
Before starting the repartitioning process, it is essential to take backups of all files and items in the drives that are to be adjusted. Failing to do so renders the information inaccessible to users.
However if you do end up repartitioning a Mac without taking this precaution, you will need a powerful third party application like Stellar Phoenix Mac Data Recovery to retrieve what is lost and save it to the newly partitioned hard disk.
Stellar Phoenix Mac Data Recovery is both quick and effective which makes it an ideal choice to use for you to recover data from repartitioned Mac hard drive. It is the go-to tool to use to probe the almost invulnerable Mac systems.
Please Keep in Mind
The success of a scan not only depends on the processing power of the Mac and the features of Stellar Phoenix. It also depends to a large extent on how quickly the scan is initiated. The more time you spend working with the Mac after repartitioning and the data loss, the more you compromise the chances of a full recovery.
Data Recovery from a Repartitioned Mac Hard Drive in Five Easy Steps
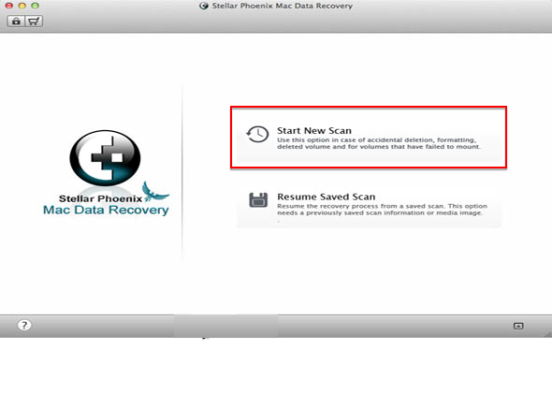
1. The first thing that you need to do is launch the Stellar Phoenix Mac Data Recovery software. The home screen offers users two options ‘Start New Scan’ and ‘Resume Saved Scan’. For the purpose of this tutorial, you need to choose the first option. Resuming a saved scan draws the scan progress from a .dmg file from the memory of the Stellar Phoenix utility. Often scans take a long time and to rest the processor or to account for interruptions, the progress made on the recovery is mapped for resumption at a later date.
2. The screen that is presented next is termed as the Selections Screen. Here users need to choose from three separate sets of options:
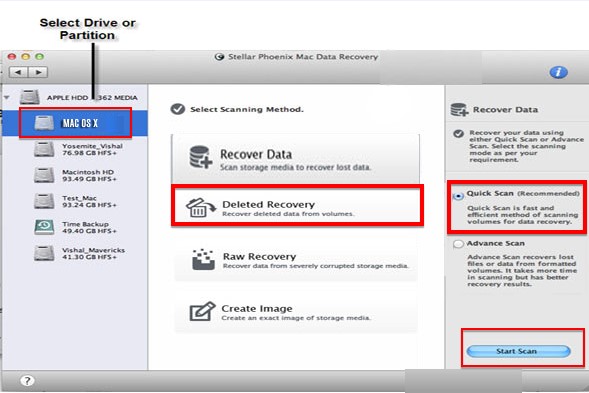
- The first choice that greets you to the left most panel of the screen is the drive that has to be scanned for recovery. Since in this case the drive itself is a part of the Mac that is supporting Stellar Phoenix, the first option Mac OSX has to be clicked. Every time Stellar Phoenix scans a drive or memory, it saves the make and setting of the drive which then shows up in this column.
- The second choice is that of the scanning method. This determines the resources Stellar Phoenix will call into action and the method it will follow to process the recovery. The first option Recover Data is the one that you need to select for retrieval of data from a repartitioned Mac. ‘Deleted Recovery’ is right for salvaging files that have been deleted by users and ‘Raw Recovery’ is a powerful option reserved for severely corrupted files or volumes.
- The third choice is that of the scanning mode. Quick Scan is a good bet for deleted files. Advanced Scan is the mode that you must select to ensure a deeper scan that takes more time but gets the best results in case of data corruption or disk partitioning.
Once all the appropriate options are chosen, the ‘Start Scan’ button triggers the actual scan process.
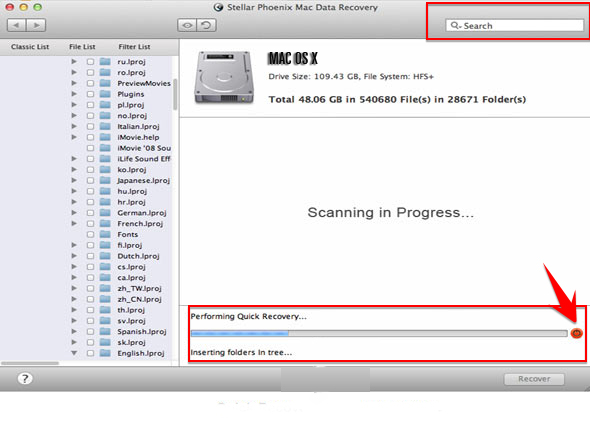
3. A scan underway is noted by the progress bar. This is present near the lowest edge of the screen and has a red ‘Stop’ symbol right beside it. Using this stop symbol, the scan can be halted. Doing so automatically creates a .dmg file of the scan and saves it for future use. You may need to do this if you spot a file or an item that you wish to recover right away.
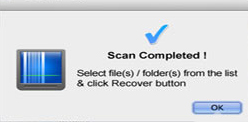
4. A successfully completed scan ends with the following pop-up. Hitting the option ‘OK’ brings on the display screen from which you can now recover the files and data that were lost due to repartitioning. There are three file views you can take advantage of to do this:
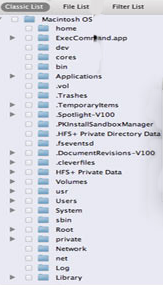
- The Classic List. This list displays folders that have the same names as the folders in the hard drive prior to repartitioning. Within these folders are all the data items that can be recovered as a result of the scan and their locations correspond to the original locations before data loss.
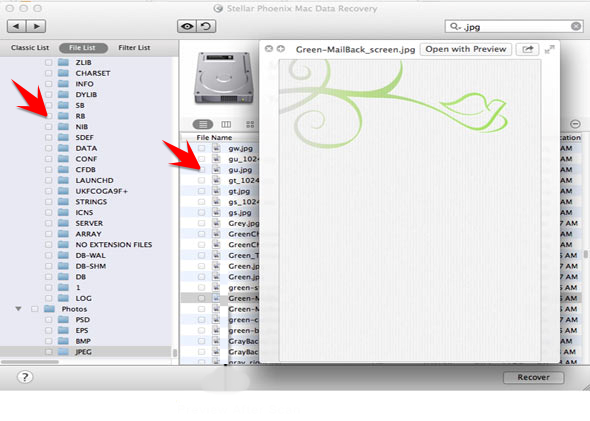
- The File List is the easiest to navigate. Here the recoverable items are organized by data category and subsequent data types. The primary folders stand for data categories like images, videos, executable files, notes and more. Clicking a folder expands the view to include sub-folders. Now each sub-folder is named after the data type it holds. For example, the Images primary folder has sub-folders JPEG, PNG and GIF. The sub-folders contain the individual files or items which are displayed for perusal to the right of the screen.
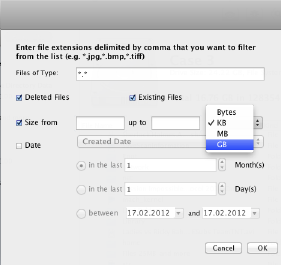
- The Filter List is the most advanced option. It allows you to avail of various filtering criteria like file type, file size and date of creation to zero-in on items that explicitly meet these qualifications.
For all the file views, the search bar is used to call up data by name or by keyword.
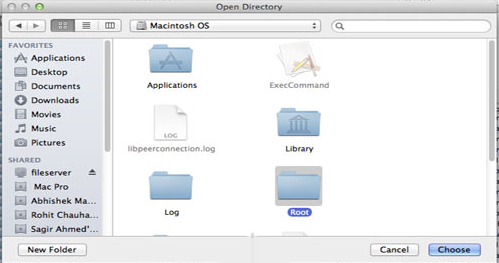
5. The last thing left to do is choose the files needed and click the ‘Recover’ button. Stellar Phoenix asks that the data be sent to a safe location. Since in this case the Mac is not corrupted, the hard disk is good enough.
![]()
This is how easy it is to recover data from repartitioned Mac hard drive! Recapping the process:
- Launch Stellar Phoenix Mac Data Recovery.
- Select Start New Scan.
- Choose the drive, the scanning method and the scanning mode.
- Allow the scan to complete.
- Navigate files, choose the appropriate ones and recover them to a desired location.