How to Restore Data from a Damaged Mac Volume
A Mac volume can be damaged due to many causes and these problems often surface unexpectedly. In some situations, the operating system might not be able to find or open a file stored on the drive. At other times, you may not be able to access the drive at all via your computer. Here are a few ways a Mac volume can become damaged:
- Problematic Shutdown
- Virus or Malware Attack
- Power Surges
- Full Drive Crash
- Corrupted Software
- Corrupted File System
When this type of problem surfaces on your Mac hard drive or even an external drive, the best option available is to use a dependable recovery tool. Volumes become inaccessible at times when a partition is lost or damaged. This is frustrating because the data is often important. A recovery tool provides a way to restore data from a damaged Mac volume and regain these files found during the scan.
Stellar Phoenix Mac Data Recovery offers a straightforward user interface and can be used to perform a RAW recovery on corrupted or damaged volumes. When you use this tool, it will display both the drive and any included volumes for selection. You can scan the entire drive using the RAW recovery feature or a specifically selected volume. The results can be previewed prior to making selections and can be selected in several ways for a customized recovery.
Quickly Retrieve Your Data from a Corrupted Volume
To be able to complete the steps in this tutorial, you will need to have installed the utility on a Mac computer, connected any external storage media, and opened the application. Next, select Start New Scan within the main utility window.

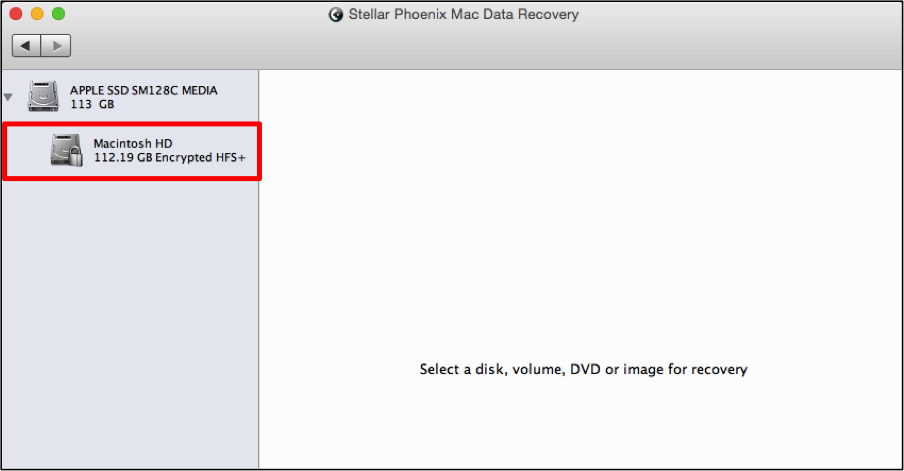
Step 1: Choose a Volume to Scan. Before configuring a scan and searching for files, you will need to inform the utility where to look. On the left side of the application window, you will see each available drive and external storage media listed. Click the desired volume for your local or external drive to select it.
Step 2: Pick Options and Scan. Next, you will need to choose what type of recovery scan will be performed and run the scan. For a corrupted volume, you will want to choose Raw Recovery.
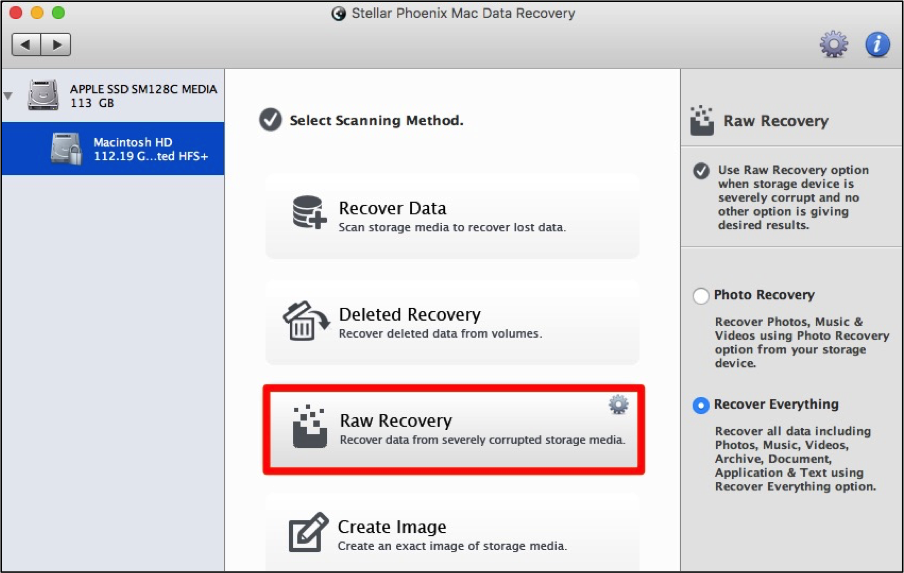
Then tick the radial for the Recover Everything option. This will ensure the utility performs a deep scan of the volume and locates all recoverable file types. Once finished, click on Start Scan to allow the utility to begin locating data on the volume.

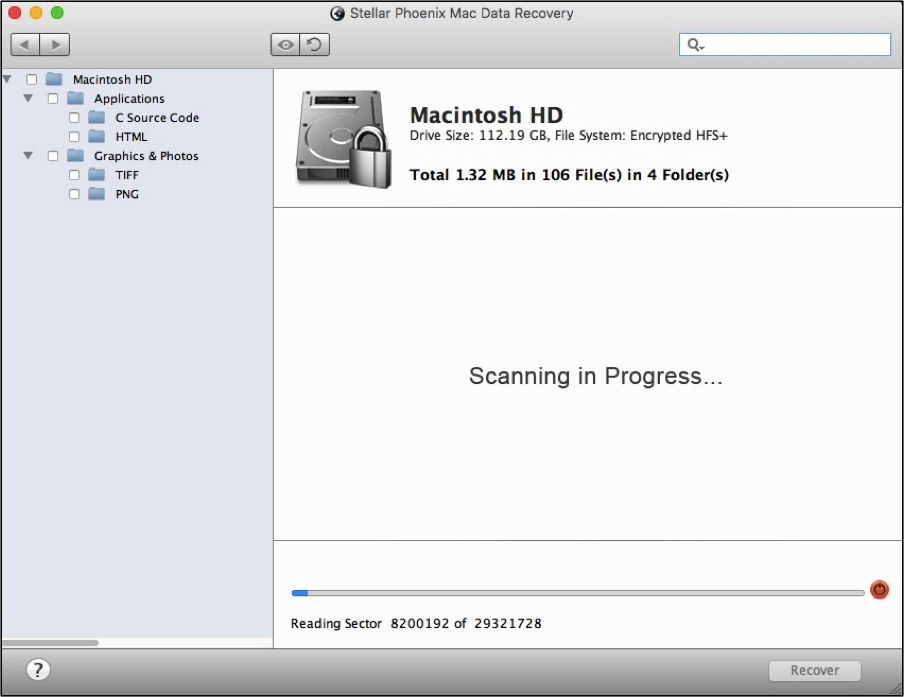
The left panel will begin to populate with folders as items are found by the scan. You can monitor the progress at the bottom of the screen and even see images appear as scanning takes place. Once finished, you will receive a confirmation message to show the scan is complete. Click on OK to review the results.
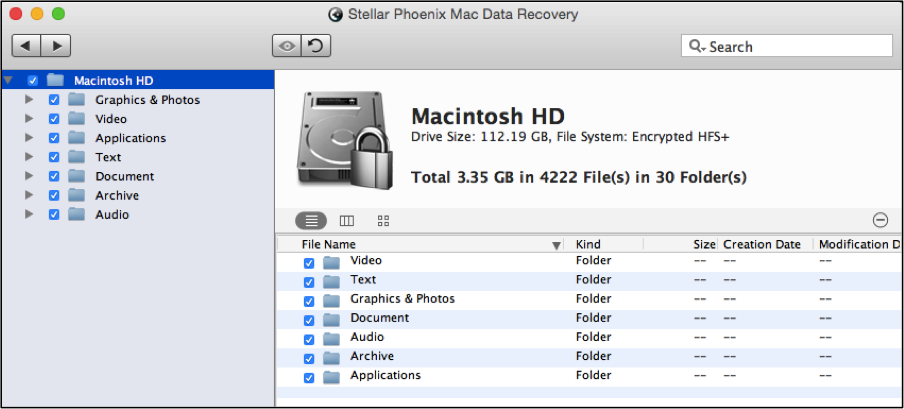
Step 3: Pick Files to Retrieve. After scanning, you will be able to review the results and choose what data to recover. The screen will appear as shown below with the results organized by type and format.
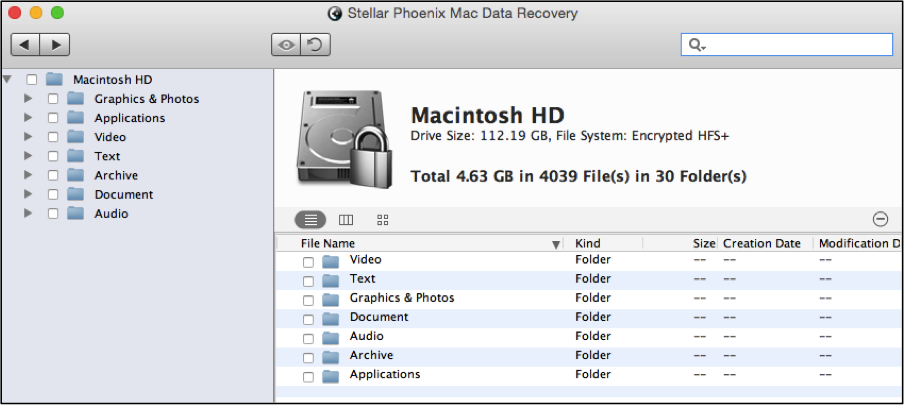
To regain all data on the corrupted volume located by the scan, click on the checkbox next to the volume name. Every item will automatically be selected for recovery.
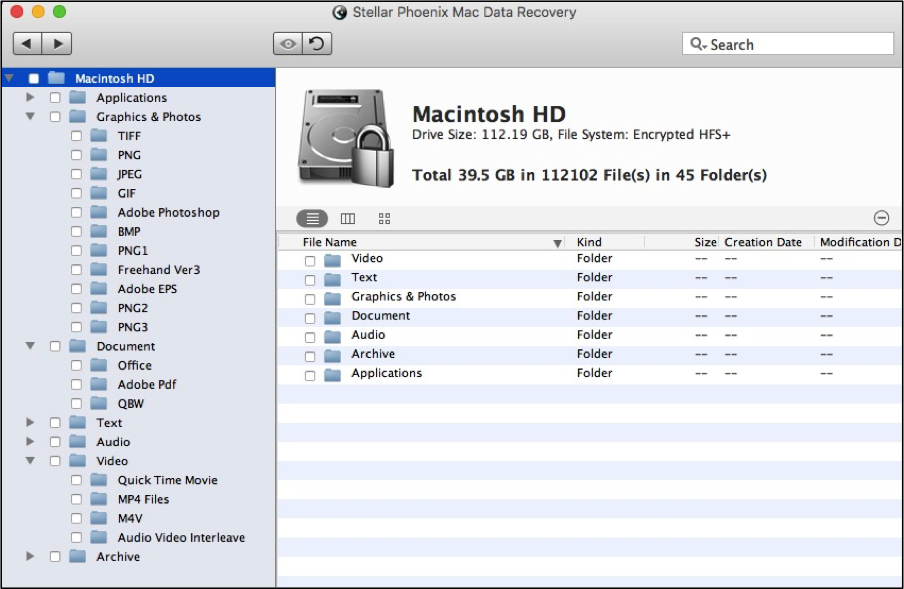
You may also choose specific file types or formats using the tree view on the left. Each type (Documents, Video, etc.) can be expanded to see available formats for recovery. This is done by clicking on the arrow to the left of the folder name. You can also click on the folder itself and subfolders will appear on the right.
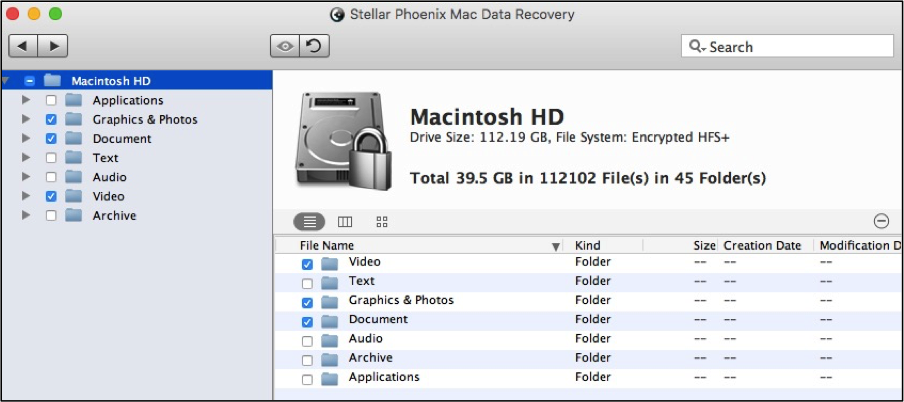
To make a selection, use the checkboxes next to each folder. In the example below, three file types have been chosen for recovery: Graphics & Photos, Document, and Video.
Additionally, you can choose certain formats for a specific file type. Just expand the file type folder and again use the checkboxes. In this example, three formats have been checked for the Audio file type and will be retrieved.
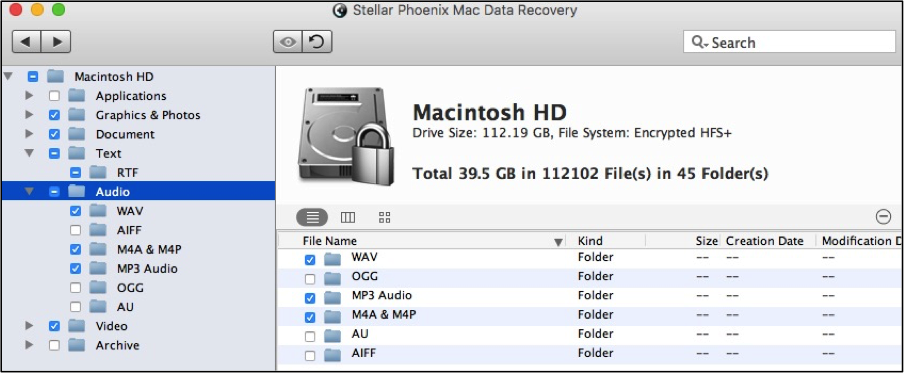
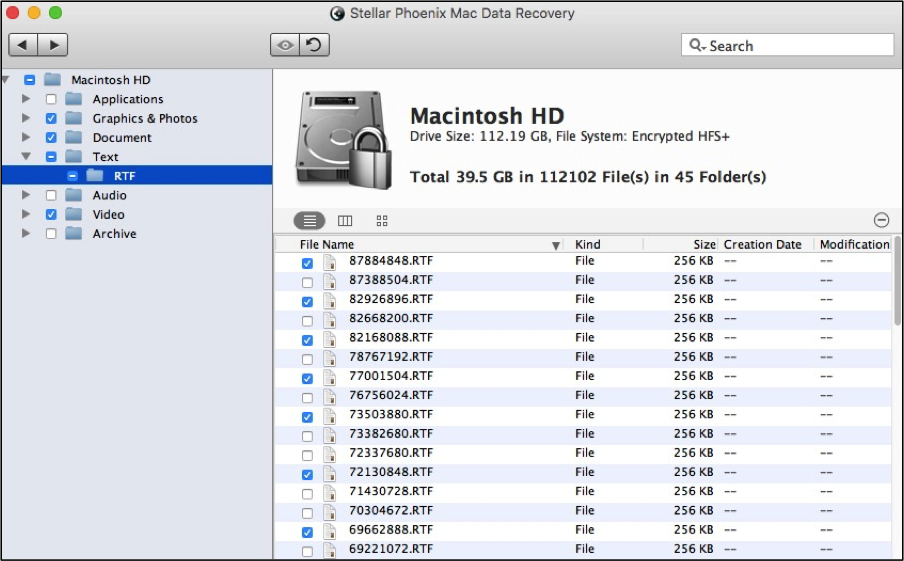
Besides choosing a specific type or format for recovery, the utility also provides the option to select individual files. This can be done by expanding a type folder such as Text and then clicking on a format like RTF. The files are displayed to the right of the tree and have their own checkboxes. To preview a file, double click on the file name. Click on the checkbox to make selections or remove a current selection.
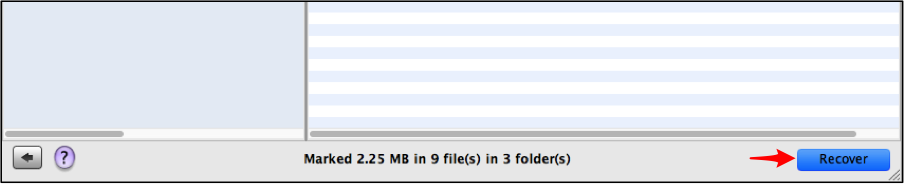
Step 4: Retrieve the Data from the Volume. At the bottom of the utility, you will see a Recover button. You must click on this option and choose a location to save the retrieved files before the recovery can be finished.
Stellar Phoenix Mac Data Recovery offers a number of options to ensure you can safely restore data from a damaged Mac volume whether it is on your local computer or an external storage media. Once the scan has been performed, the utility may be used to preview the results and select precisely what to recover. Just install it on your Mac computer, connect any external storage media, and complete these steps:
1. Choose a volume to scan.
2. Pick options and proceed with the scan.
3. Select files to retrieve.
4. Retrieve the data from the volume.