Find Deleted Files Mac
Needing a Stress-Free Way to Find Deleted Files on a Mac?
Accidentally deleting a file from your Mac is the worst! Having the right tool to get this information back makes it easy to turn this event around. All you have to do is install a dependable retrieval tool capable of locating and restoring this information to your Macintosh. Stellar Phoenix Mac Data Recovery is a utility for this specific task that you can use to quickly regain:
- Images
- Graphics
- Videos
- Music
- Documents
- And more…
The key to data retrieval is quick action and the right tool, as each change could potentially erase the deleted information. If a recent deletion is bringing you down, the first step is to download Stellar Phoenix Mac File Recovery. Once downloaded, you will be able to scan the storage drive or an external drive and begin to find deleted files Macintosh.
Stellar Phoenix Mac Data Recovery offers several options for retrieving files that has been lost or deleted. Among these options are the ability to:
- Configure the utility to scan for specific file types
- Choose from multiple recovery modes
- View scan results by location or type
- Restore the entire drive
- Restore specific file types or files
- Search for files through the search bar
With Mac data retrieval software, you gain all the options necessary to locate and restore one or multiple files to the scanned computer. Scanning takes a few minutes, but the restore process is straightforward and can be completed quickly. Follow the steps in the tutorial below after installing Stellar Phoenix Mac Data Retrieval to find and retrieve any removed files!
How to Find and Recover Deleted Files on Your Mac
If you need to locate and recover one or more deleted files on a Macintosh computer, simply open Stellar Phoenix Mac Data Recovery and then click on the Start New Scan option.

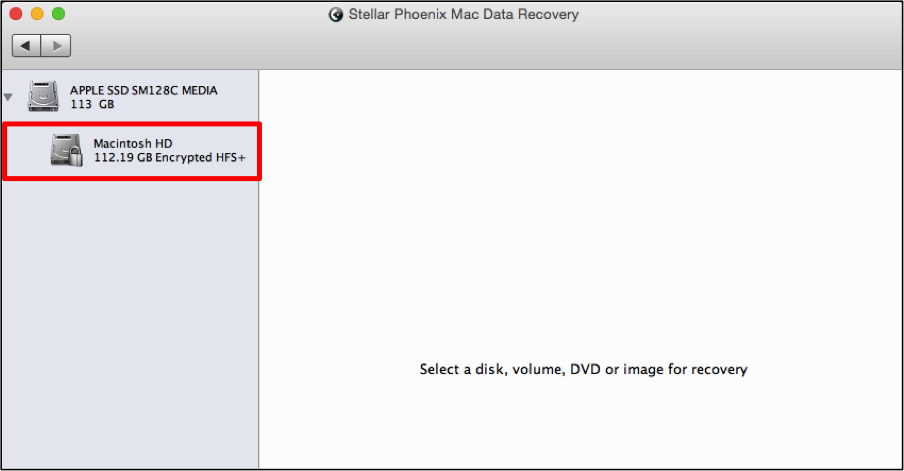
Step 1: Select a Drive. First, you must you select the drive or volume for recovery scanning.
For this example, we will be scanning the primary storage volume on a Mac computer. If you need to restore files from an external drive, either the name of the drive will appear in this window or it will be displayed as “No Name”.
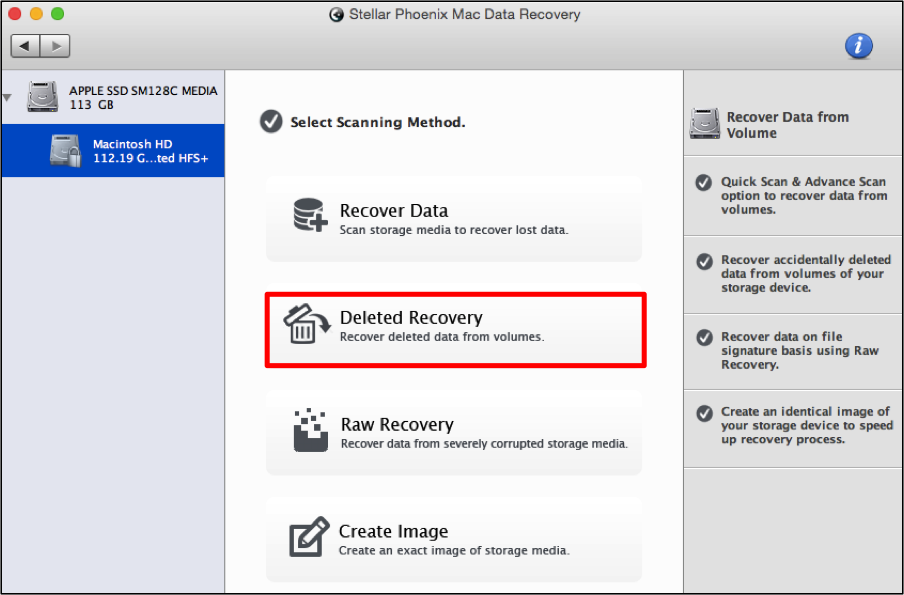
Step 2: Choose How Data Will Be Recovered. You will also need to select a recovery mode to use for locating the information.
For this example, we will be performing a Deleted Recovery. However, many additional options are provided for instances where a quick scan may be performed or specific files such as photos needs to be retrieved.
The Deleted Recovery option, in many cases, will be able to locate the required information. To choose this retrieval mode, just click on Deleted Recovery as shown in the screen below:
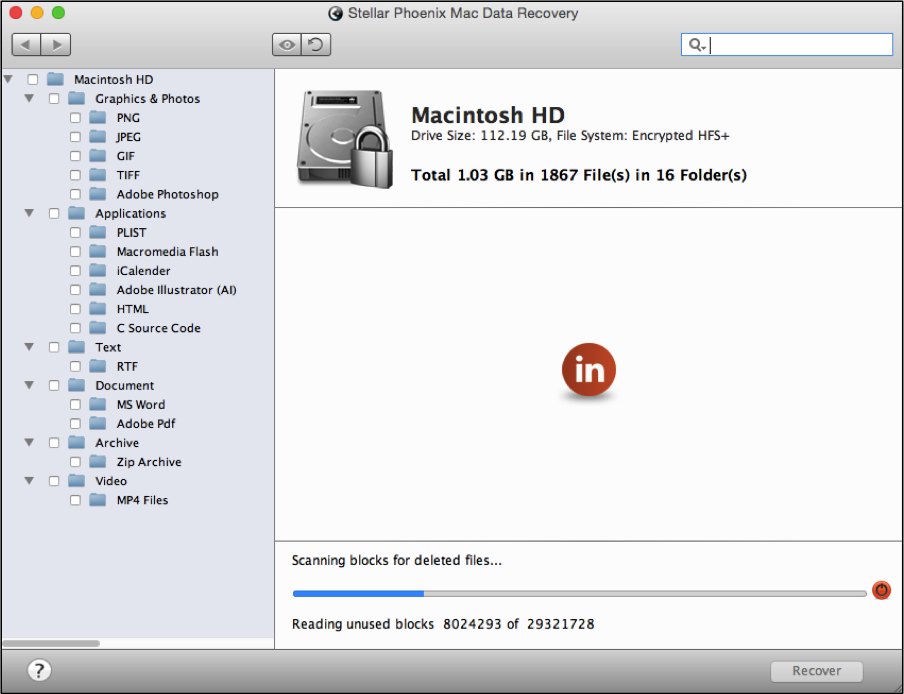
After the mode has been chosen, click on Start Scan to begin the recovery.

Wait patiently for the scan to complete. Its progress may be viewed at the bottom of the screen within the progress bar and an option is provided to abort the scan if it needs to be halted for some reason.
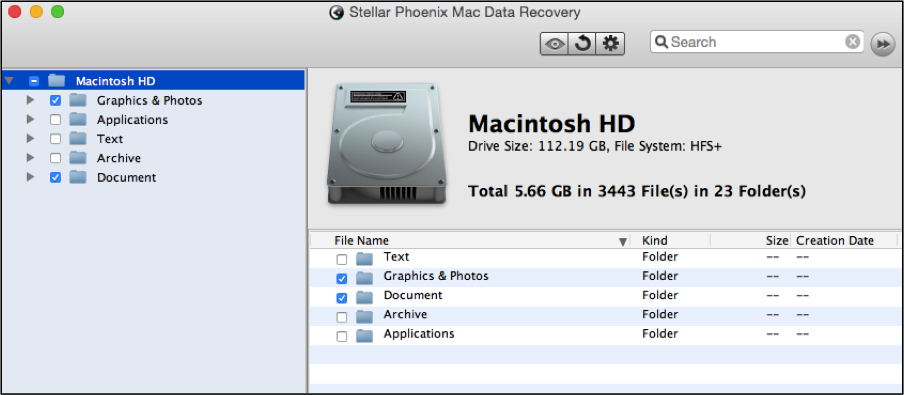
Step 3: View and Select Files to Recover. Next, you will need to select the files to be recovered from the scanned volume. Mac Data Recovery provides several options for file selection. If the entire volume needs to be restored, simply check the box located to the left of its name.
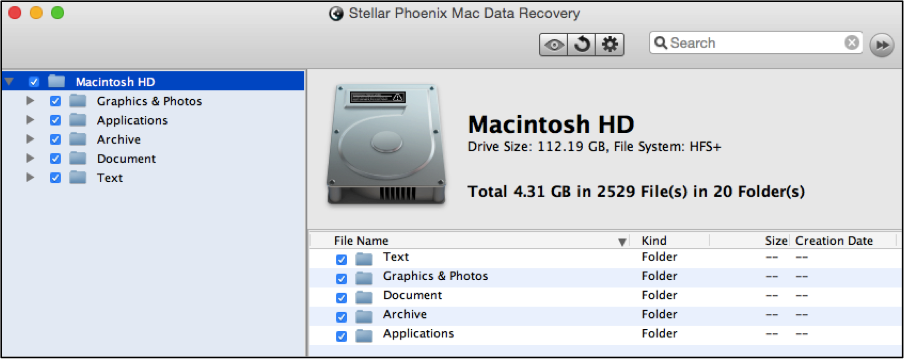
If only certain files need to be recovered, then you have the option to select one or more types of files or individual items for restoration to the Macintosh computer used for this process.
In the provided example, only the Graphics & Photos and Document items in the tree view have been chosen for recovery.
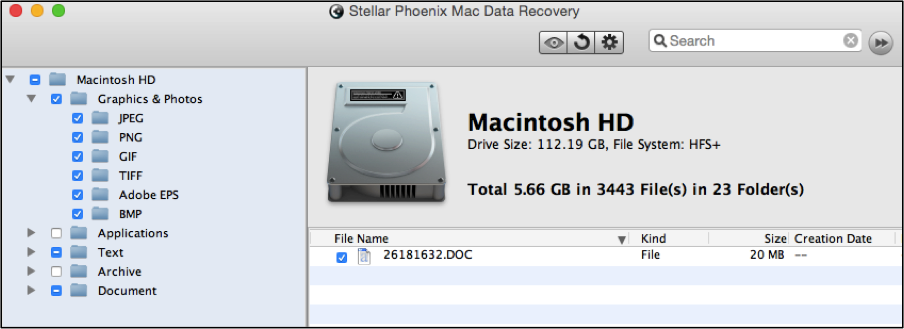
Additionally, you may click on a folder displayed in the tree view to see each format available for restoration from the chosen volume. In the following example, Graphics & Photos has been expanded.
To make selections or remove a choice, just click on the corresponding checkbox. Selections may be made directly in the tree view or on the right side of the utility.
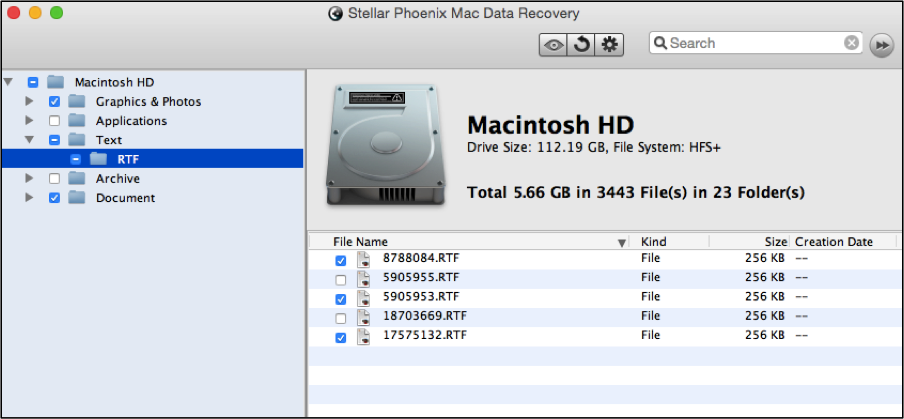
To choose one or more files, click on a format within the utility and the available files will be displayed on the right side of the window. Next, check each box to the left of the files you want to restore.
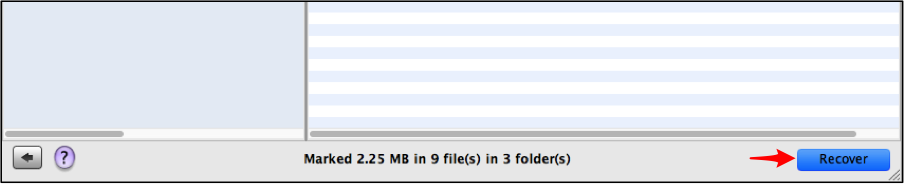
Step 4: Finish File Recovery. Finally, you will need to complete the restore process after making all desired selections. This can be done by clicking on Recover at the bottom of the screen.
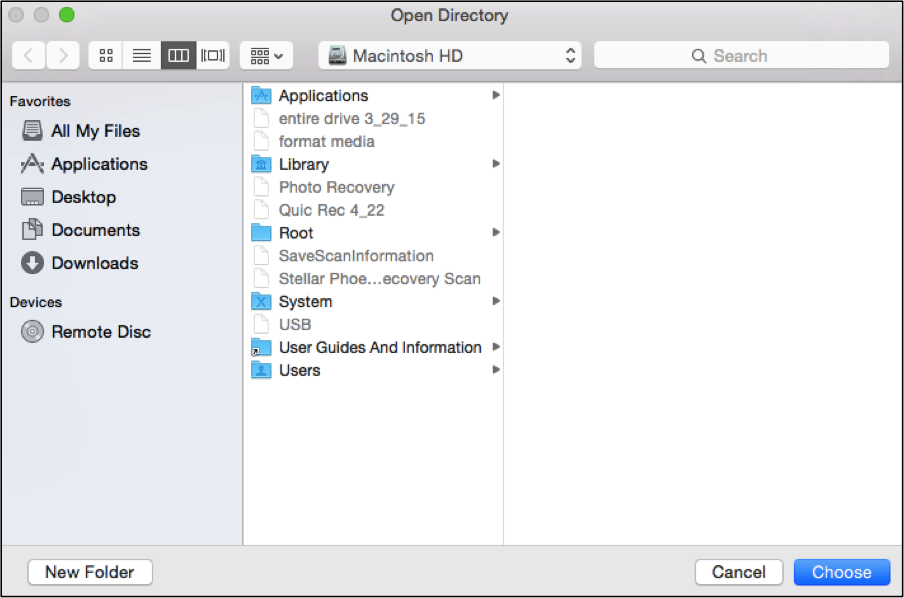
A window will appear for choosing a directory to save the restored files on the Macintosh computer. Here you may browse to a desired directory and select or create a folder for saving the data. Click on Choose once this step has been finished.
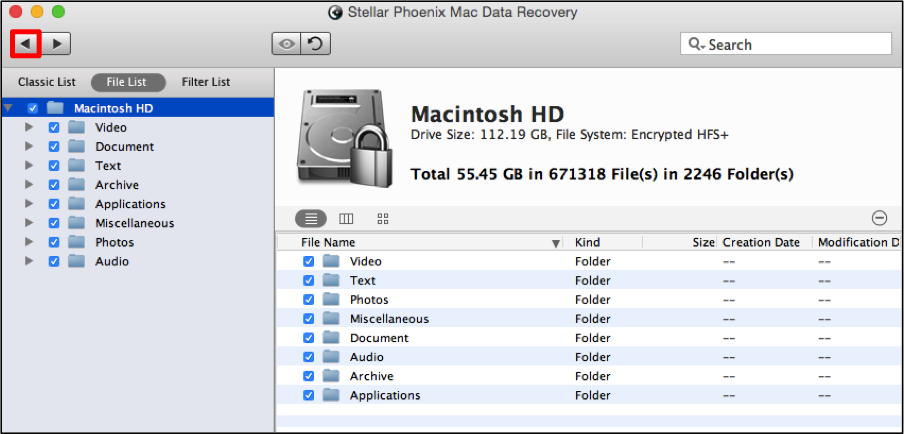
After the retrieval, you will be returned to the scan results and you can either make selections for a new restore from the displayed results or click on the back arrow button in the top left of the screen to exit and/or save the scan results.
As you can see, to find deleted files Macintosh is easy when using Stellar Phoenix Mac Data Retrieval. To reiterate, you will need to complete these steps:
- Select a drive.
- Choose how to recover the data.
- View and select items to restore.
- Click on Recover to save selected files.