Western Digital Data Recovery Mac
Western Digital Data Recovery: External Data Retrieval on a Mac
Do you use a Western Digital hard drive or other external storage product from this provider? A recent reformat, file removal, or other complication is not as big of a catastrophe as most individuals would initially think. Every hard drive has what is called ‘physical storage space’ that is accessed via a logical address table. Why is this important? This information makes it easy to understand what exactly happens when files say goodbye on a hard drive.
The operating system uses the address any time you open or search for a file on the drive. When something is removed, whether on accident or purpose, it remains on the physical space but it cannot be located by the computer’s operating system. So if a file is deleted or you experience a loss due to reformatting or some other issue, nothing is actually gone until some other action results in that file being overwritten. Phew, now isn’t that good to know!
If you use a Western Digital product for external storage, it is not a difficult process to restore data. Stellar Phoenix Mac Data Recovery is a utility for retrieval of lost, deleted or formatted over files from any Mac computer or in this case an external device. To perform Western Digital data retrieval Mac, download this software and then follow the steps outlined in this tutorial upon installation.
Five Steps Toward Data Sanity
The first step you must do for a successful file recovery is to connect this external drive or device to your Mac so the utility will be able to see it. Then open the application and click on Start New Scan to begin the retrieval process.

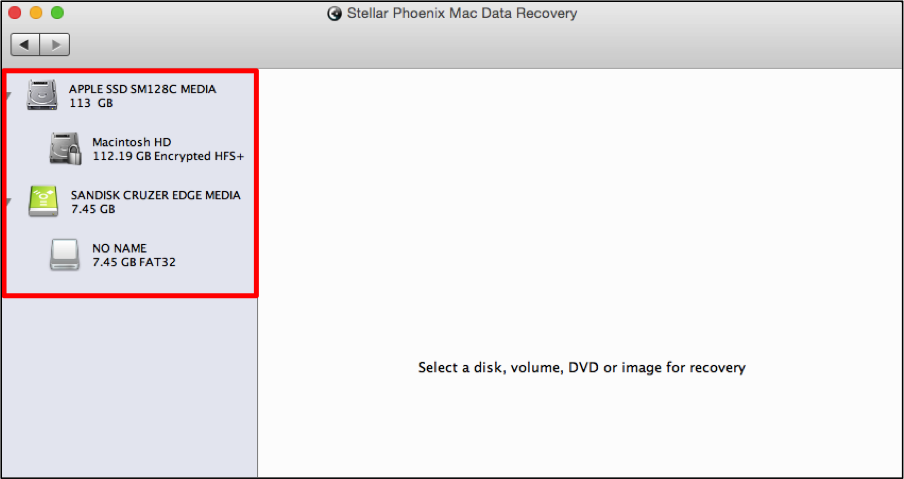
Step 1: If the Western Digital device is connected to your Mac, it will appear as a selection for scanning by the utility. To select the device, click on its name and it will be highlighted in blue within this screen. If you have not given the device a name, it will appear as No Name, as shown in the following image.
Step 2: Before the utility can locate retrievable files on the Western Digital device, you have to select a recovery mode. Click on the Recover Data option within this tab and you will be presented with new selection choices.
This recovery mode performs a deep scan of every volume block on the external device to locate lost or deleted files. It is important to remember that not every piece of data may be retrievable if new changes have overwritten the information.
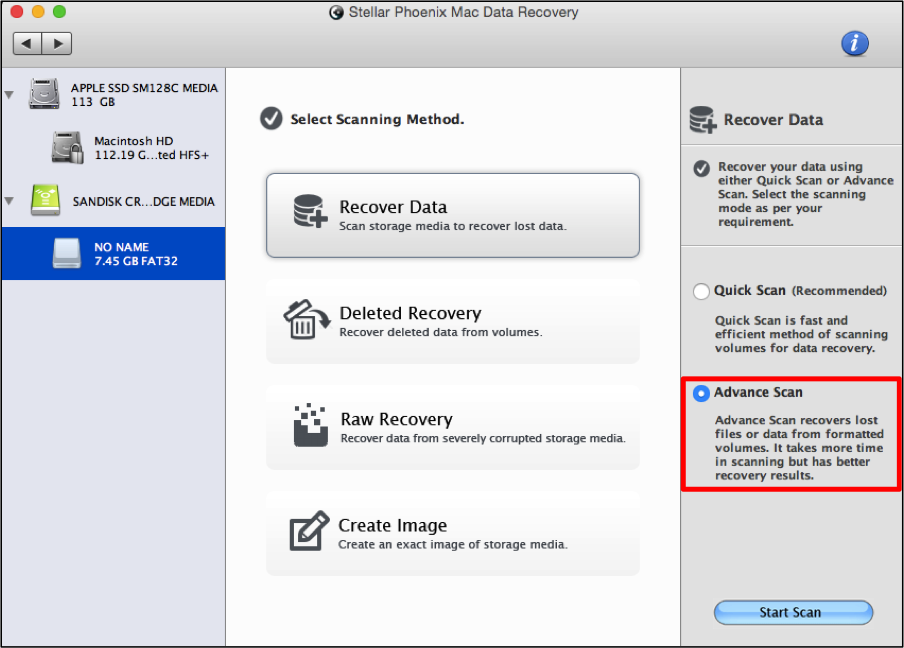
Choose Advance Scan to perform a more thorough scan of the device. Then click on Start Scan to inform the utility to locate available data for file recovery.
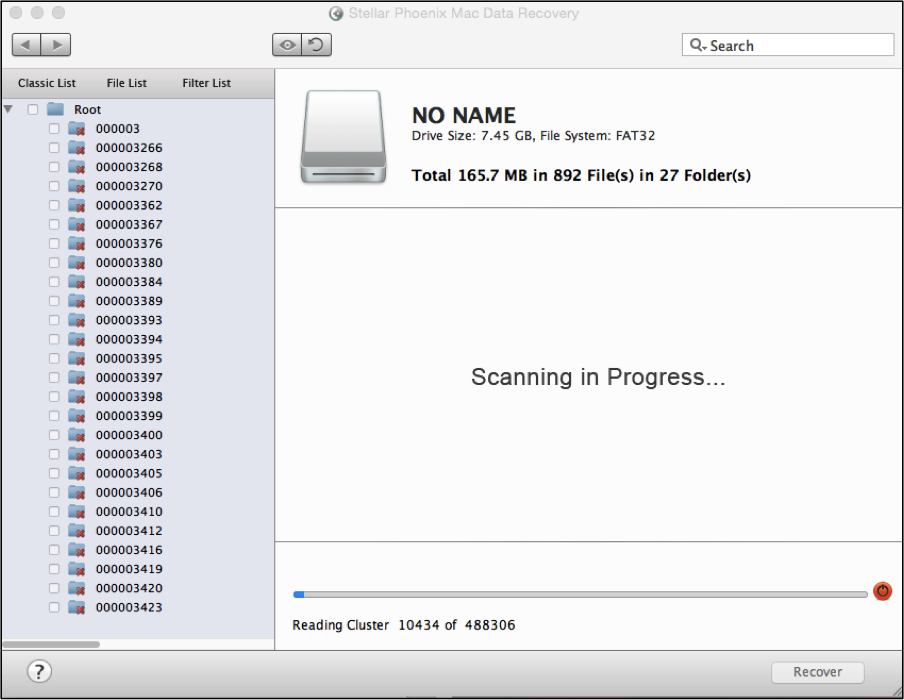
The following screen will appear to display the progress of the data retrieval scan which include a progress bar as well as an option for stopping the scan. Click on the red circle next to the progress bar to temporarily pause or abort the scan.
Step 3: A confirmation message will prompt you that scanning is finished and you must click on OK to select the items you want to recover on the device.
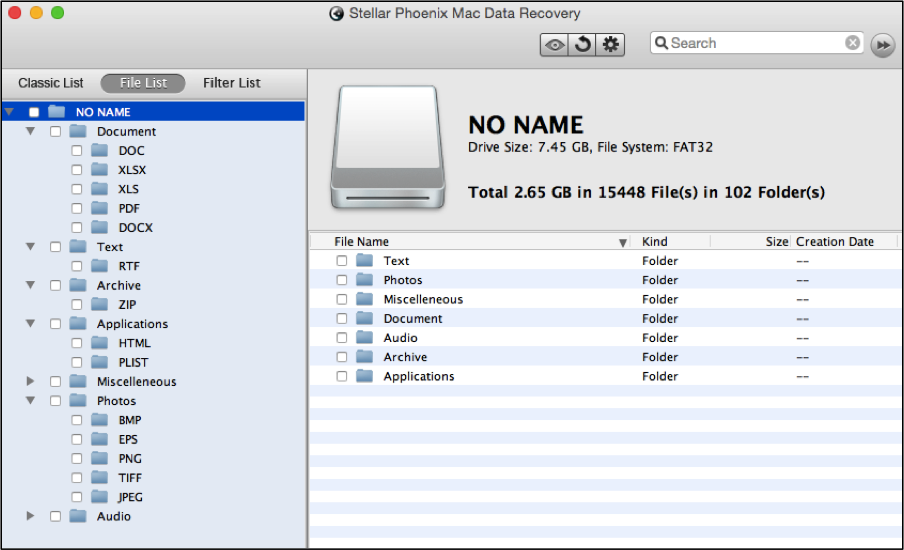
Once this message is closed, the results will be displayed in a tree format on the left portion of the application window. Next, you must select the items to be recovered.
By default, the results are organized by their save location prior to the event that caused them to require recovery. You may click on File List above the tree view to see results organized by file type for easier identification.
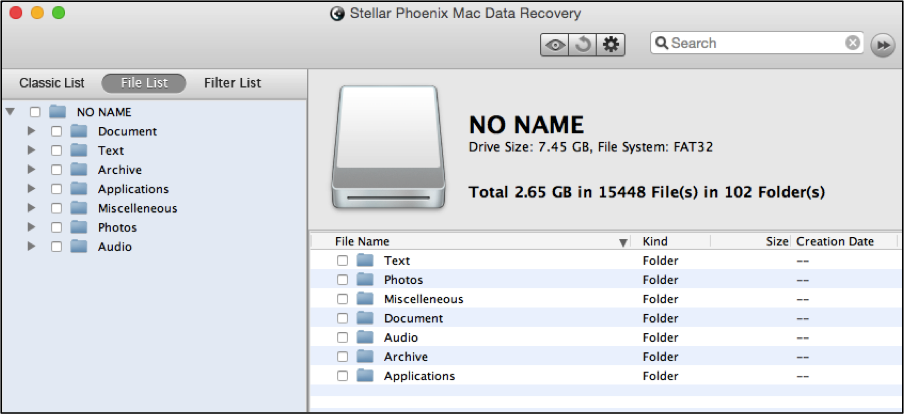
Folders displayed in the tree view on the left side of the screen may be expanded to see certain formats or files.
As you can see, with this recovery program, you are easily able to:
- Salvage all located data.
- Recover specific file types.
- Restore individual formats.
- Select multiple files.
- Choose a combination of files and formats.
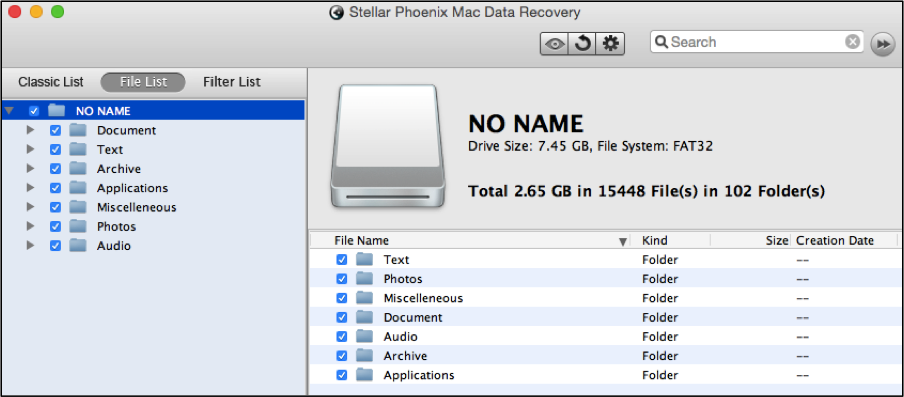
All you have to do is tick the checkbox next to each directory or item you want to recover on the Western Digital device. If you wish to recover all data found, check the box next to the device’s name in the tree view.
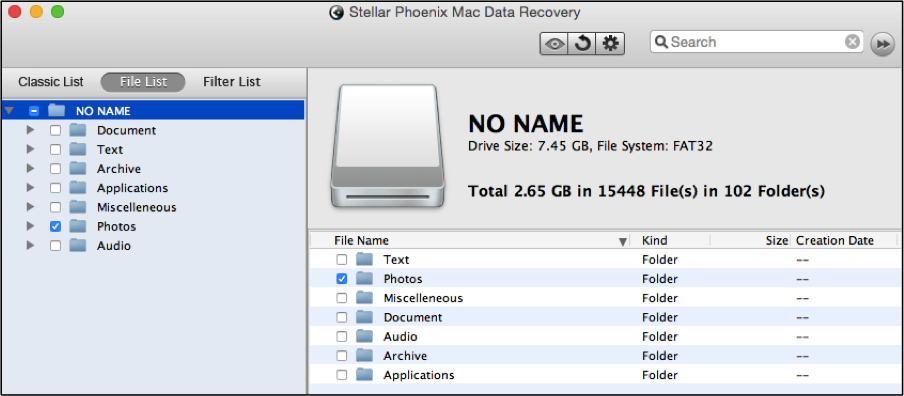
In order to choose a specific file type such as Photos, you will need to select the checkbox next to that directory in the tree view. Each format will appear on the right side of the screen. You may uncheck any format that is not needed within this directory.
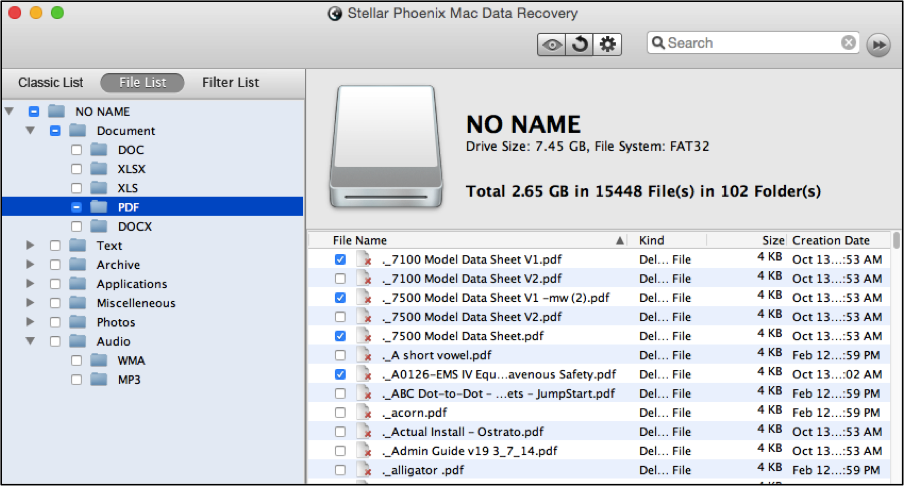
By clicking on the folder name rather than the checkbox in the tree view, you can expand selections to show each individual file on the right side of the application window. After which, you may begin checking the box next to each desired item to restore individual files from your drive or device.
Step 4: You’re almost done! After selecting the desired files for Western Digital file recovery Mac, you will have to click the Recover option found at the bottom right corner to complete file restoration.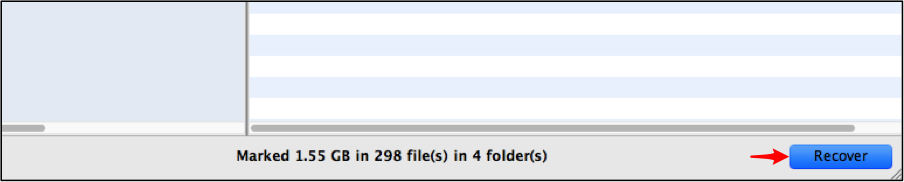
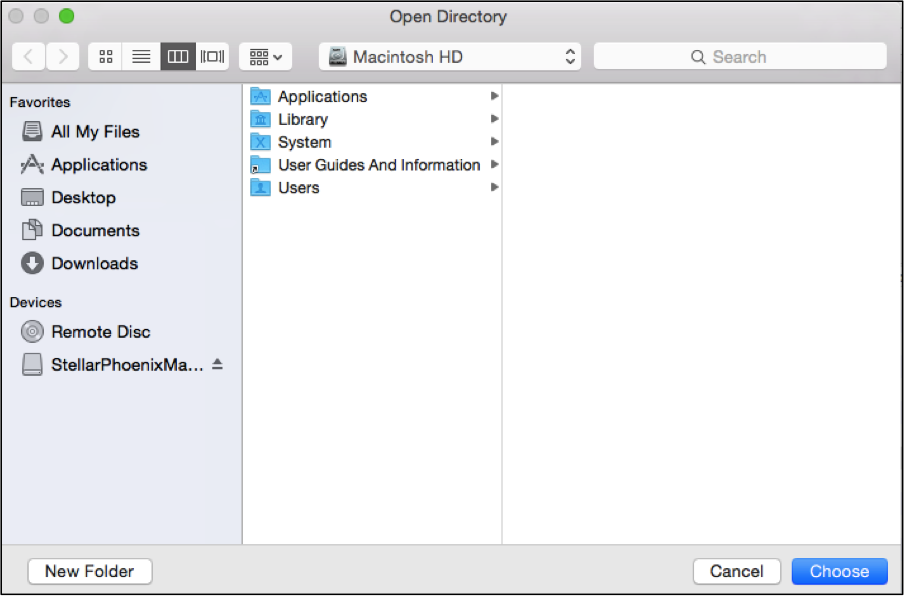
Step 5: Finally, select a save directory in the prompt window by clicking on Choose. All salvaged items will be placed in a Root folder for easy access.
In summary, after installing Stellar Phoenix Mac Data Recovery, make certain the drive or device is connected to the computer. Then follow the steps above to easily restore any lost or deleted data from the device. In 5 simple steps, you will have complete access to these files on your Mac without performing complicated steps or extensive work.