Best Mac Data Recovery Software
Seeking the Best Mac Data Recovery Software?
A number of scenarios can create a need for installing and using the best Mac data retrieval software. For example, a simple power outage while working on an important file often results in lost information and in some instances a completely inaccessible file. Malicious activity, viruses, accidental deletions, unplanned formatting, and several other situations often leave individuals and businesses in a conundrum.
It is still possible to retrieve this information regardless of how the files disappeared or became inaccessible. All you have to do is download the best Macintosh data recovery software and take quick action to retrieve your data. Stellar Phoenix Macintosh File Recovery is a user-friendly utility you can use to accomplish this seemingly daunting task. It is able to scan and locate any files still residing on your hard drive, but not locatable by the operating system through the address table.
With Stellar Phoenix Mac Data Retrieval software, you are able to customize the file formats/types to be found during scanning. Once the files have been found, all you have to do is select the files to be recovered, configure a save location, and the utility does the rest! The following example will show how to perform a ‘Quick Recovery’ of deleted files.
Let’s begin!
Download, install, and open the Macintosh Data Recovery utility to start recovering files, images, or other items.
Step 1: Once you have completed the install, click on Start New Scan to begin the file retrieval process. This will direct you to a new screen for selecting a scanning/recovery option.

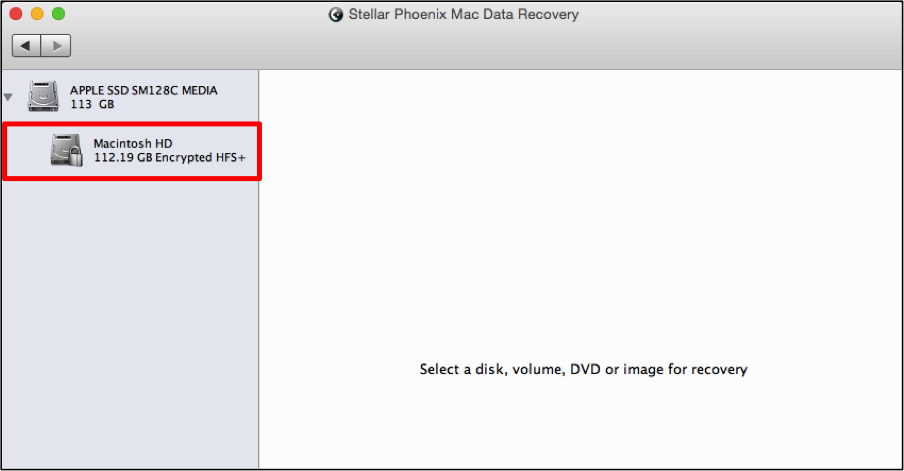
For the next step, you will need to select a volume on the Mac hard drive to scan. In the provided example, we will be selecting Macintosh HD.
Step 2: For a quick scan, you will want to select Recover Data and then make certain the Quick Scan option is chosen. This option performs scanning faster and is able to locate most deleted files on your Mac. If, for some reason, the desired items are not found, you can also try performing a Deleted Recovery to complete a deep scan of a Mac hard drive volume.

Note: The more you do on the Macintosh after file deletion, the higher the risk of files being irretrievable. Even the best Macintosh Data Retrieval software cannot retrieve files if they have already been overwritten.
Step 3: Once you have chosen the volume, click on the Start Scan button to begin the retrieval process.

Even though a Quick Recovery takes less time than other available modes, it does take a few minutes for the scan to complete. The utility will appear as shown below as scanning progresses:
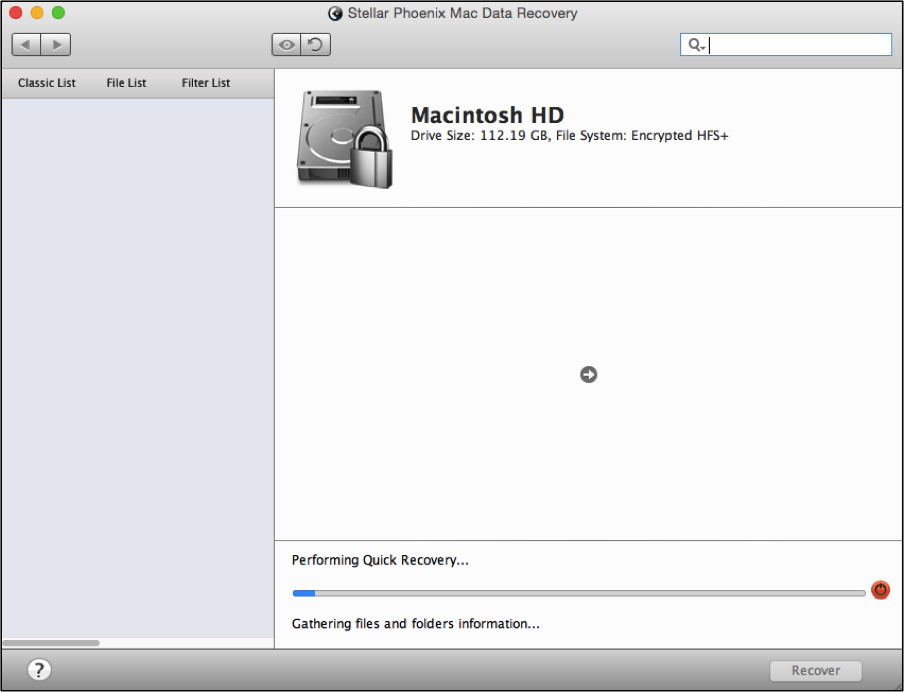
If in case you need to quit the scan, use the ‘abort scan’ button (in red circle) located to the right of the progress bar at the bottom of the screen.
You will need to click on OK in the provided confirmation message after scanning has completed. Then follow the next steps to begin locating the files to be recovered.
Step 4: Results are displayed as scanning takes place and a complete view will not be seen until the scan is finished.
Once completed, you will see all retrievable files based on their original save location. However, they may also be viewed by file format and type by clicking on File List located above the tree view on the left side of the screen.
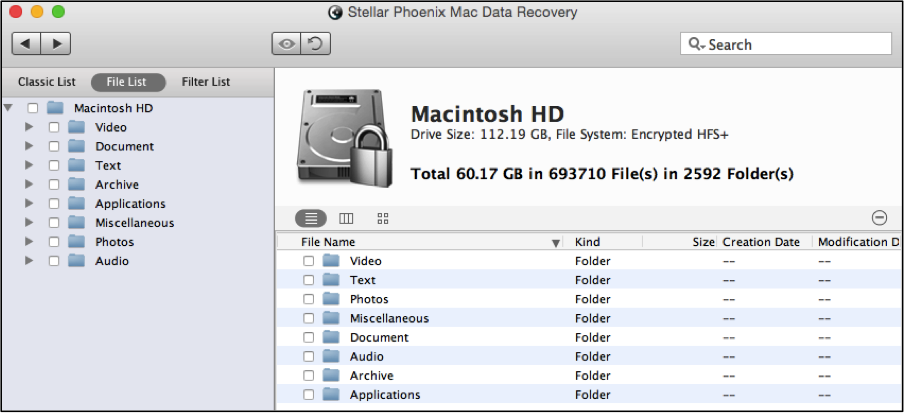
The Mac Data Retrieval utility provides several retrieval options to fit your specific needs. An entire volume or specific files types and formats may be recovered.
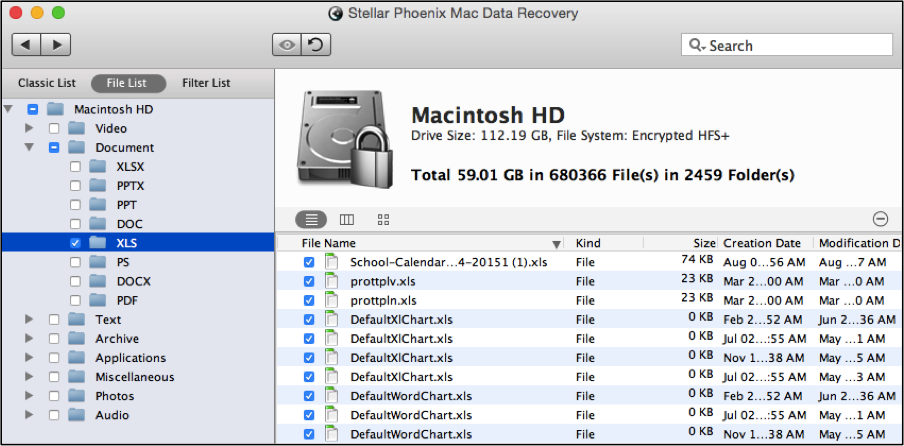
Additionally, individual files may be selected for retrieval. To select a file type or format like documents, expand the tree view and check the box located to the left of the Document folder. If this box is checked, all documents will be recovered.
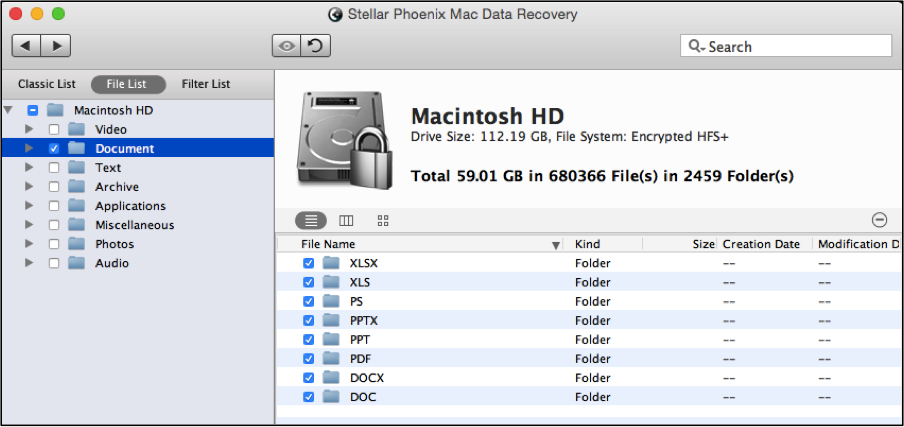
If you only want to recover a certain document type like Excel spreadsheets, simply expand the tree view and the documents folder. Then tick the box next to XLS either on the left or right side of the screen.
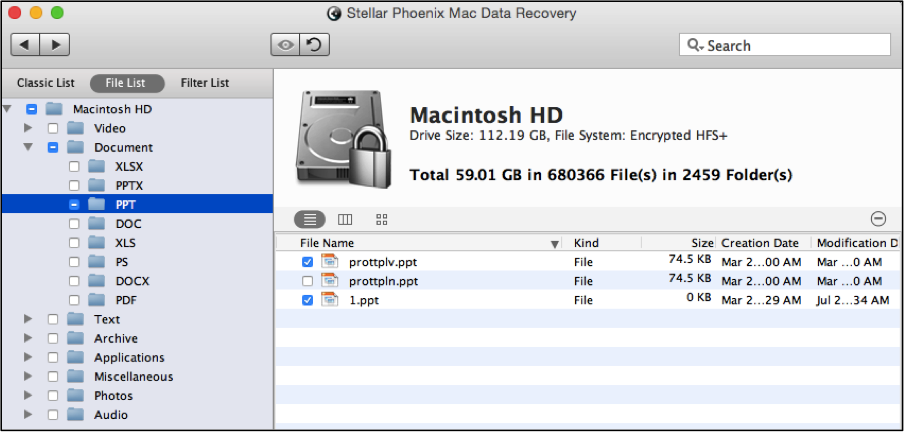
In some cases, you might only want to restore one or several specific files. To do so, expand each directory in the tree view until you see the desired files on the right side of the screen. Then check the checkbox on the left hand side of each file you want to recover. In the example below, two Power Point (PPT) files have been chosen.
Step 5: Click on the Recover button to begin recovering the selected files, types, formats, or volume.

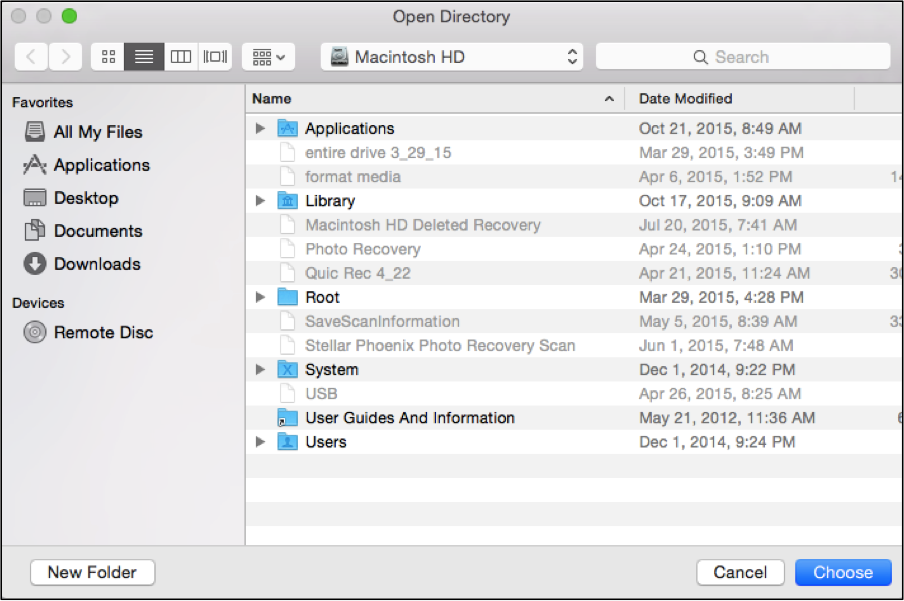
Next, configure a save location for the recovered files and these items will be placed in a Root folder that will be accessible from this location.
If you are looking for the best Mac Data Retrieval Software, now you see how this utility is the icing on the cake. It is easy to use, very flexible, and can retrieve files in minutes. As shown by the provided tutorial, it is easy as:
- Selecting the drive.
- Choosing the quick scan recovery option.
- Scanning your hard drive volume.
- Choosing items to recover.
- Letting the utility do its magic.
Whether a power outage has left you high and dry or some other unexpected catastrophe resulted in lost or deleted data, Stellar Phoenix Mac File Recovery offers a simple solution. In a few clicks, you will be able to access and modify any file like it was never gone at all!