How to Recover Deleted Files from Time Machine
Time Machine offers a great approach to ensuring data on your Mac is preserved. As part of this process, backups are slowly removed to make room for new ones being added to the designated storage location. In some cases, a backup will be removed when it is still needed or one could become damaged unexpectedly. How do you get this information back? Is it gone forever? Can you recover deleted files from Time Machine? The answer to these questions is “yes” you can get it back and “no” it is not gone forever.
Recovering files from Time Machine requires diligence, especially when the backups are taken frequently. As older backup files are removed, they remain on the drive until a new backup file requires the space. If you act quickly, it is possible to regain the entire backup file or any needed information. Stellar Phoenix Macintosh Data Recovery is one option for locating a deleted backup and retrieving data.
The utility is able to locate any files that have been removed but not overwritten on the drive including those stored as part of backups. It is capable of scanning any local or external drive you have set up for the backup process. Mac Data Retrieval also provides a number of options to ensure a successful data retrieval. Once the scan has finished, you will be able to:
- Regain entire backups
- Recover selected files
- Preview files before recovery
- Search for specific files
- View results by type or save location
For most users, backup files are stored to an external disk or a secondary drive on the computer. The tutorial below shows how to use Stellar Phoenix Mac File Recovery to locate these files on your drive and recover what you need.
5 Steps for Regaining Time Machine Data
You will need to install the utility on a Mac computer with a supported operating system and then connect the drive if it is an external form of storage. Then open the application and click on Start New Scan to begin.

Follow the steps below to begin to recover deleted files from Time Machine:
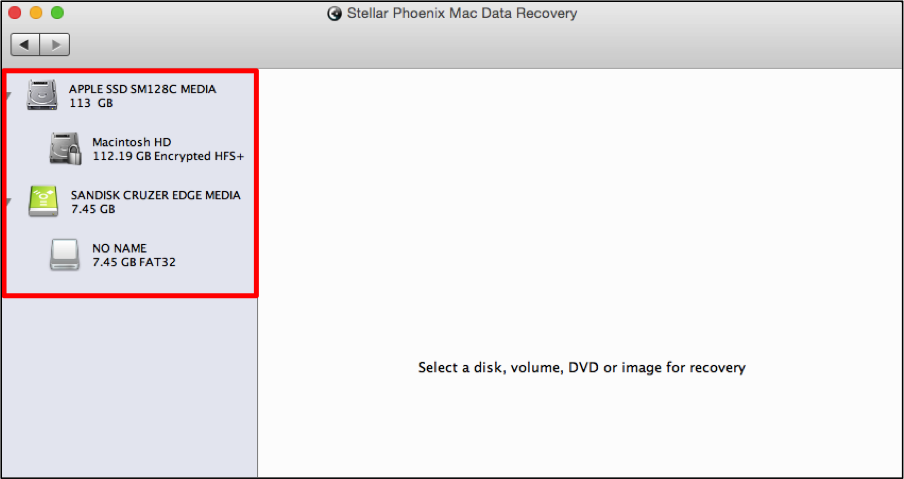
Step 1: Choose a Drive to Recover From. With Mac File Recovery, you can choose to scan a local drive or a connected external drive. The drive will appear with whatever name it has been given. In the example below, the external drive has no name. Click on the desired drive for the recovery process to select it.
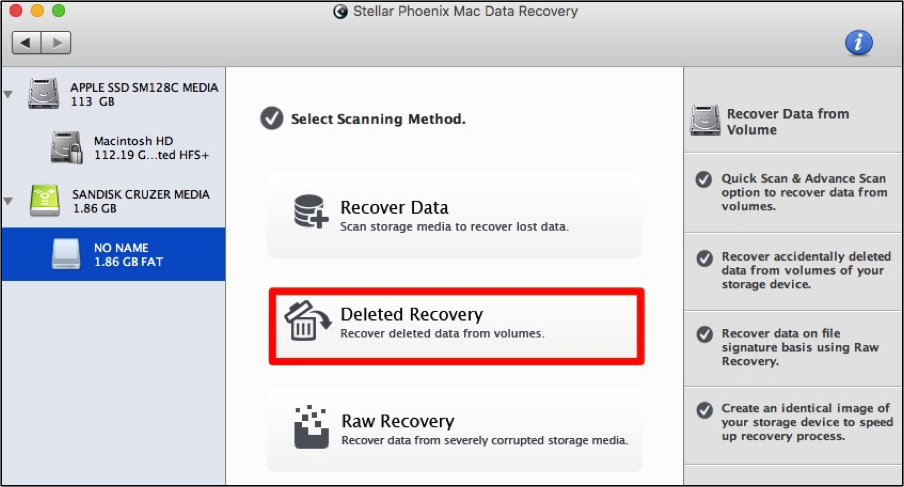
Step 2: Configure the Scanning Process. Next, you will need to choose a scanning method for the utility. Several options are provided and in this situation, a Deleted Recovery will offer the best results. Click on this option to select it.
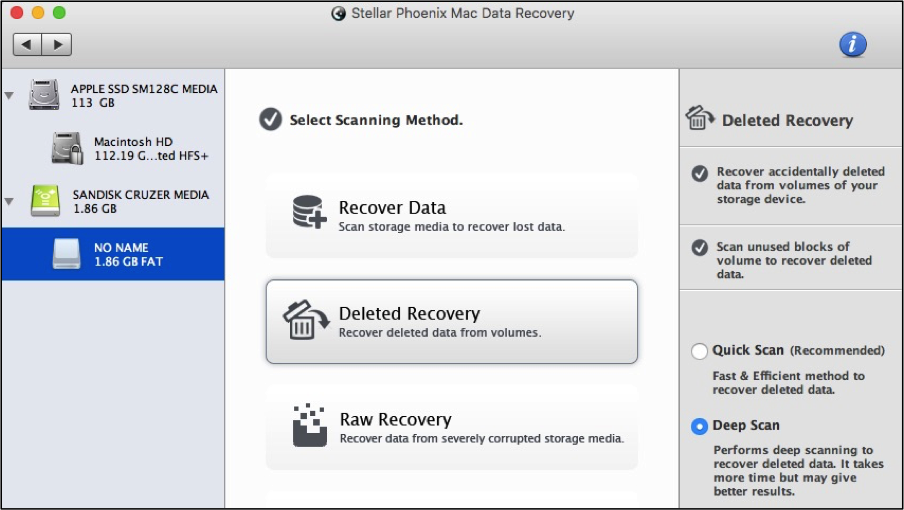
With a Deleted Recovery, you have the option to perform a Quick or Deep Scan. For this example, we will be performing a Deep Scan to find as much retrievable data as possible. Click on the desired radial in the right panel to make a selection.
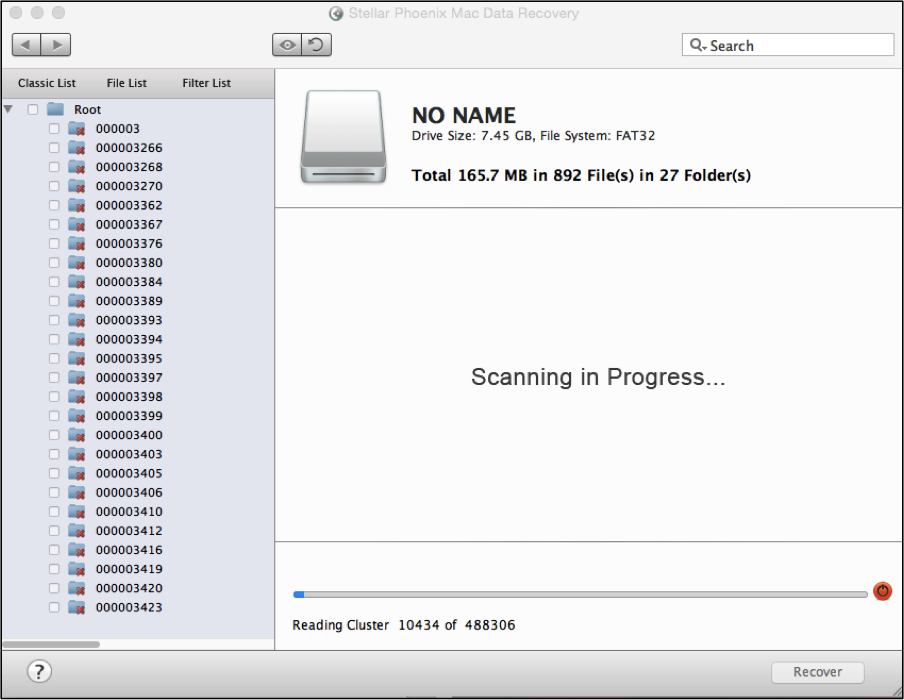
Step 3: Initiate Drive Scanning. Once the scanning method has been configured, you will need to start the scan. To do so, click on Start Scan at the bottom of the provided options in the utility window.

Next, wait patiently for the scan to complete. This could take a few minutes for larger drives. A progress bar can be viewed at the bottom of the screen and an abort scan button is also available.
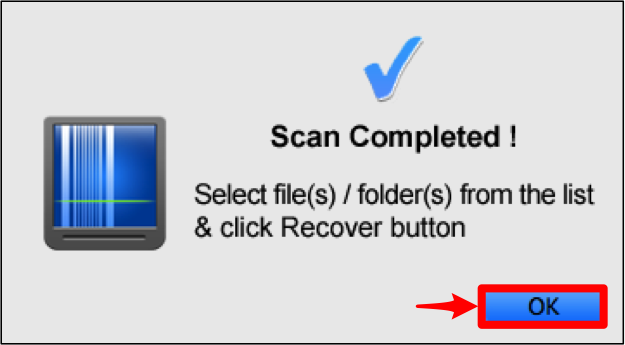
Before the results can be viewed, you will need to close the confirmation window shown below by clicking on OK.
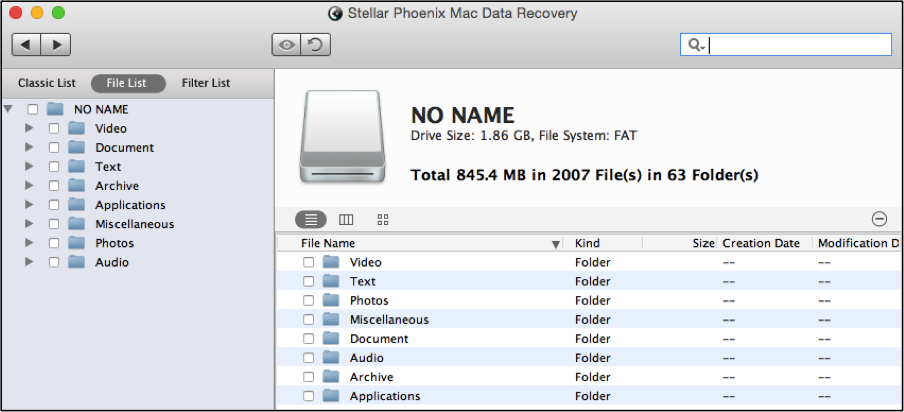
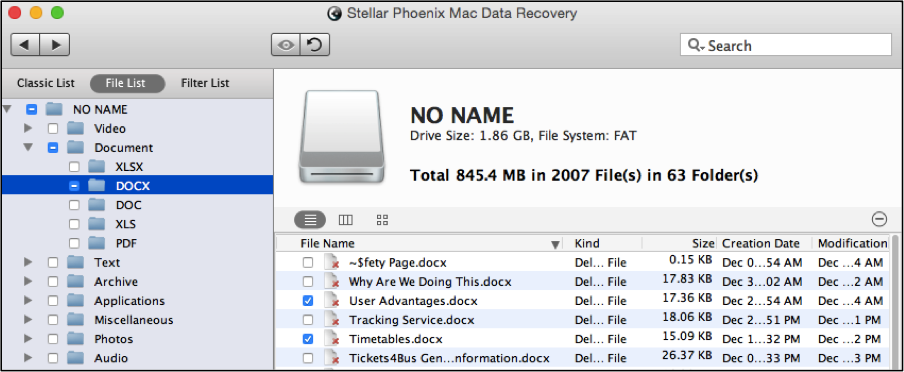
Step 4: Choose Items to Retrieve from the Drive. Macintosh Data Recovery allows you to view the scan results and make selections. To make this easier, click on File List and you will be able to view the results by type as well as format.
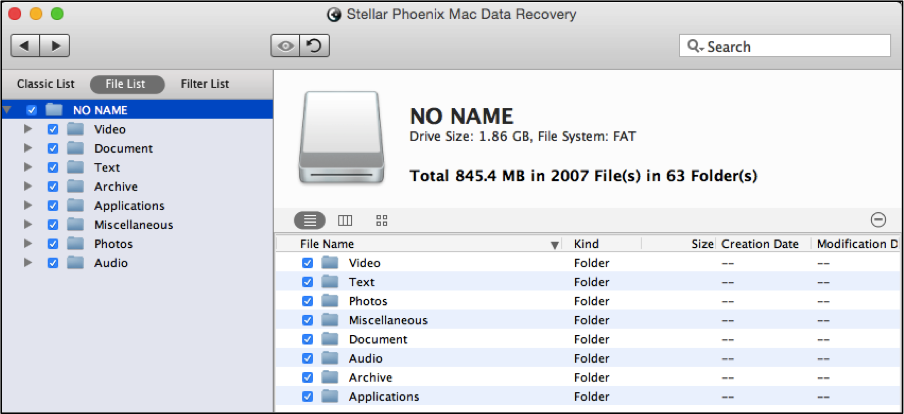
Locate the Time Machine backup or individual files you want to recover and select the desired items. To choose everything, click on the checkbox for the drive that was scanned.
Otherwise, you can expand each folder to view individual formats and make any selections that are needed.
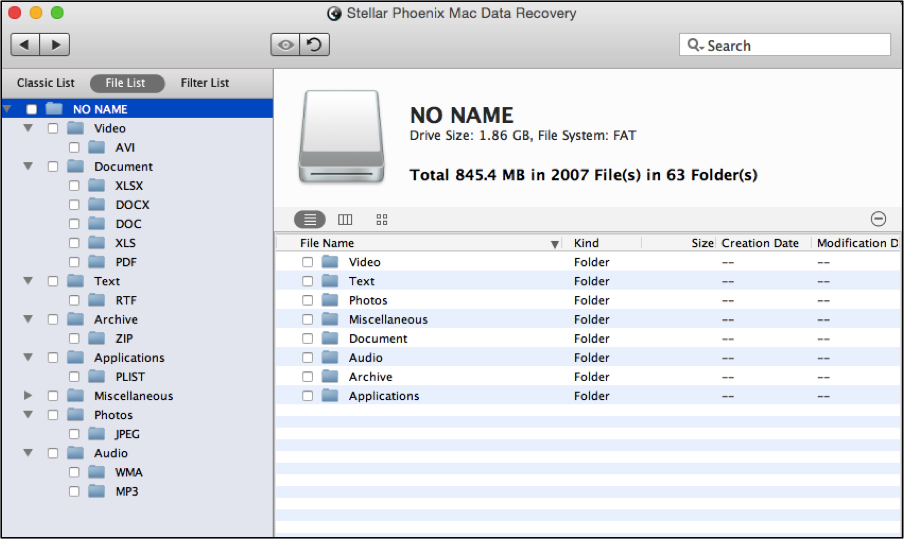
Individual files can be previewed and chosen by clicking on a folder for a specific format. For example, if you click on DOCX, each Word file will appear to the right and can be previewed by performing a double click. Tick each checkbox to make individual file selections.
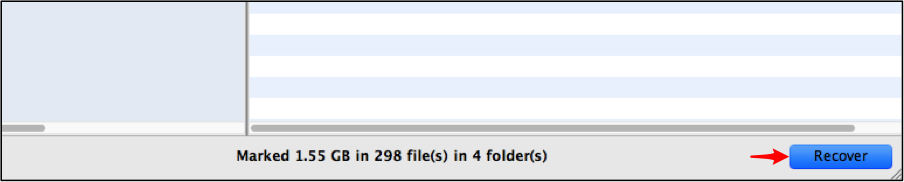
Step 5: Complete Time Machine File Retrieval. Your data has not been recovered yet! Next, click on the Recover button and configure a location for the utility to save the files. Stellar Phoenix Macintosh Data Recovery will then store the selected items to the configured save directory.
As you can see, regaining lost or deleted backups or files from a drive is not a difficult task when you use Mac Data Recovery. It only takes a couple of minutes to scan a connected or local drive. Everything will be safely stored to the designated location on your hard drive or external storage. To recover deleted files from Time Machine, just follow the steps shown in this tutorial:
1. Choose a drive to recover from.
2. Configure the scanning process.
3. Initiate drive scanning.
4. Choose items to retrieve from the drive.
5. Complete Time Machine file retrieval.