Laptop Data Recovery Mac
Stress-Free Laptop Data Recovery for Mac
If you own a Mac Air, Mac Pro or Mac Mini and have recently lost or deleted data that needs to be retrieved, Stellar Phoenix Mac File Retrieval is an essential utility. This tool is designed to locate even the hardest-to-find files, whether they have been deleted accidentally or lost after an unforeseen drive corruption.
With Stellar Phoenix Macintosh File Recovery, you will be able to scan for all retrievable files or specific types of files to ensure flexible and reliable restoration of all desired files. Apple Data Retrieval may be used to:
- Restore an entire drive
- Restore files from an external drive
- Regain lost or deleted images
- Restore documents, PDF’s, or application data
- Regain audio or video files
The software works with several versions of Mac OS X and is an ideal solution for quickly recuperating files on any Macintosh laptop. It provides multiple retrieval modes including these retrieval options:
- Drive
- Photo
- CD/DVD
- iPod
- Raw
With this utility, you are able to scan and find deleted or lost files quickly for easy restoration to a desired location on the computer. To begin performing laptop file retrieval Macintosh, install the tool and follow the steps in the provided tutorial.
How to Recover Your Mac Laptop Data
If you are trying to retrieve lost or deleted files from a Macintosh laptop, you will need to perform a Quick Recovery. This option will scan every portion of a selected volume on your drive for retrievable files.
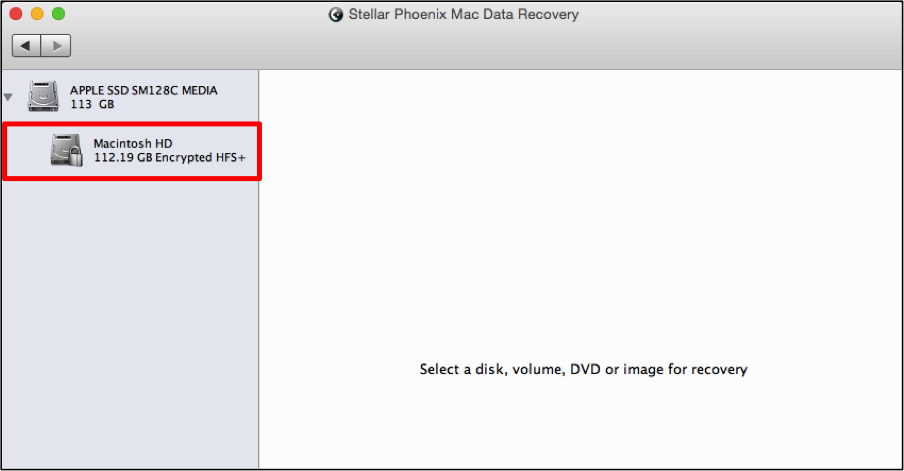
Step 1: Initiate the Recovery and Choose a Mode. To begin, click on Start New Scan to open a new screen for selecting a drive to scan.

Before files may be restored, Apple File Recovery will need to know what drive or volume will need to be scanned. To make a selection, click on the name of the volume you want to scan on the left side of the utility.
Step 2: Select a Mode and Scan for Data. A Quick Scan to recover data is the fastest method for finding and restoring files to a Macintosh laptop. To use this retrieval mode, click on Recover Data.
By default, the Quick Scan option is selected. This will, in most cases, find the files you want to recover. However, if it does not, you can perform a Deep Scan to explore further.
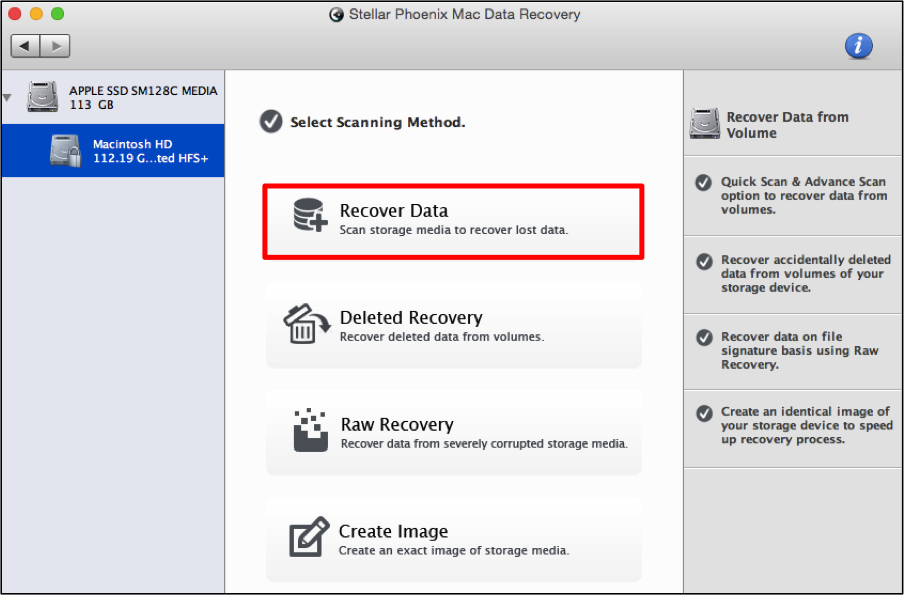
Then click on Start Scan and Mac Data Retrieval will begin to locate available files on the chosen volume.

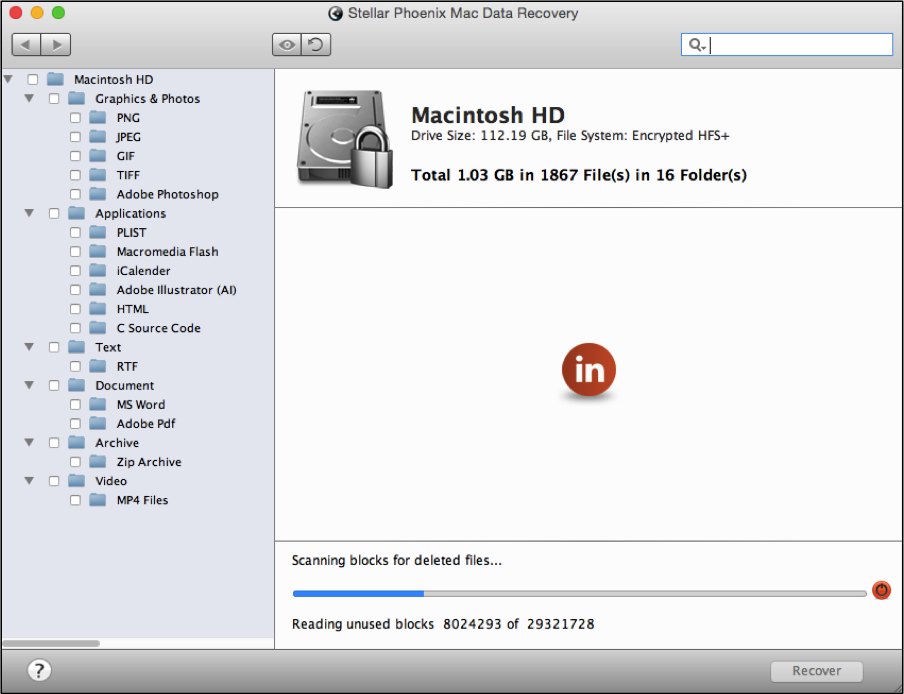
This process will take a little time to complete and you may view its progress at the bottom of the screen.
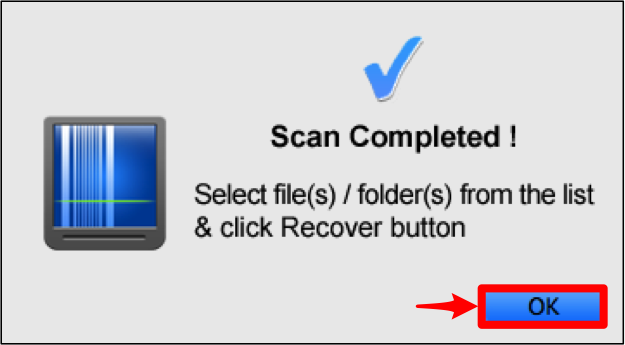
A message is provided to show that the scan has finished. Click on OK to begin viewing the results of the scan.
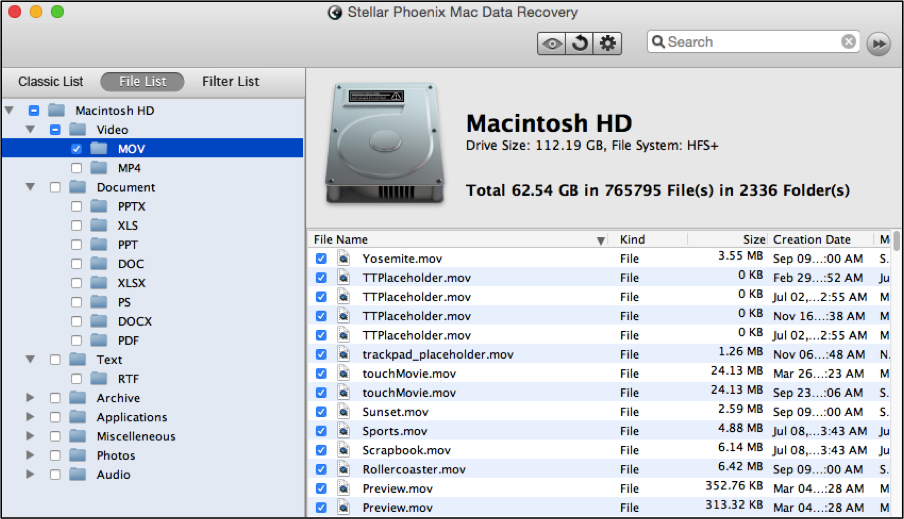
Step 3: Change the View to File List. The utility defaults to a Classic List; however, this will make it hard to find specific file types or files when not recovering all files. Click on File List above the tree view to make this process easier.
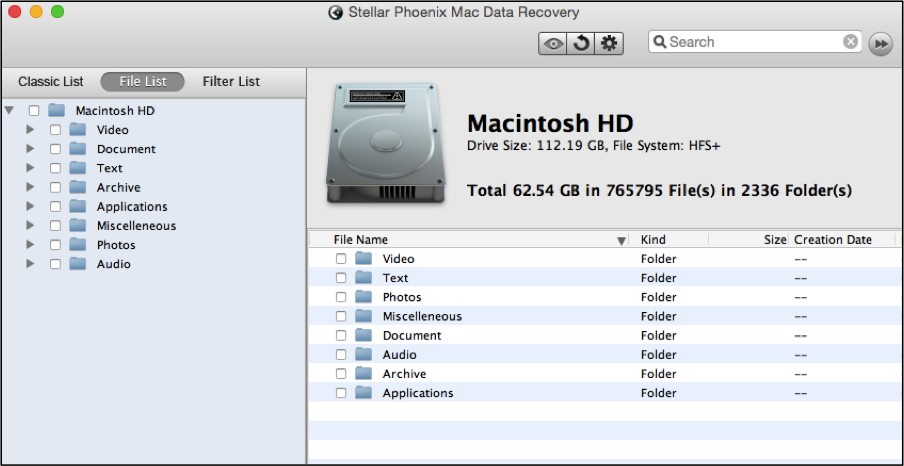
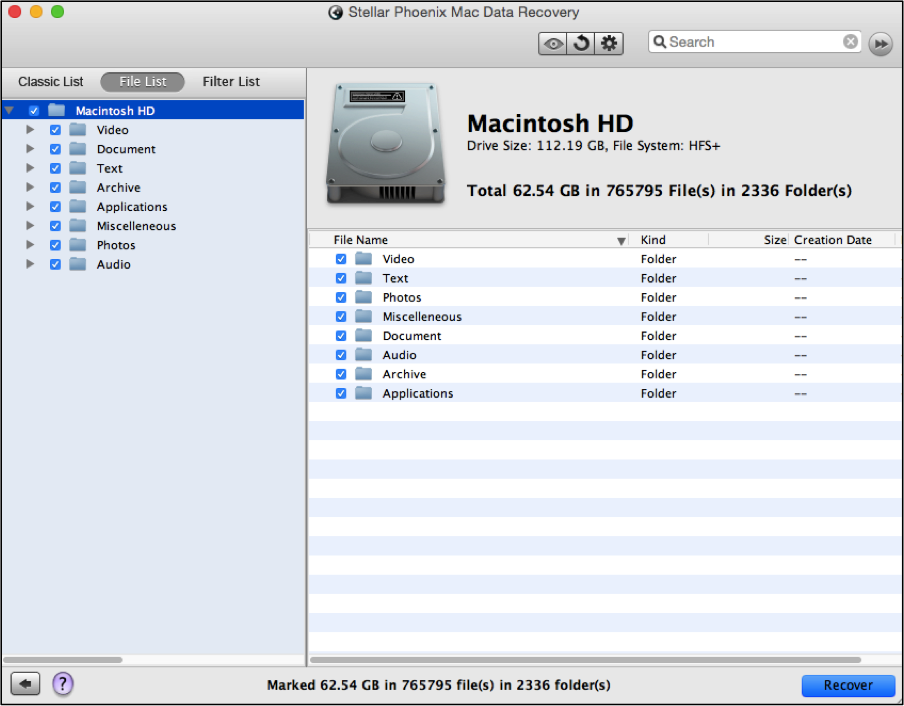
Step 4: Make Selections for Recovery. Next, preview and select the files to be recovered. If you want to restore all data, just check the box within the tree view that resides next to the volume’s name. Otherwise, you may also expand the tree view to choose one or more types or files for the restore.
Each item in the tree view has an arrow for expanding its contents. As shown in the image below, you may expand one or more selections to see available formats for retrieval within the tree view.
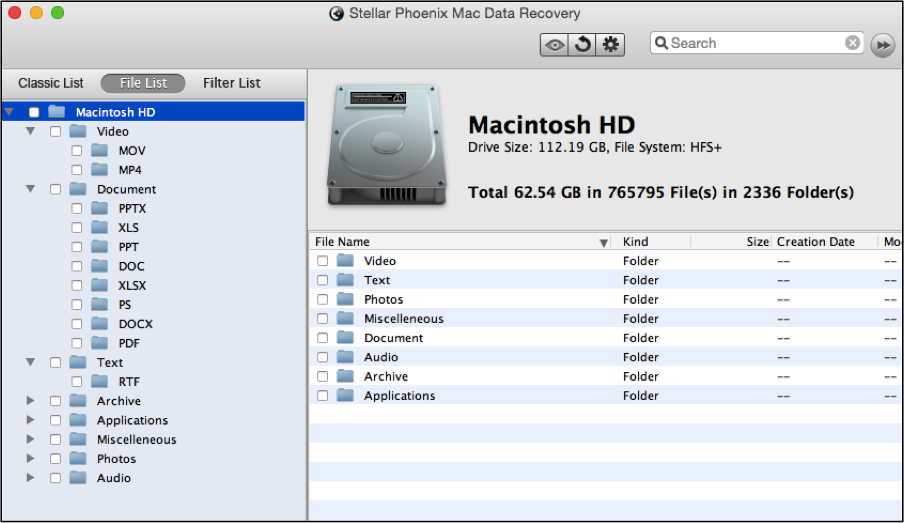
Place a checkmark next to each item you want to restore to the Macintosh laptop. This can be done within the tree view or on the right side of the screen. For example, if you click on the drive (volume) name, you will see the same folder layout on the right side of the screen.
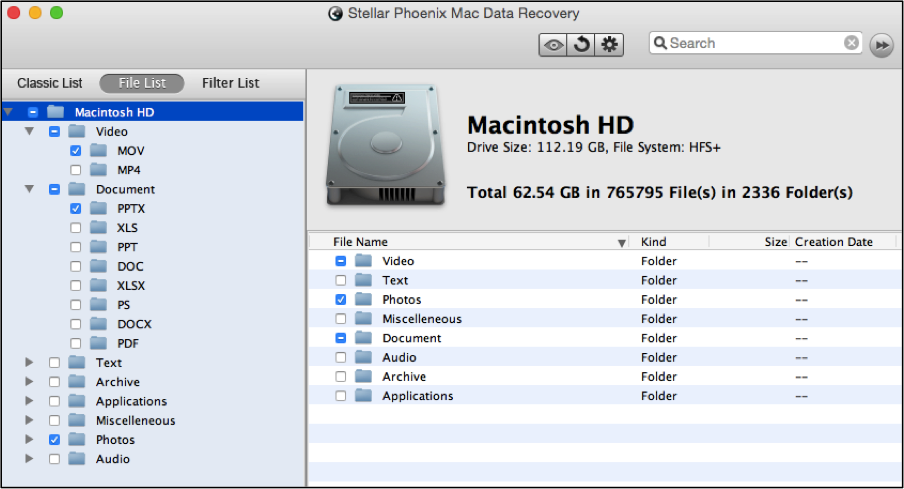
However, if you click on a type such as MOV for video files, each available file for retrieval will appear on the right portion of the utility window. Here you may check or uncheck individual files for the restore.
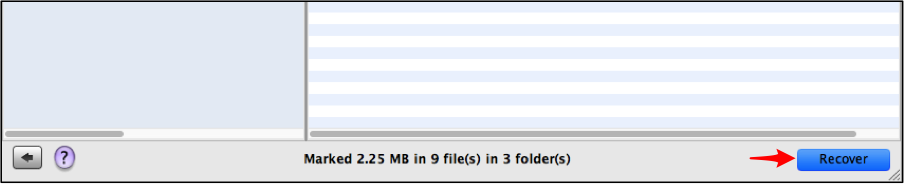
Step 5: Complete the Restore. Before the chosen files can be restored, you must click on the Recover button found at the bottom right of the window.
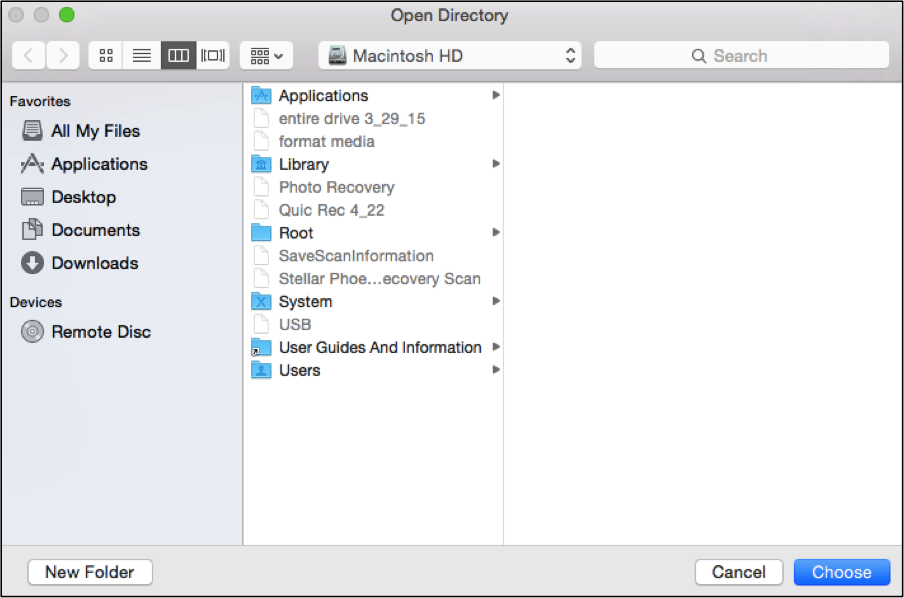
Then choose a directory for saving the retrieved data and select a folder. You may also create a new folder in a chosen directory if needed, then click on Choose to complete the recovery.
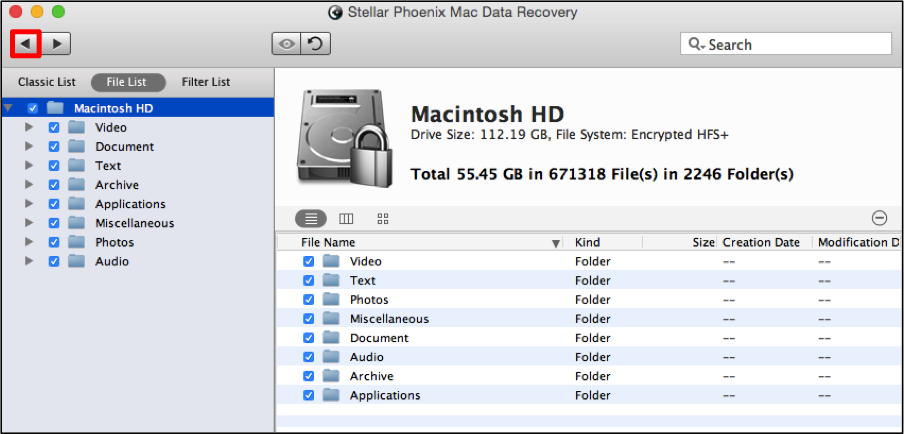
Once the recovery has completed, you will be able to review the scan results. Here you may select new items to restore or simply click on the left arrow at the bottom left of the screen to return to the volume selection screen.
To perform laptop data recovery Mac is a straightforward, fast process when you use Stellar Phoenix Mac File Recovery software. If you want to quickly regain your files with this utility, these steps will need to be completed:
- Initiate the Recovery & choose a drive.
- Select a scanning mode and scan.
- Change the view to File List.
- Make file selections for recovery.
- Click on Recover to save chosen files.