Mac Data Recovery
Situations where data is accidentally deleted or lost due to hard drive formatting or corruption create extensive panic. The common misconception is that deleted file is permanently gone; however, this assumption is quite wrong. Only the address of the file is removed by the operating system from the address table. This means that the file still resides on your hard drive. The information is retrievable as long as the drive has not yet overwritten.
First, stop working on Mac to avoid data overwrites. Every change made on the hard drive is a potential overwrite. Second, use a reliable utility for Macintosh file recovery. Stellar Phoenix Macintosh Data Retrieval is an easy to install application for retrieving lost or deleted files. After the utility has been installed, you are now ready to begin salvaging files on your Mac.
Time to Reclaim Your Files
It is time to begin the retrieval process. The steps below may be used to recover individual files, several formats, or your entire hard drive.
Step 1: First, click on Start New Scan in the center of the initial screen to access the options for retrieving Mac files.

Next, select the volume you want to scan. The Mac Data Recovery utility will perform a quick scan on selected volume to locate recoverable files. For this example, we are using Macintosh HD as it is a common volume on many Mac computers.
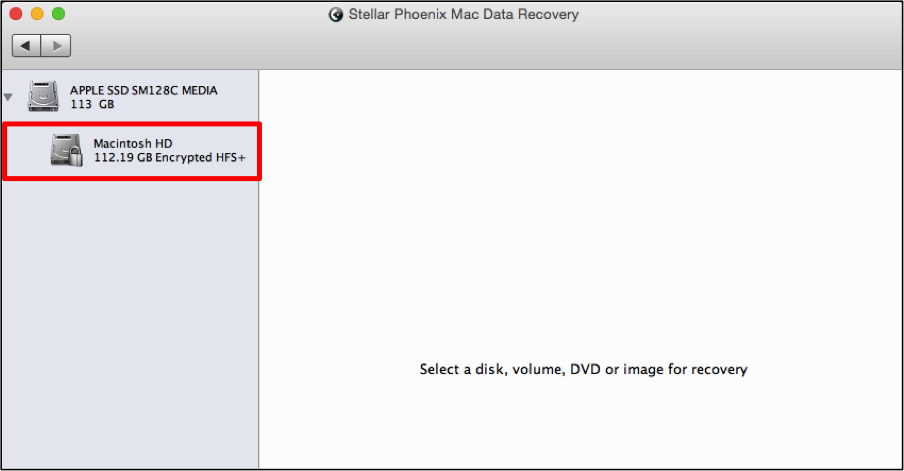
The Recover Data option performs the scanning process faster and in most instances is able to locate the required files. Select this option and then leave the radial next to Quick Scan ticked, as displayed in the image shown below:

Note: If your file is not found, try completing a Deleted Recovery. This option performs a deep scan and is able to find deeply hidden files.
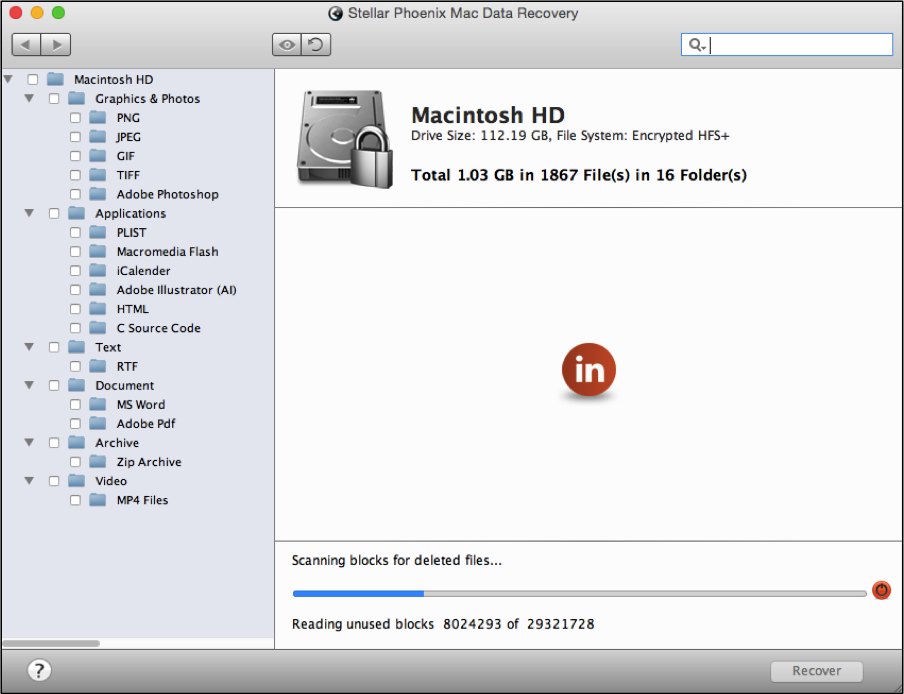
Step 2: Click on Start Scan and the utility will begin to locate available files for retrieval.

A progress bar and an option for aborting the scan are provided as the scan takes place. You will also see a tree view on the left side beginning to populate with folders as scanning progresses.
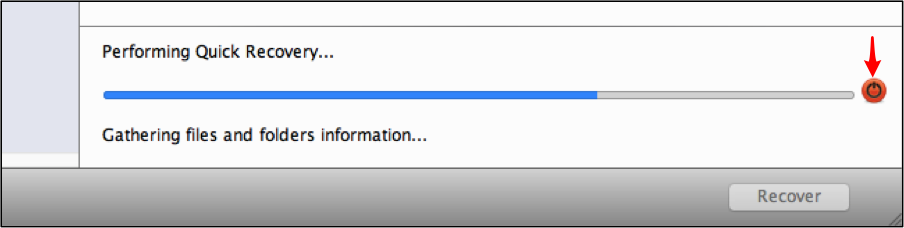
Click on the “abort scan” button (red circle) if the scan needs to be aborted. At the end of the scan, you will receive a confirmation message to show that the scan was successful. Click on OK to return to the scan results.
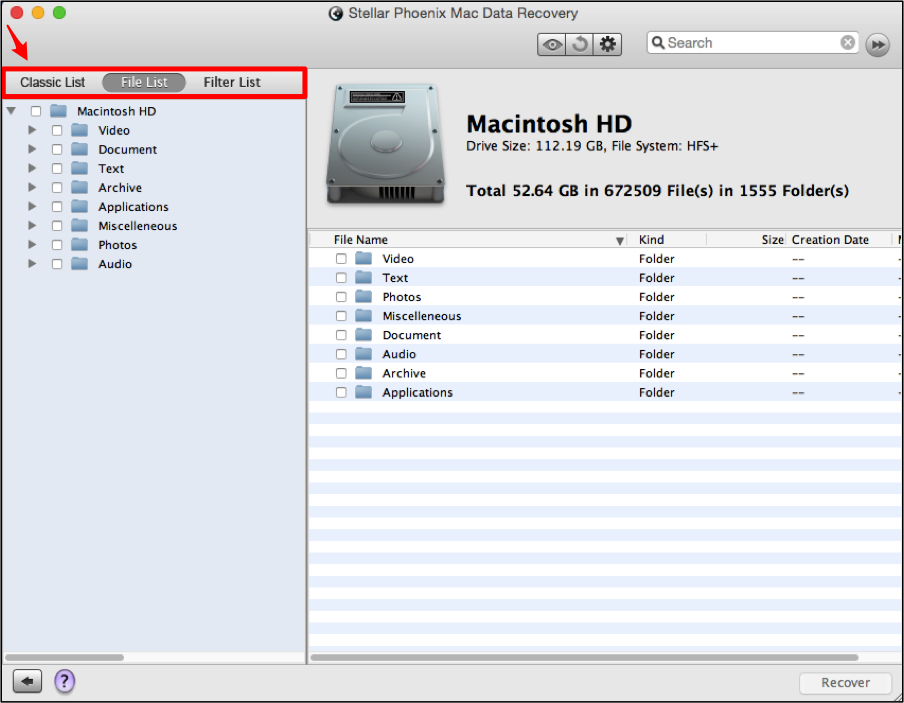
Step 3: Locate the files or formats you would like to recover with the utility. The Classic List displays each file in its original save location while the File List provides folders based on the file type and format. To keep the example simple, the File List view will be used for this tutorial.
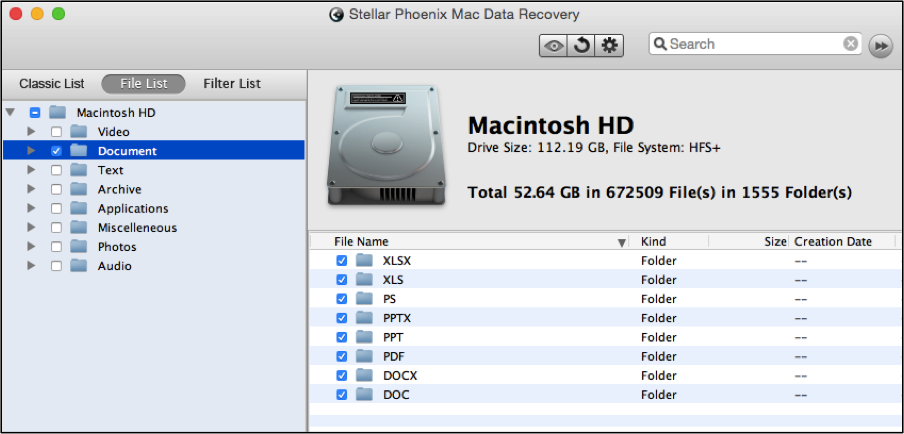
To select a specific file format, expand the tree view on the left side of the screen and then click on the checkbox next to the appropriate format. In the example below, the Document folder has been chosen. All documents then will be recovered by the Mac Data Recovery utility.
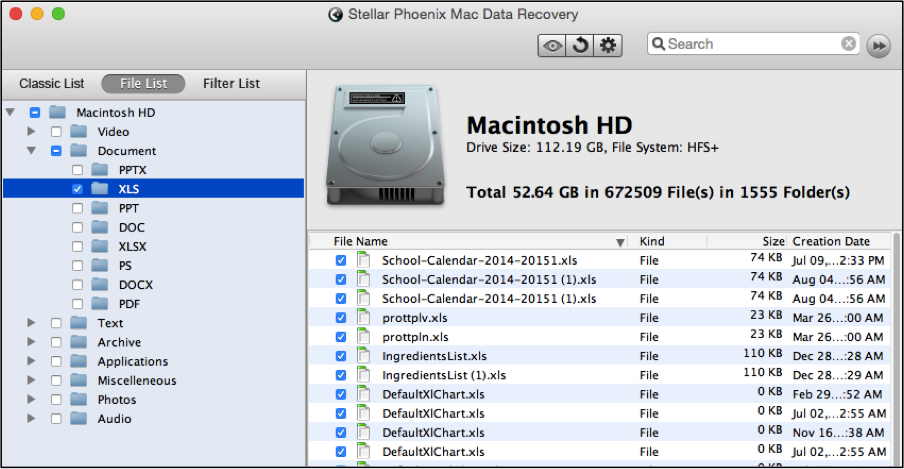
To select a desired file type (XLS, PPT, PDF, etc.), expand the format folder it resides in and click on the checkbox for that file type. XLS is chosen in the following example.
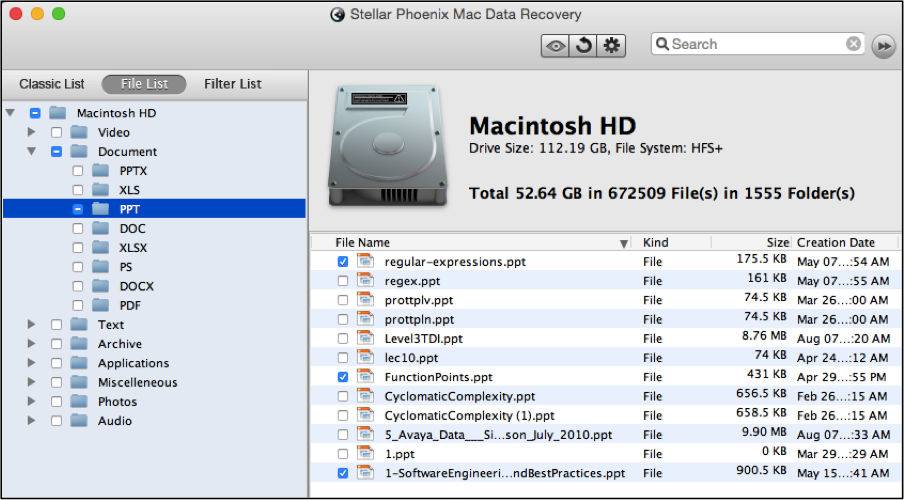
Individual files may also be retrieved from your hard drive. To do so, first, expand the tree view so that you are viewing both the proper file format and type. Then click on the checkbox next to each displayed file you would like to recover on the right side of the utility.
Note: Tick the checkbox for Macintosh HD to retrieve the entire drive.
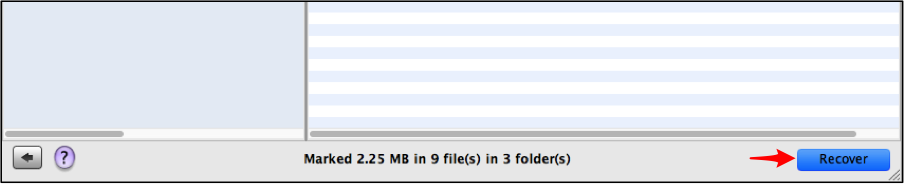
Step 4: Finish saving your lost or deleted files. After each desired file, type, or format has been chosen, click on the Recover button to finish salvaging your files.
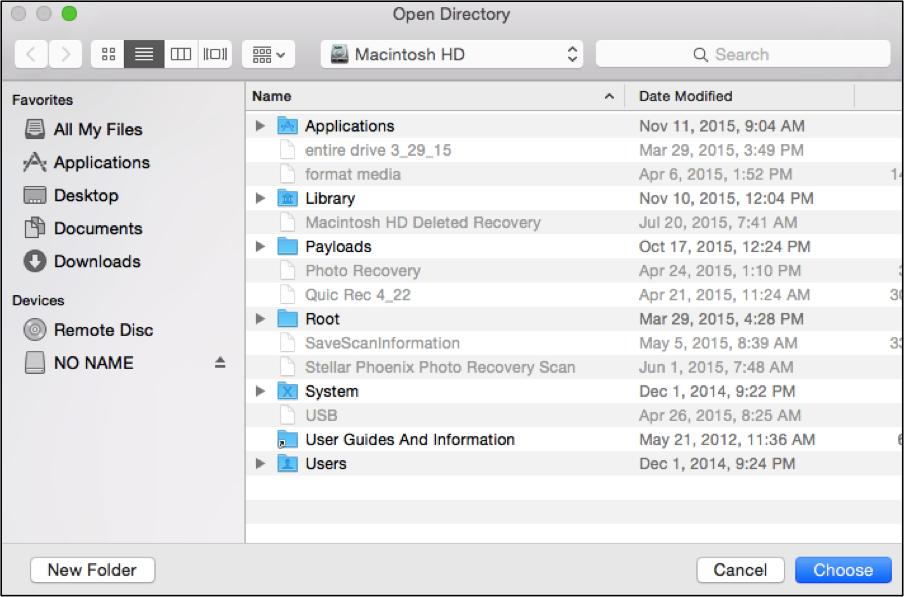
Choose a save location for the Root Folder containing the recovered files and the utility will place the folder in that location.
Mac file recovery doesn’t have to be hard, time-consuming, or only done by a professional. It is easy to recover any files that has not been overwritten yet by completing the above steps with Stellar Phoenix Macintosh File Retrieval program. These four steps will get you exactly where you need to be:
- Configure the recovery.
- Scan the volume.
- Choose the files to salvage.
- Sit back while the utility does the rest.