Mac Volume Recovery
Mac Volume Recovery: How to Regain Data From a Lost or Deleted Partition
A local hard drive can have one or multiple volumes configured for file storage. Each might have a different file storage system such as NTFS and ExFAT or they could all use the same type such as HFS+. When you purchase a computer or an external storage media, they are configured with one partition (i.e. volume) by default. However, it is possible to reformat the drive with multiple partitions using one or more file storage systems.
Unexpected loss or deletion can occur in situations where an accidental reformat takes place or unexpected corruption makes the partition inaccessible. Whether you are unable to view certain files or the entire volume seems to have disappeared, there are options for tracking it down on the physical drive and recovering files. If the volume has been lost or deleted, this will be a two-step process:
1. Locate the Lost/Deleted Volume.
2. Scan for Data and Recover Files.
Stellar Phoenix Mac Data Recovery is a utility you can use to perform both of these tasks. First, it will find the lost or deleted volume and display it as a drive selection. Once this is done, you will be able to select a scanning option and regain the data stored there. Additional features provided by Mac Data Recovery include:
- File previewing and search
- Support for custom file types
- Multiple recovery selection options
- Several organization and filter options
- Support for various types & formats
Before you can do Mac volume recovery, you will need to take a few minutes to install the utility and open it on a Mac computer. Please note that the same steps shown in the tutorial below can also be used to recover data from a lost or deleted volume on an external drive or other type of storage media.
Finding a Lost or Deleted Partitions
You will see two options on the main window for Mac Data Recovery. For partition searches, use the Start New Scan option. Remember to connect any external media before continuing with this tutorial if the volume resides somewhere other than the local drive of your Mac computer.

Step 1: Select the Drive. When starting the recovery, you will see each drive and then any detectable volumes that are part of it. If the desired partition is listed, then skip to the next section titled “How to Recover Your Data”.
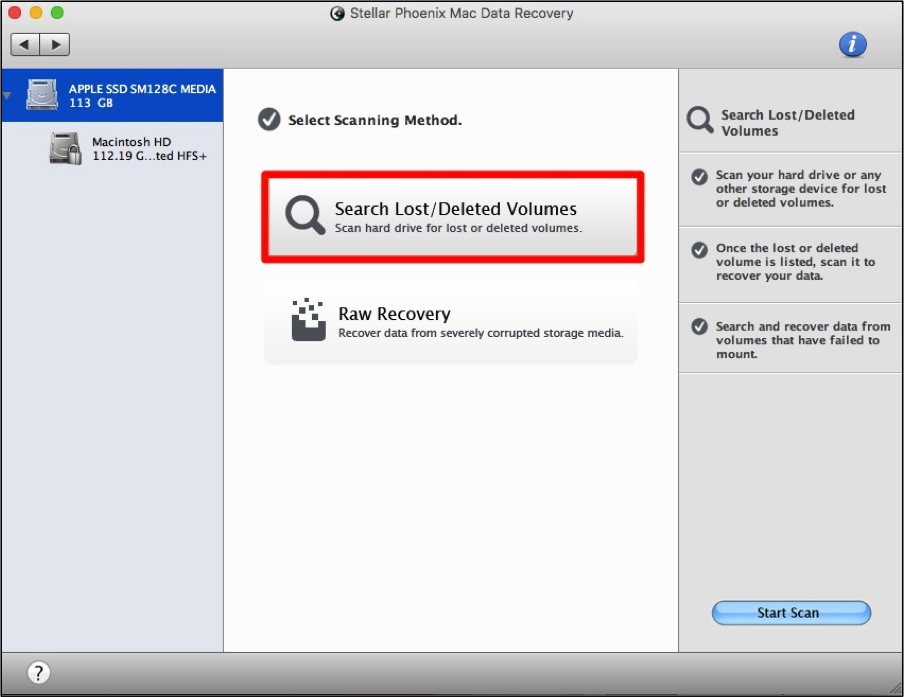
If the partition does not show up as a selection, you will first need to locate the volume before a recovery can be performed. Make certain to click on the drive itself rather than any currently displayed partitions.

Step 2: Configure the Search & Scan. To do this, click on Search Lost/Deleted Volumes and then use the Start Scan button to look for undetectable volumes on the drive.
The screen will appear as shown below as the search takes place. Each detected volume will appear on the left and you will see the grid populate with colored squares as the scan progresses. A color is configured for each type of file storage system associated with a lost or deleted volume. When one of these volumes is found, the color will appear in the grid.
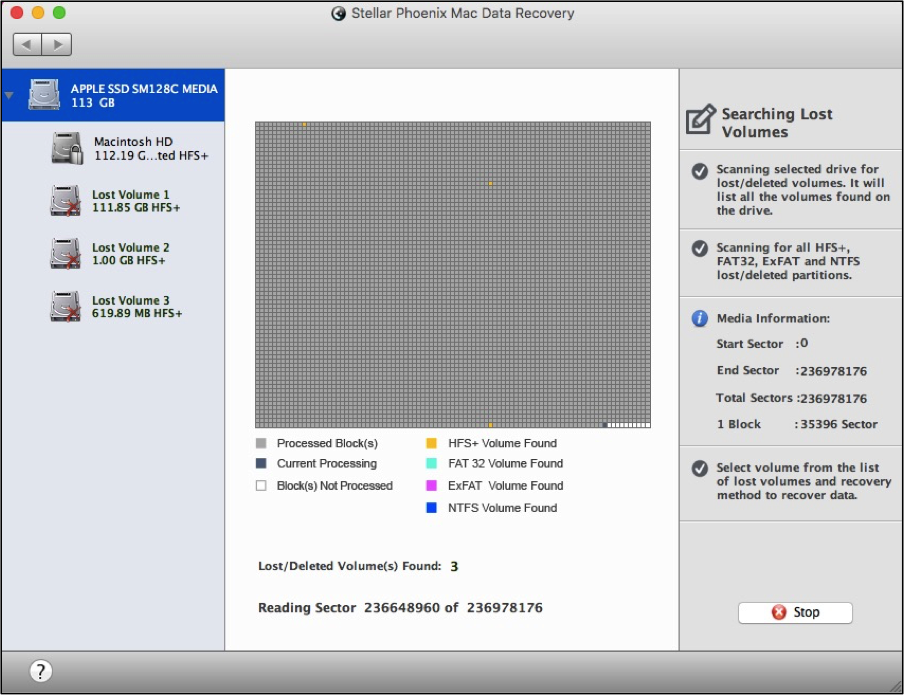
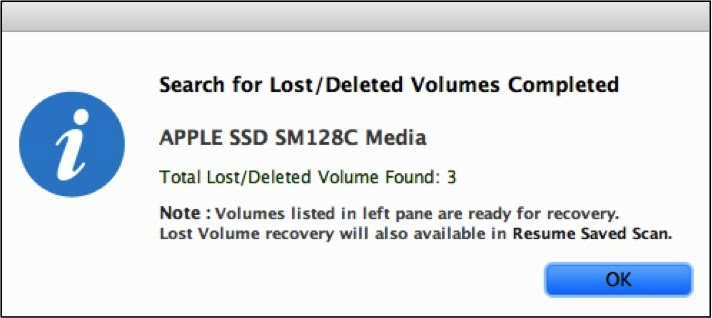
Additionally, a ‘Stop’ button is provided for instances where you need to exit the search and come back later. Click on OK in the confirmation message below to complete the search and return to the drive/volume selection screen.
How to Recover Your Data
Once Stellar Phoenix Mac Data Recovery has found the lost or deleted volume(s), you will be ready to continue with the data recovery for each of the discovered volumes.
Step 1: Select a Volume. Each volume found during the search will be listed on the left. To select one, just click on its name and repeat this process for each if more than one is present.
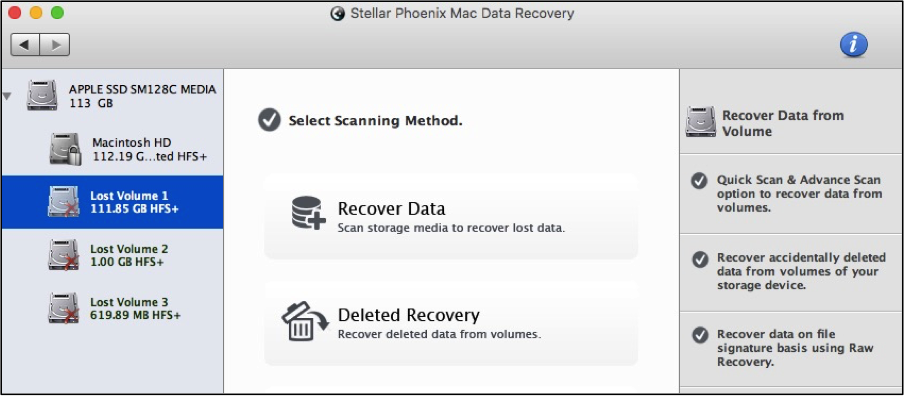
Step 2: Configure Options & Scan. The next step will be to choose what type of scan will be performed by the utility. For this example, we will be showing how to perform a basic recovery, which is done by clicking on the Recover Data choice.
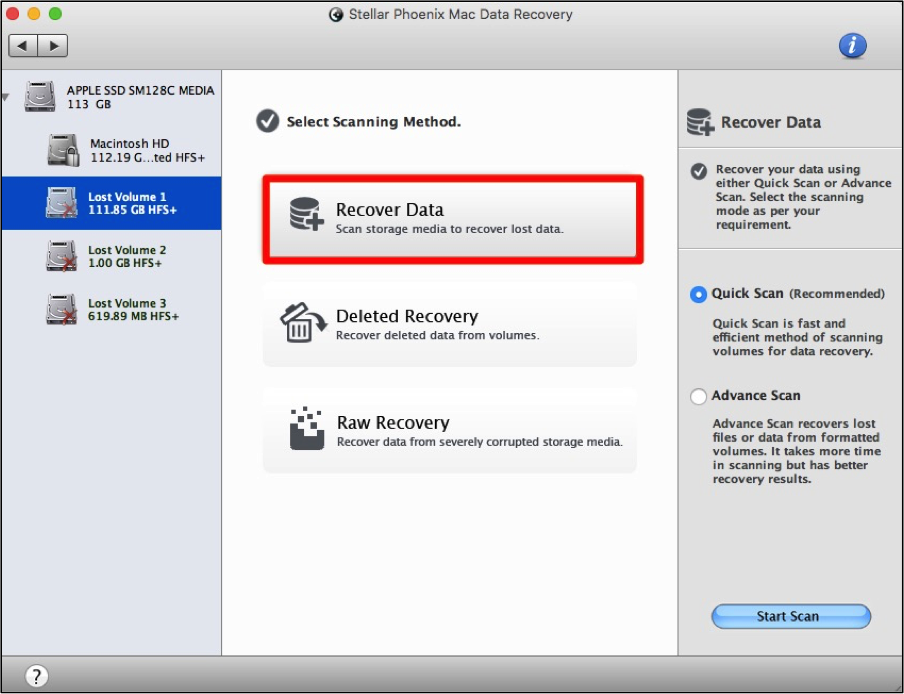
Next, you have the choice to perform a quick or advanced scan on the volume. The quick scan is faster, but may not find everything you need to retrieve. An advanced scan involves a deeper search of the volume and will take more time to complete.
For this tutorial, we will be completing a Quick Scan. Tick the appropriate radial in the right panel and then click on the Start Scan button to continue.
The scan will only take a few minutes if you are performing a quick scan, but may take longer if the advanced option was chosen. While scanning takes place, images and other files will pop up in the utility window and files. To view the scan’s progress, just use the progress bar at the bottom of the window.
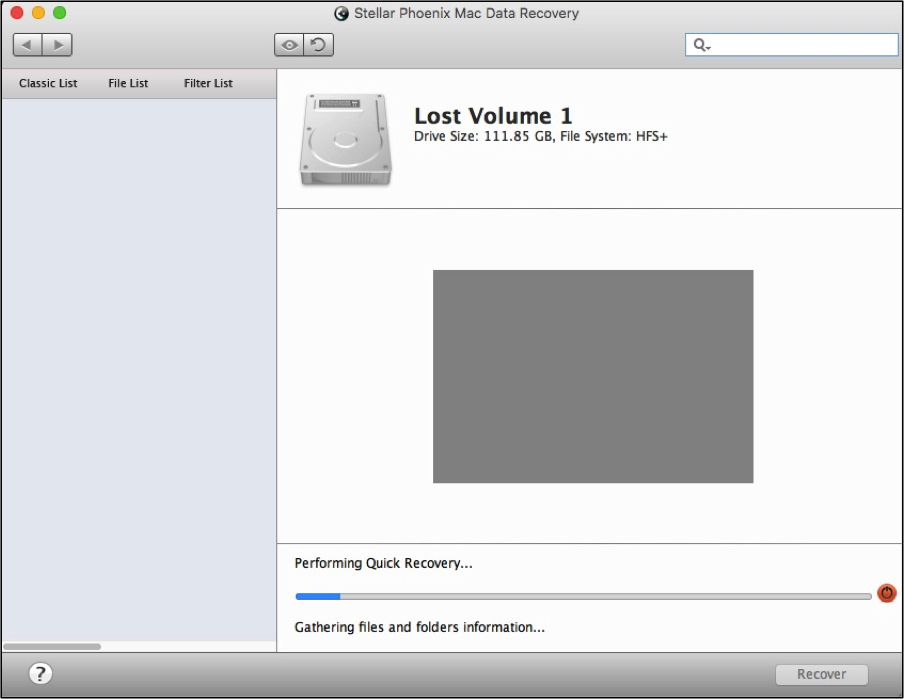
Click on OK in the confirmation window after the scanning process has completed to view the results.
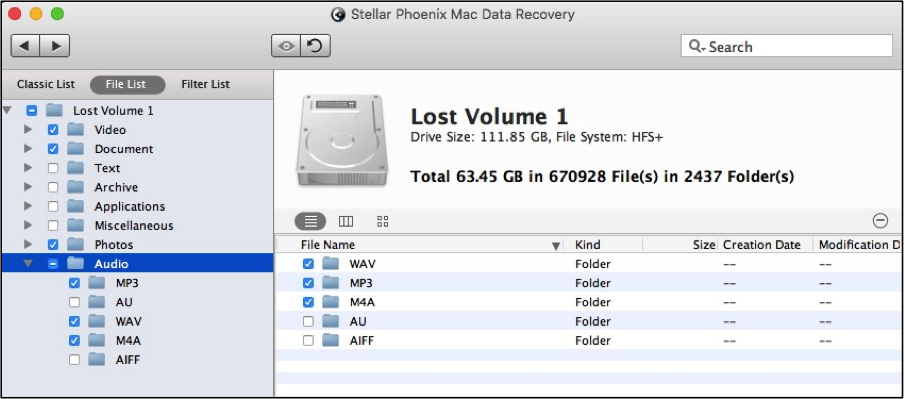
Step 3: Make Selections & Finish the Recovery. After scanning finishes, click on File List to change the organization of your scan results. After which, mark the checkbox located to the left of the volume name if you want to recover everything found by the scan.
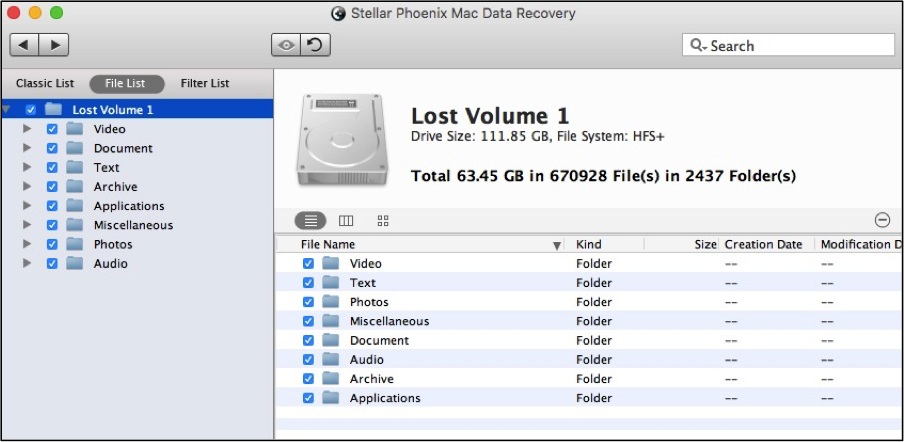
You can also mark certain types for recovery and every file for that type along with the associated formats will be retrieved by the utility. For example, if you tick the checkbox for Photos, then every type of photo will be retrieved including JPEG, BMP, TIFF, etc.
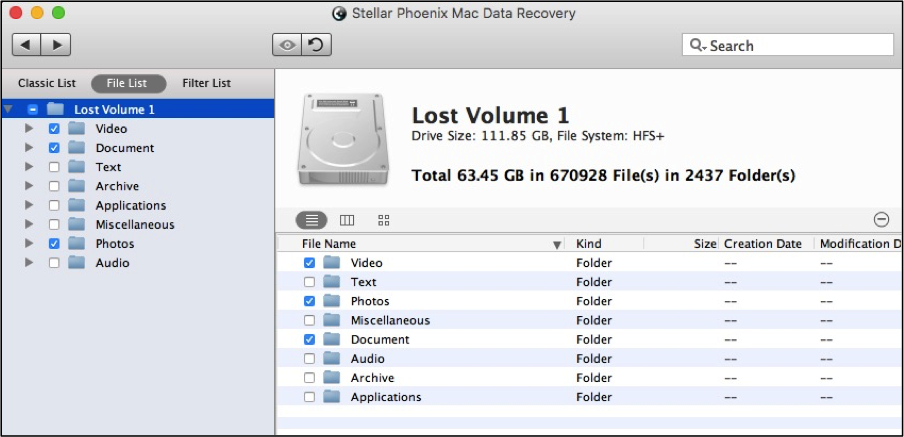
The Type Folders may also be expanded to select certain formats for the recovery. This can be done in two ways:
- Click on the arrow for the folder in the tree view.
- Click on the folder name to see this information to the right.
Then check each format box you want the utility to include as part of the volume data retrieval. In the example below, three audio formats have been chosen.
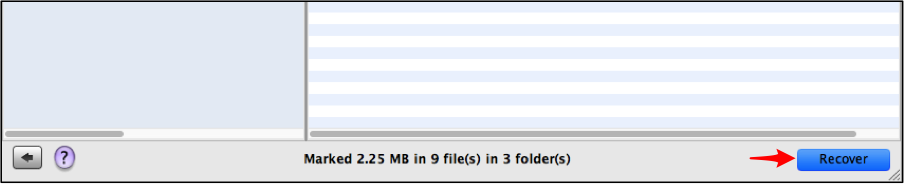
If you click on a format such as RTF under Text, each file for that format found by the scan will be displayed. Checkboxes are provided for selecting individual files to include in the recovery.

After you have selected everything you want to recover from the lost volume, click on Recover. The utility will prompt you to browse to a save location and place the recovered files there once the data retrieval is finished.
Performing Mac volume recovery is easy when you use Stellar Phoenix Mac Data Recovery. If the drive has lost or deleted volumes, you will first need to search for the volume before data can be retrieved by the utility. To do so, complete the following two steps:
1. Select the drive.
2. Configure the search and scan.
Once the volume(s) has been located, you will then be able to scan it for data and recover any desired files. To recover the data, complete these three steps as shown by the tutorial:
1. Select a volume.
2. Configure options & scan.
3. Make selections and finish the recovery.