Recover Deleted Photos on Mac
Photos are precious memories that might seem impossible to get back once deleted. However, with the right tool, it is as easy as performing a few basic steps. The most common assumption with a deleted photo on your Mac or even an external device is that it is gone. In reality, the operating system only removes the location of the photo from the address table. This means that the images are still recoverable as long as they have not been overwritten on the physical hard drive. Your operating system simply does not know where to look in order to find them.
The first step is to download and install a recovery software for fast retrieval of any deleted photos. Stellar Phoenix Mac Data Recovery can be installed to quickly and safely restore one or several deleted photos from any Mac. With Stellar Phoenix Mac Data Retrieval, all you have to do is complete these four steps:
- Select a hard drive to scan.
- Choose the Photo Recovery mode and scan.
- Pick the photos you want to retrieve.
- Complete the recovery.
Why is this utility the best choice for a reliable photo recovery? It’s simple! Stellar Phoenix Macintosh Data Retrieval offers a dependable and fast option for recovering all available photos from your hard drive. Download it today and follow the steps below to see how easy it can be to recover deleted photos on Mac and get your memories back!
Four Stress-Free Photo Retrieval Steps
Open the utility first, click on Start New Scan, and follow this tutorial to quickly retrieve your photos.

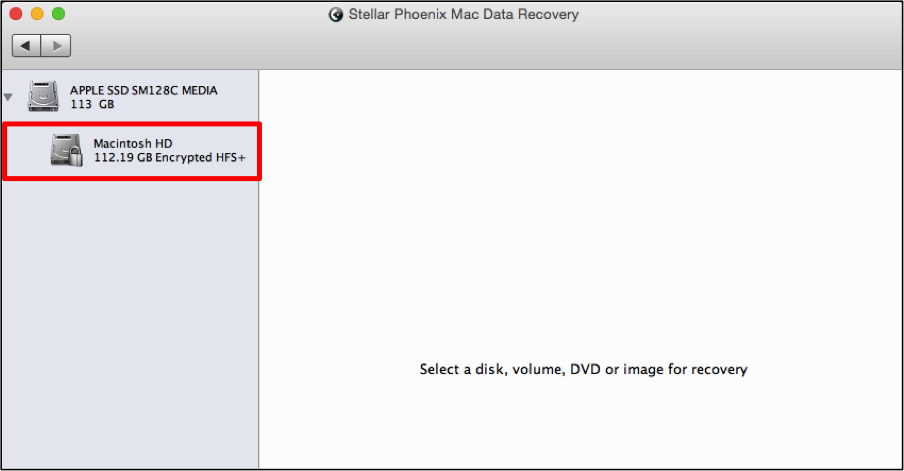
Step 1: You will need to select a media source for the Macintosh Data Recovery utility to scan. Macintosh HD will be chosen in this example since it is frequently used as the storage location on a Mac.
Step 2: A new screen will appear for selecting the desired type of recovery. Click on Raw Recovery and then make certain the Photo Recovery option is selected to recover deleted photos on Mac hard drive.
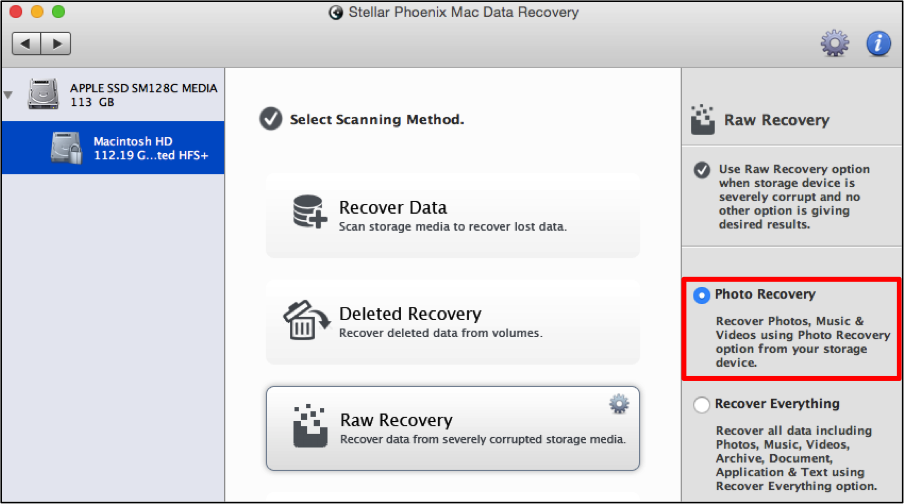
Note: There is no guarantee that all photos will be recoverable. In some instances, the physical storage location on your hard drive may have already been overwritten. To avoid this scenario, stop making changes immediately and quickly recover the data.
After making these recovery selections, click on Start Scan in the bottom corner of the screen to begin the process.

It takes a few minutes for the utility to scan the hard drive. The screen will appear as shown below as scanning takes place.
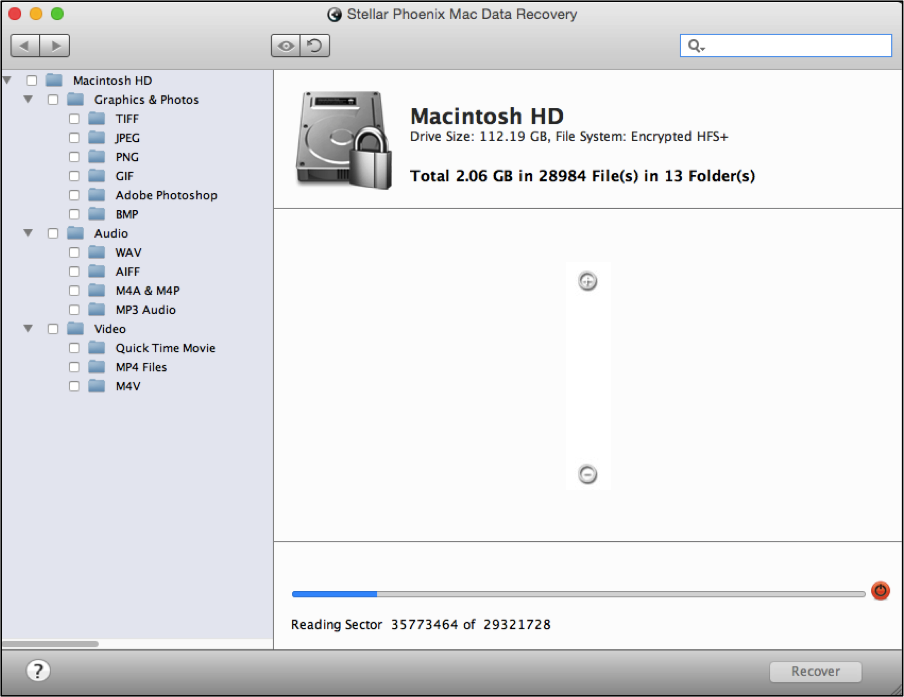
You can abort the scan by clicking on the ‘abort scan’ button (red circle) at any time.

When the confirmation message appears to show that the scan was successful, click on OK. You can now select the photos or media types to be recovered from the drive.
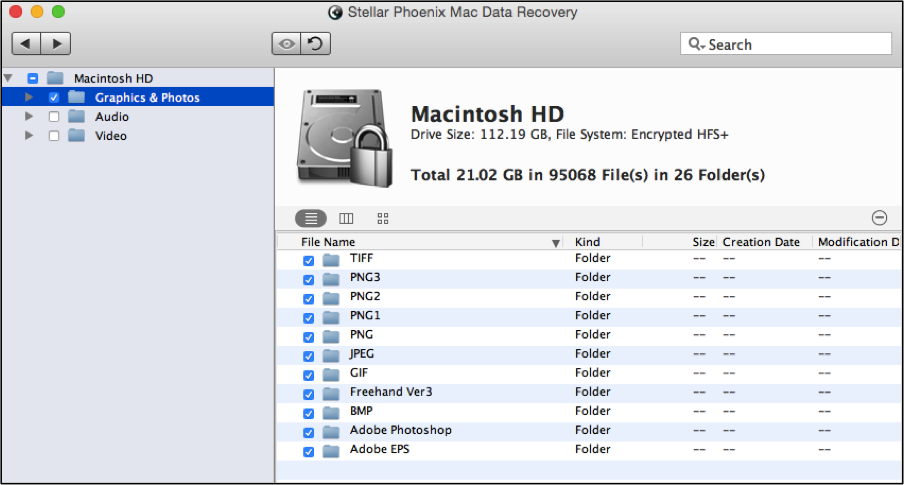
Step 3: Results are automatically displayed by media type, file format, and file type. The Mac File Recovery utility provides options for retrieving all located items, specific types of files, and individual photos. All you need to do is tick the checkbox for each item or directory you want to recover.
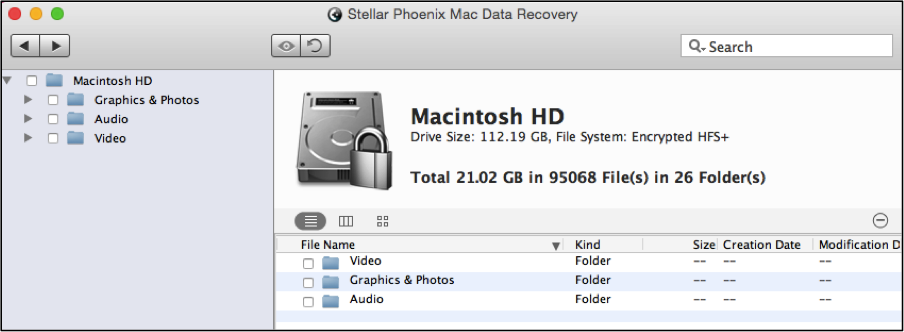
If you want to recover all deleted photos from the drive, click on the Graphics & Photos directory displayed in the left tree view. This will inform the utility to recover every photo located by the scan.
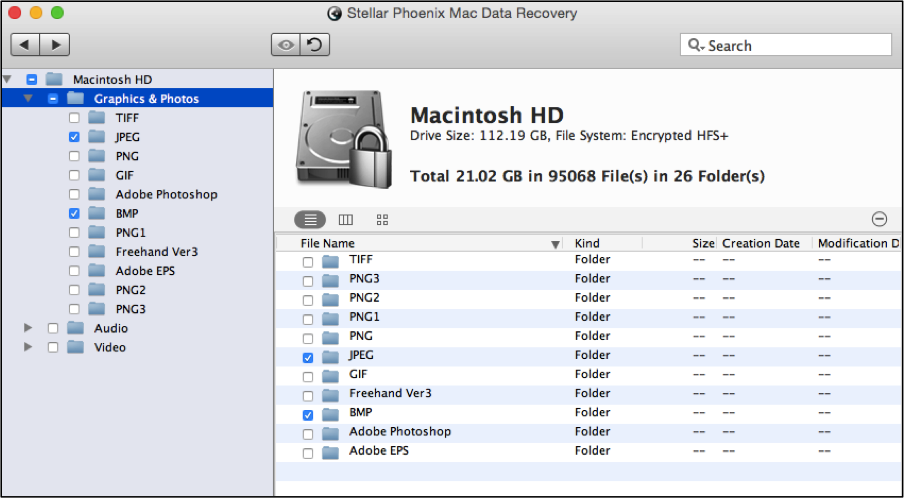
You can also recover every file for a certain image type only. To do this, check the box to the left of each desired image type displayed in the tree view to make selections. In the example below, both JPEG and BMP image types have been chosen for recovery.
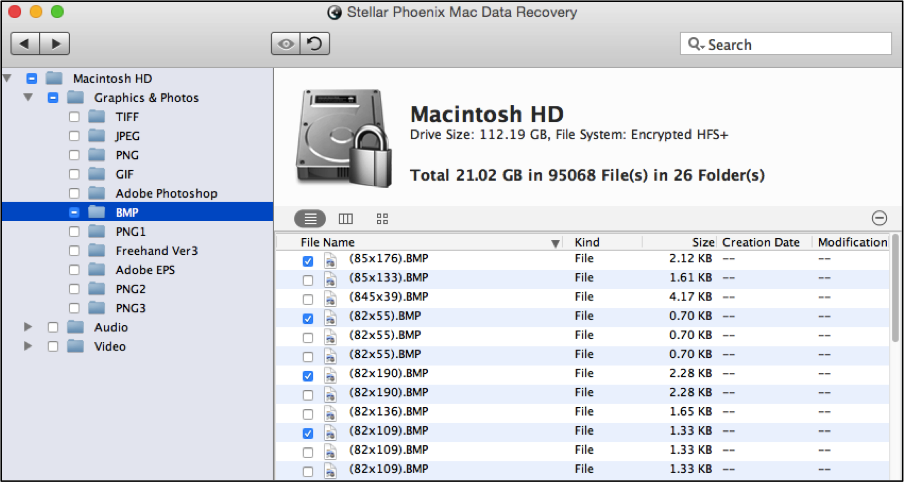
Moreover, to choose individual files, just click on the directory for the proper image type and a list of all files will appear on the right side of the utility. Click on the checkbox for each file you want to recover. In the example below, four BMP items have been selected.
Step 4: You are now ready to recover the actual data and need to click on Recover to do so.
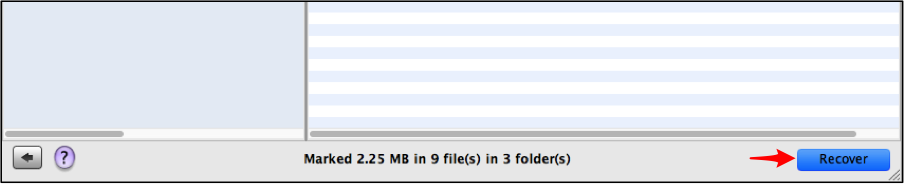
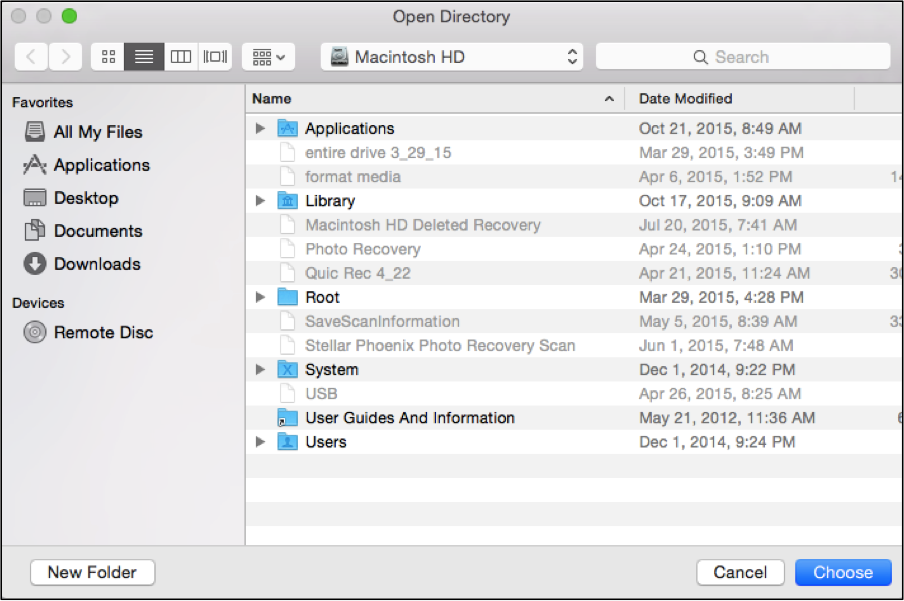
After which, choose a save directory on your Mac and then hit Choose. The utility will automatically store all recovered photos in a Root folder and place it in the save directory.
As you can see by this tutorial, to recover deleted photos on Mac does not have to be time-consuming or difficult. All you have to do is complete these five steps:
- Choose a drive to recover from.
- Configure the photo recovery mode.
- Scan the hard drive.
- Select your photos or other media.
- Finish the recovery.
Stellar Phoenix Macintosh Data Retrieval is easy to use and a reliable way to retrieve deleted photos. With this complete recovery program, you will be able to salvage photos from any Mac hard drive or external device easily and with confidence.