Restore Data From Mac HFS Partition
HFS (Hierarchical File System) is the proprietary file organization system developed by Apple for exclusive use with the Macintosh. Even though HFS has been upgraded to the HFS+ to handle the storage space of larger 100 GB drives more effectively, the standard OS (operating system) still operates with it.
The HFS partition is either a local partition or it exists as a logical volume on the drive. Important files, items and data are generally stored in the HFS partition. External drives may also be formatted to be compliant with the HFS system.
Sometimes HFS Partitions Render Data Inaccessible:
Anything from improper handling of a hard disk to virus corruption and processor overheating may lead to HFS partition data becoming inaccessible to Mac users. Under such circumstances, a third party application like Stellar Phoenix proves to be extremely useful. It is able to restore data from Mac HFS partition quickly and easily in just five steps which are listed in the next section.
Restoring Data from a Mac HFS Partition
Stellar Phoenix Mac Data Recovery is a user friendly and intuitive software solution. As already discussed, a Mac HFS partition can either be the logical volume on the hard drive of a Mac computer or it can be an external drive that is formatted to work with a Mac using the HFS tree system. In either case, the steps remain unchanged.
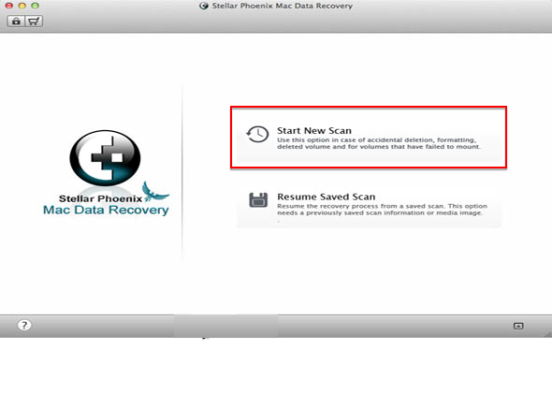
1. Launch Stellar Phoenix Mac Data Recovery and from the home screen, choose the option ‘Start New Scan’. This ensures that a fresh scan is triggered for a new partition.
The option ‘Resume Saved Scan’ works with a .dmg file which has documented and mapped the progress of a previously interrupted scan and upon resumption, it starts the process from where it had been terminated in the last session. This is a good alternative if large volumes of information have to be recovered and the Mac processor needs a rest.
2. The next screen is known as the selection screen. It displays settings around the scan method and mode and prompts users to customize their scan as per the conditions of data loss.
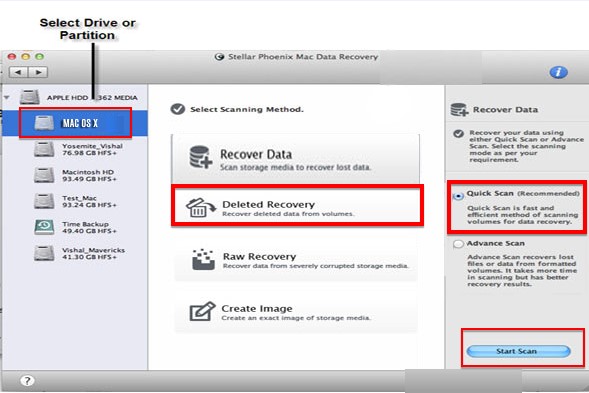
- The first choice that you need to make is that of the drive to be scanned. If the Mac HFS logical partition is the target, then it has to be selected from the list to the left of the screen. If it is an external HFS drive, then first the drive has to be connected to the Mac through a USB port and then chosen for recovery. Stellar Phoenix ‘remembers’ each device it scans and makes it available as an option for subsequent sessions.
- The next choice that you have to make is of the scanning method. This determines the resources Stellar Phoenix will utilize to conduct the scan. If data is lost because of processor heating, drive malfunction or OS malfunction has to be salvaged, the option Data Recovery is good enough. If the files or volumes have been explicitly deleted by the user, then ‘Deleted Recovery’ brings them back, and lastly if a drive or partition is severely corrupted, ‘Raw Data Recovery’ first repairs the drive and then retrieves the needed information from it. For the purpose of this tutorial, Data Recovery is recommended.
- Finally you must choose between ‘Quick Scan’ and ‘Advanced Scan’ as the scanning mode. These options are to the right of the screen. Quick Scan complements ‘Deleted Recovery’. Advanced Scan is for all other scanning methods.
Once these are taken care of, hit Start Scan and trigger the process.
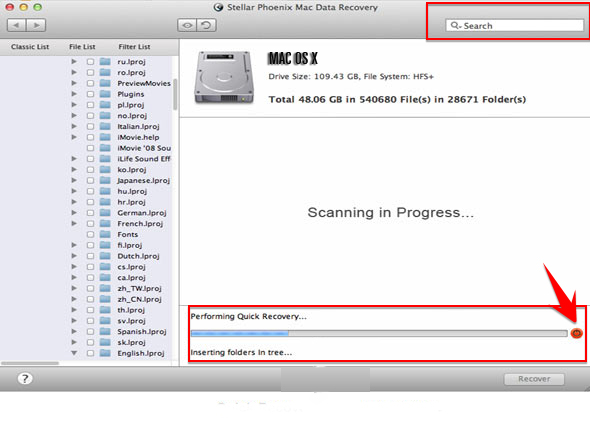
3. A scan underway notes the time to completion with a progress bar with a ‘stop’ symbol or button next to it. This proves useful because it can terminate the scan before its time, saving the progress as a .dmg file which the ‘Resume Saved Scan’ option can use. Stellar Phoenix displays the items identified for recovery in real time to the left of the screen. If you find something of import, you have the freedom to stop the scan and recover it.
A scan that completes successfully ends with the following pop-up.
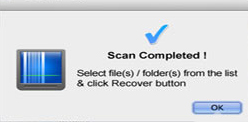
Clicking OK brings up the display screen.
4. A display screen allows the Mac user to navigate the files that are recoverable in three views or lists.
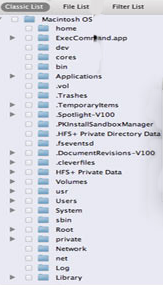
- The Classic List is the most simple. It organizes the files and folders that can be retrieved as they were in the HFS partition prior to data loss. The names of the folders and the files they hold remain unchanged helping you choose and recover what you want. This is great for smaller data volumes for which the user may remember exact locations.
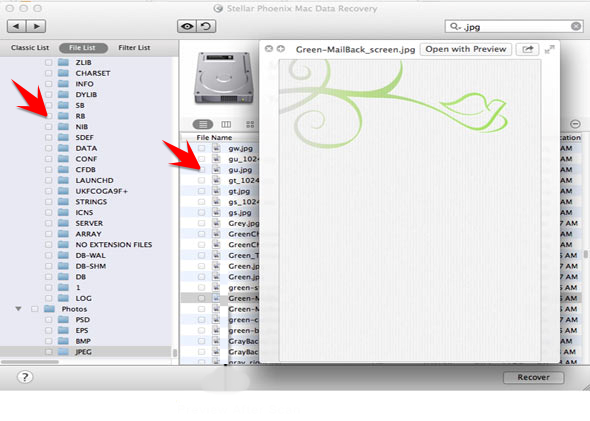
- The File List is the easiest to use. As the name suggests, it focuses on the individual files rather than the folders. In this view, the primary folders are named after broad data categories like Video, Photos, Applications and more. When clicked, these primary folders expand to display sub-folders. Each sub-folder is named after a particular data type of the broad category. So Video may have sub-folders to hold MP4, MPEG and WAV. The data in the sub-folders is laid out for perusal to the right of the screen from where files can be chosen individually or in bulk. The search bar to the top right of the screen helps call up items by name or keywords.
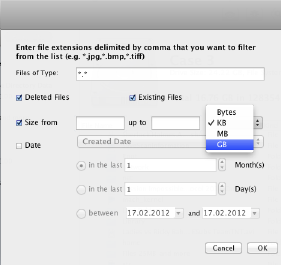
- The Filter List is more specific than the File List. It directly displays individual files based on user requested criteria like file type, file size and date of creation.
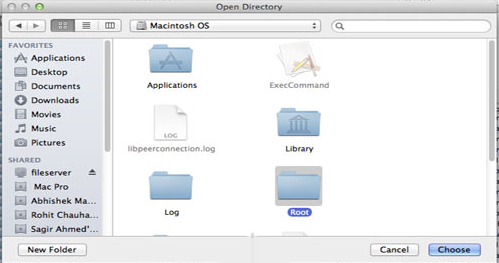
5. With the files chosen, the only thing left to do is ‘Recover’ them from the HFS partition and restore them to a safe storage space.
![]()
If you wanted to know how to restore data from a Mac HFS partition, hopefully this tutorial has helped. Here is a quick recap of the steps:
- Launch Stellar Phoenix and choose ‘Start New Scan’.
- Select the HFS partition to be scanned and scan mode and method.
- Allow the scan to complete.
- Choose the files needed from one of the three views.
- Restore the HFS partition data.