Mac Lost Partition Recovery
How To Easily Achieve Mac Lost Partition Recovery
The local drive on your Mac computer may consist of one or multiple partitions. A partition is essentially a storage container formatted with a specific file storage system. Partitions are used to house files saved to the drive when working on your Mac computer. Sometimes a partition is lost due to computer problems, corruption, deletion, or other issues. Since the operating system is unable to identify the partition, you will not be able to regain the data housed on it.
A recovery tool can be used to find any lost partitions on a drive (external or internal) and make it accessible for data retrieval. Stellar Phoenix Mac Data Recovery provides a number of options to make this process easy and fast. With this recovery utility, it is possible to scan a drive for lost partitions. Once they are found, you can perform a retrieval to regain the data stored on that partition. Mac Data Recovery is able to find the following types of lost partitions:
- HFS+
- FAT 32
- ExFAT
- NTFS
Additionally, once the volume has been located, it is possible to scan it and track down all data stored there. The scan results may be previewed before the recovery takes place. With Stellar Phoenix Mac Data Recovery, you may also search for files, preview individual files, and make custom data retrieval selections such as specific types or formats.
How to Regain a Lost Volume
Before you can search for and locate a lost volume, you will need to complete these tasks:
1. Download the utility.
2. Install it to a Mac.
3. Open the utility.
4. Connect any external drive.
Then use the Start New Scan option to begin retrieving lost volumes on your Mac or an external storage drive.

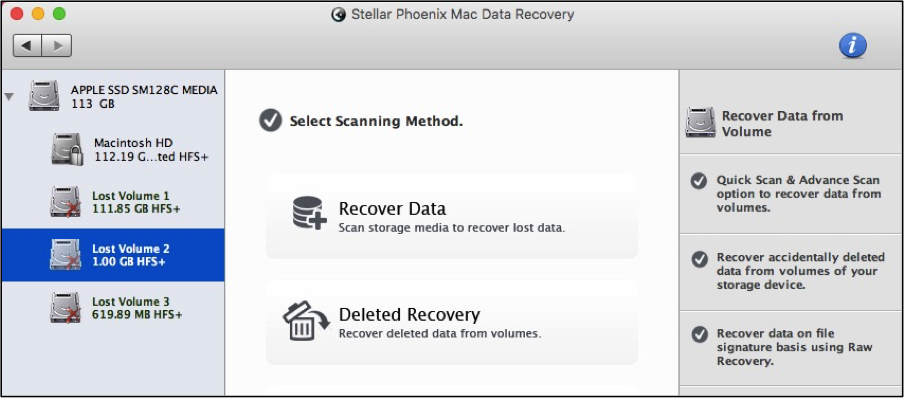
Step 1: Choose the Entire Drive. Volumes currently recognizable on the drive will automatically appear in the list, but we want to track down any lost or deleted volumes. First, click on the name of the drive in the left panel. Make certain it is the entire drive and not a recognized volume (i.e. partition).

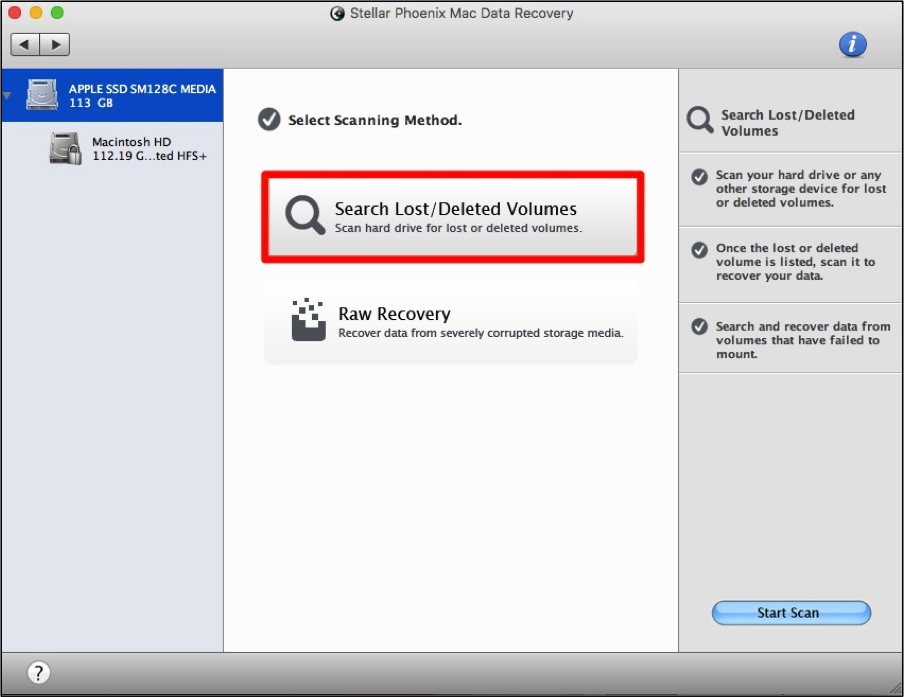
Step 2: Pick a Scanning Option. When you click on the full drive, you will see an option for locating lost or deleted volumes on the drive. Click on Search Lost/Deleted Volumes and then click on Start Scan.
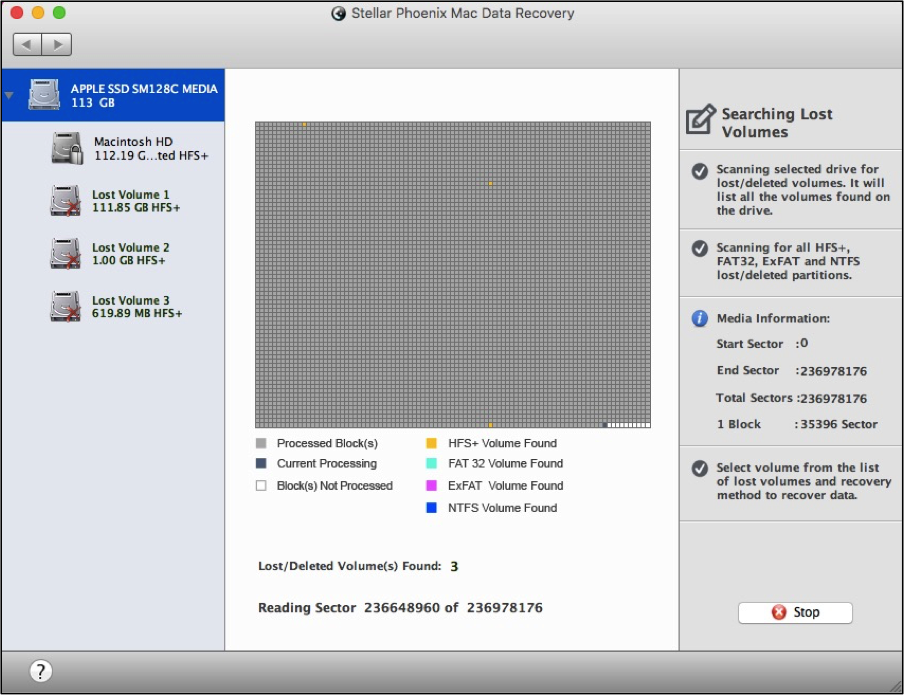
Step 3: Search for Lost Volumes. The search for lost volumes will take a little time, as the utility will need to comb over every partition on the drive carefully. As this occurs, any lost or deleted volumes will appear in the left panel underneath the drive being searched.
Additionally, this process can be stopped at any time by clicking on the stop button in the bottom right corner. Each type of volume will be depicted with a specific color as shown in the key below the grid. In this example, the drive is formatted with the HFS+ file system and every lost or deleted partition will appear in orange.
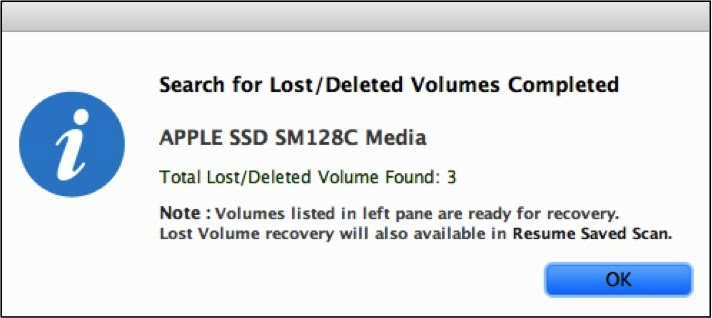
After the volumes have been located and displayed for use in the utility, you will receive a confirmation message showing this process has finished. Click on OK to continue.
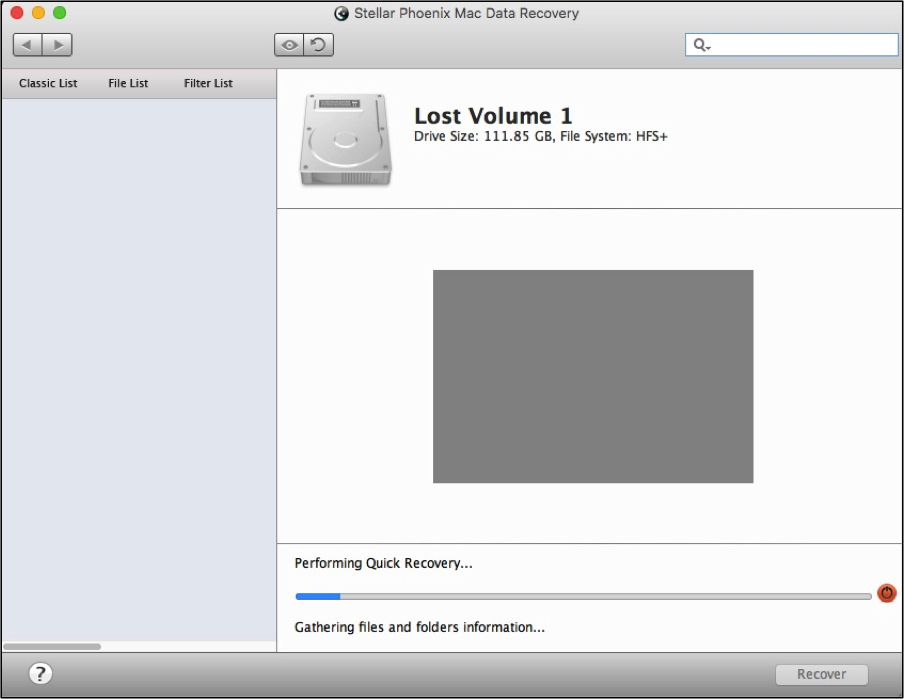
Step 4: Recover Files from the Volume. After the partitions have been tracked down by the utility, you will be able to recover data from them. This is done by clicking on the desired partition in the left panel and then choosing a scanning option. In this example, we will be choosing Recover Data and Quick Scan.
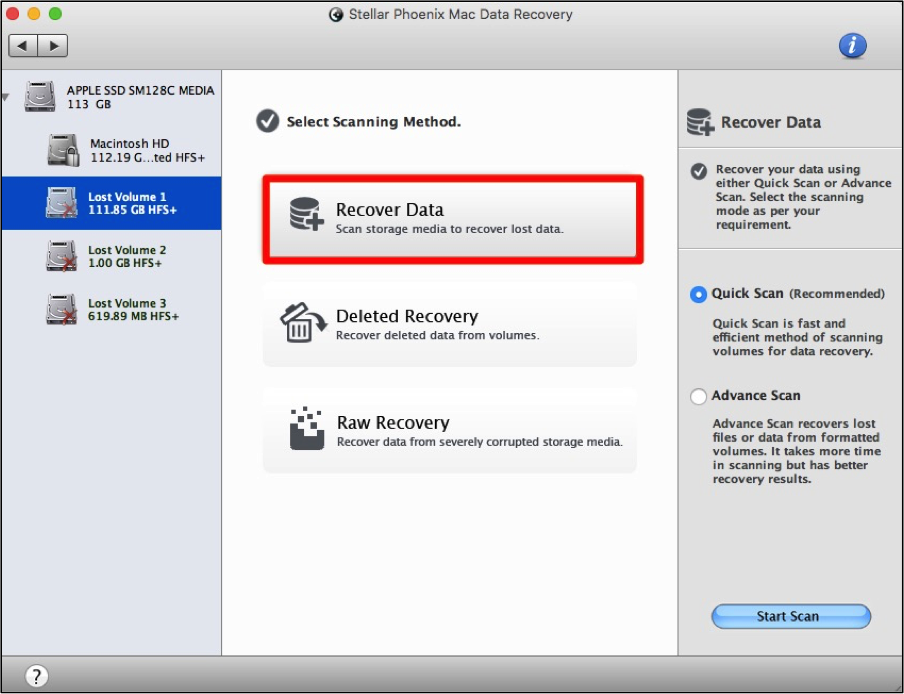
Click on Start Scan to begin the search for retrievable files and then wait until you receive a confirmation message to show this step has finished.
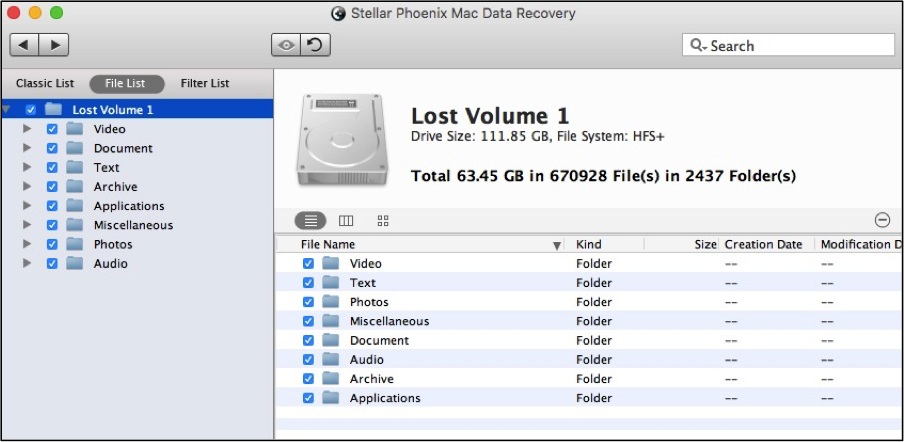
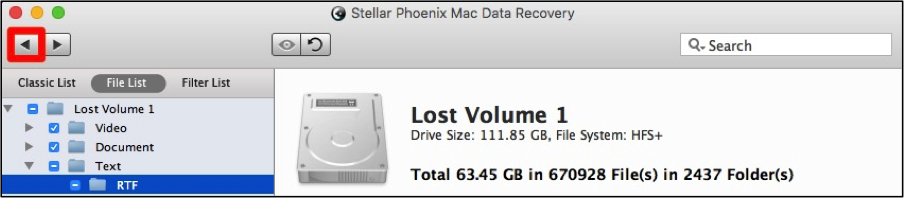
After scanning, click on File List to see the results organized by type. This will make it easier to select specific formats or files for the recovery. To regain every file stored on the partition, tick the checkbox next to the volume name in the left panel.
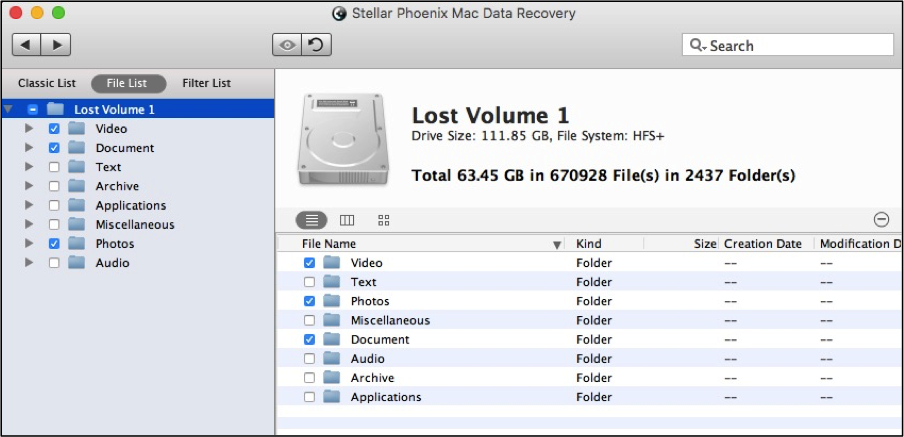
Certain types such as Documents or Audio can also be checked in the tree view to recover every file in that category. For example, if you tick the checkbox next to Documents, then PDF’s, Word documents, Excel files, etc. will all be recovered from the scanned partition.
Moreover, each type folder may also be expanded to see available formats for recovery. Use the checkboxes to select certain formats for the data retrieval on your lost partition.
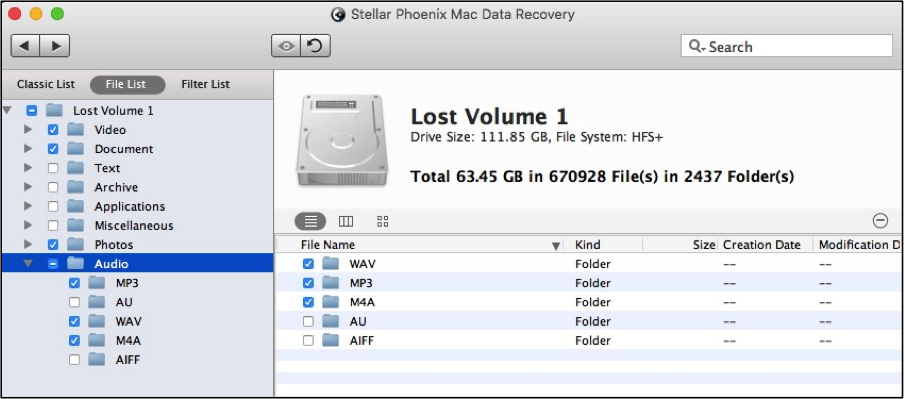
Finally, individual files may be selected by clicking on a desired format on the left. The files will appear on the right and can be previewed in some cases by double-clicking on the file name. Tick each checkbox to make selections for the recovery.

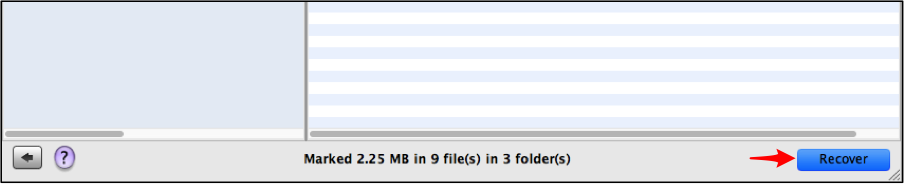
Click on the Recover button and browse to a location where you want to save the data. After doing so, Mac Data Recovery will retrieve the files chosen in the scan results and save them to the configured spot.
If you want to return to the screen for selecting volumes and perform a new scan, then use the back arrow at the top left of the screen.
Follow the prompts to cancel the recovery and free up resources. Then click on the volume you want to scan next and repeat the instructions for Step 4.
A partition might get lost or even deleted on your Mac drive without even knowing it happened or what went wrong. Whether the incident was intentional or accidental, there is an easy way to locate the partition and regain data stored there. The first step will be to use Stellar Phoenix Mac Data Recovery to find the volume and then perform a recovery on it. Follow these steps to perform Mac lost partition recovery:
1. Choose the entire drive.
2. Pick a scanning option.
3. Search for lost volumes.
4. Recover files from the volume.